
About
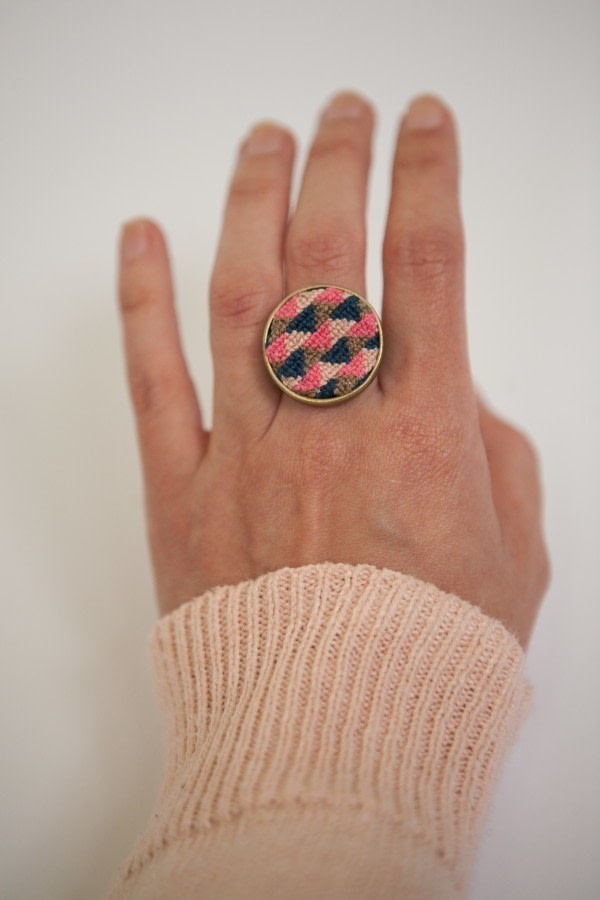
Wear your hobby on your finger!
This ring is SO easy to customize! Choose your favorite colors and go with it.
-
 beadmommie added Cross Stitch Ring to Jewelry Tutorials
23 Dec 01:13
beadmommie added Cross Stitch Ring to Jewelry Tutorials
23 Dec 01:13
-
 Angela S. favorited Cross Stitch Ring
28 Jan 11:41
Angela S. favorited Cross Stitch Ring
28 Jan 11:41
-
 Vixky favorited Cross Stitch Ring
11 Jul 21:24
Vixky favorited Cross Stitch Ring
11 Jul 21:24
-
 DAARSHENI favorited Cross Stitch Ring
14 Jul 02:32
DAARSHENI favorited Cross Stitch Ring
14 Jul 02:32
-
kiki w. added Cross Stitch Ring to Craft 2 sell
29 Jan 19:29
-
 Shea M. favorited Cross Stitch Ring
25 Oct 01:58
Shea M. favorited Cross Stitch Ring
25 Oct 01:58
-
 Emma H. favorited Cross Stitch Ring
23 Oct 21:33
Emma H. favorited Cross Stitch Ring
23 Oct 21:33
-
 Allyne favorited Cross Stitch Ring
21 Oct 13:11
Allyne favorited Cross Stitch Ring
21 Oct 13:11
-
 Peabody favorited Cross Stitch Ring
20 Oct 05:20
Peabody favorited Cross Stitch Ring
20 Oct 05:20
-
 Southern Crafter added Cross Stitch Ring to Cross Stitch
20 Oct 04:00
Southern Crafter added Cross Stitch Ring to Cross Stitch
20 Oct 04:00
-
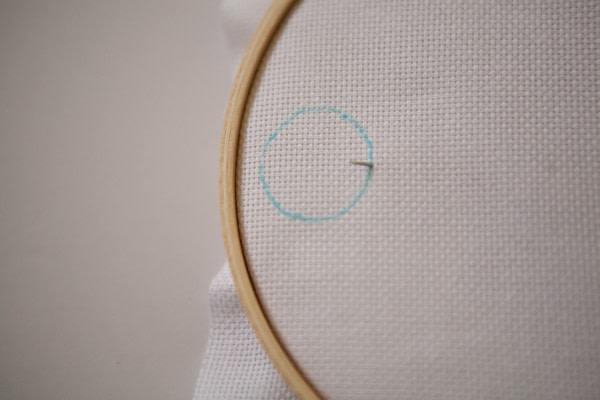
Step 1
Put the fabric into the embroidery hoop.
-
 Step 2
Trace the top of the ring base onto your cross stitch fabric. This will let you know the total area you will need to fill in for the ring.
-
 Step 3
Start at one side of the circle and start creating a pattern from X’s. For my triangles I did 7 X’s on the bottom, then 5, 3, and 1 X at the top for each triangle. If the triangle is upside down, it is the reverse of that.
-
 Step 4
Once you get the entire circle filled in with your pattern, cut it out leaving at least a 1/4 inch border of unstitched material.
-
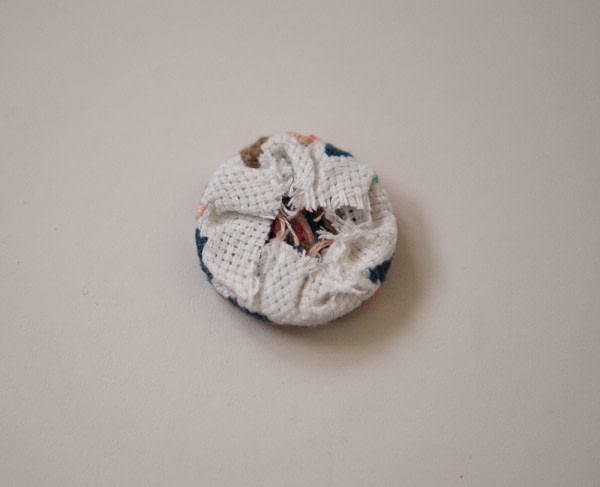
 Step 5
Fold the unstitched material under the pattern so that all you can see is the cross stitch.
-
 Step 6
You will need to put the circle of fabric into the ring base to get the perfect fit. It will take some playing with to get it just right.
-
 Step 7
Once you are satisfied with the look and fit of the circle of fabric, fill the ring base with glue.
-
Step 8
Set the circle of fabric into the ring base and press it in.
-
 Step 9
Once your glue is dry, wear this bad boy!