


About
Personalize with Cross stitch
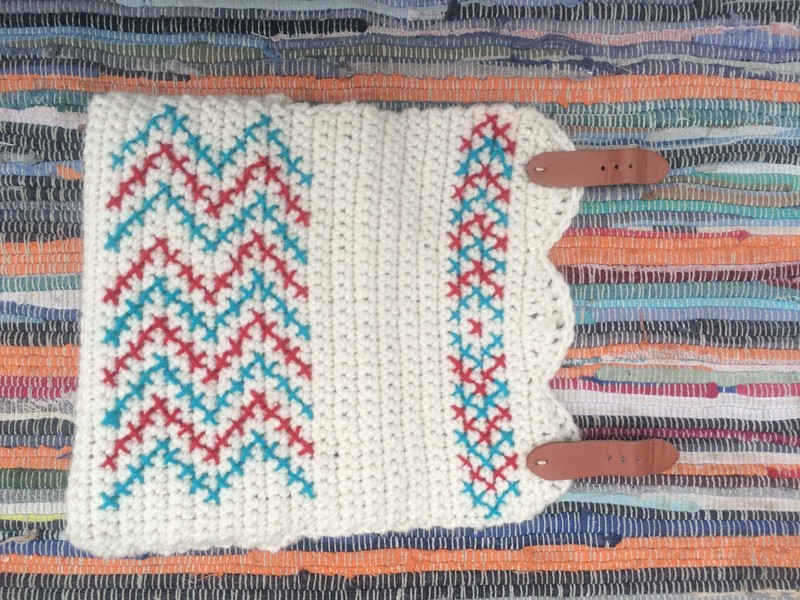
Crochet a tablet cover, then use up the last little bits of your favorite yarn to make it your own!
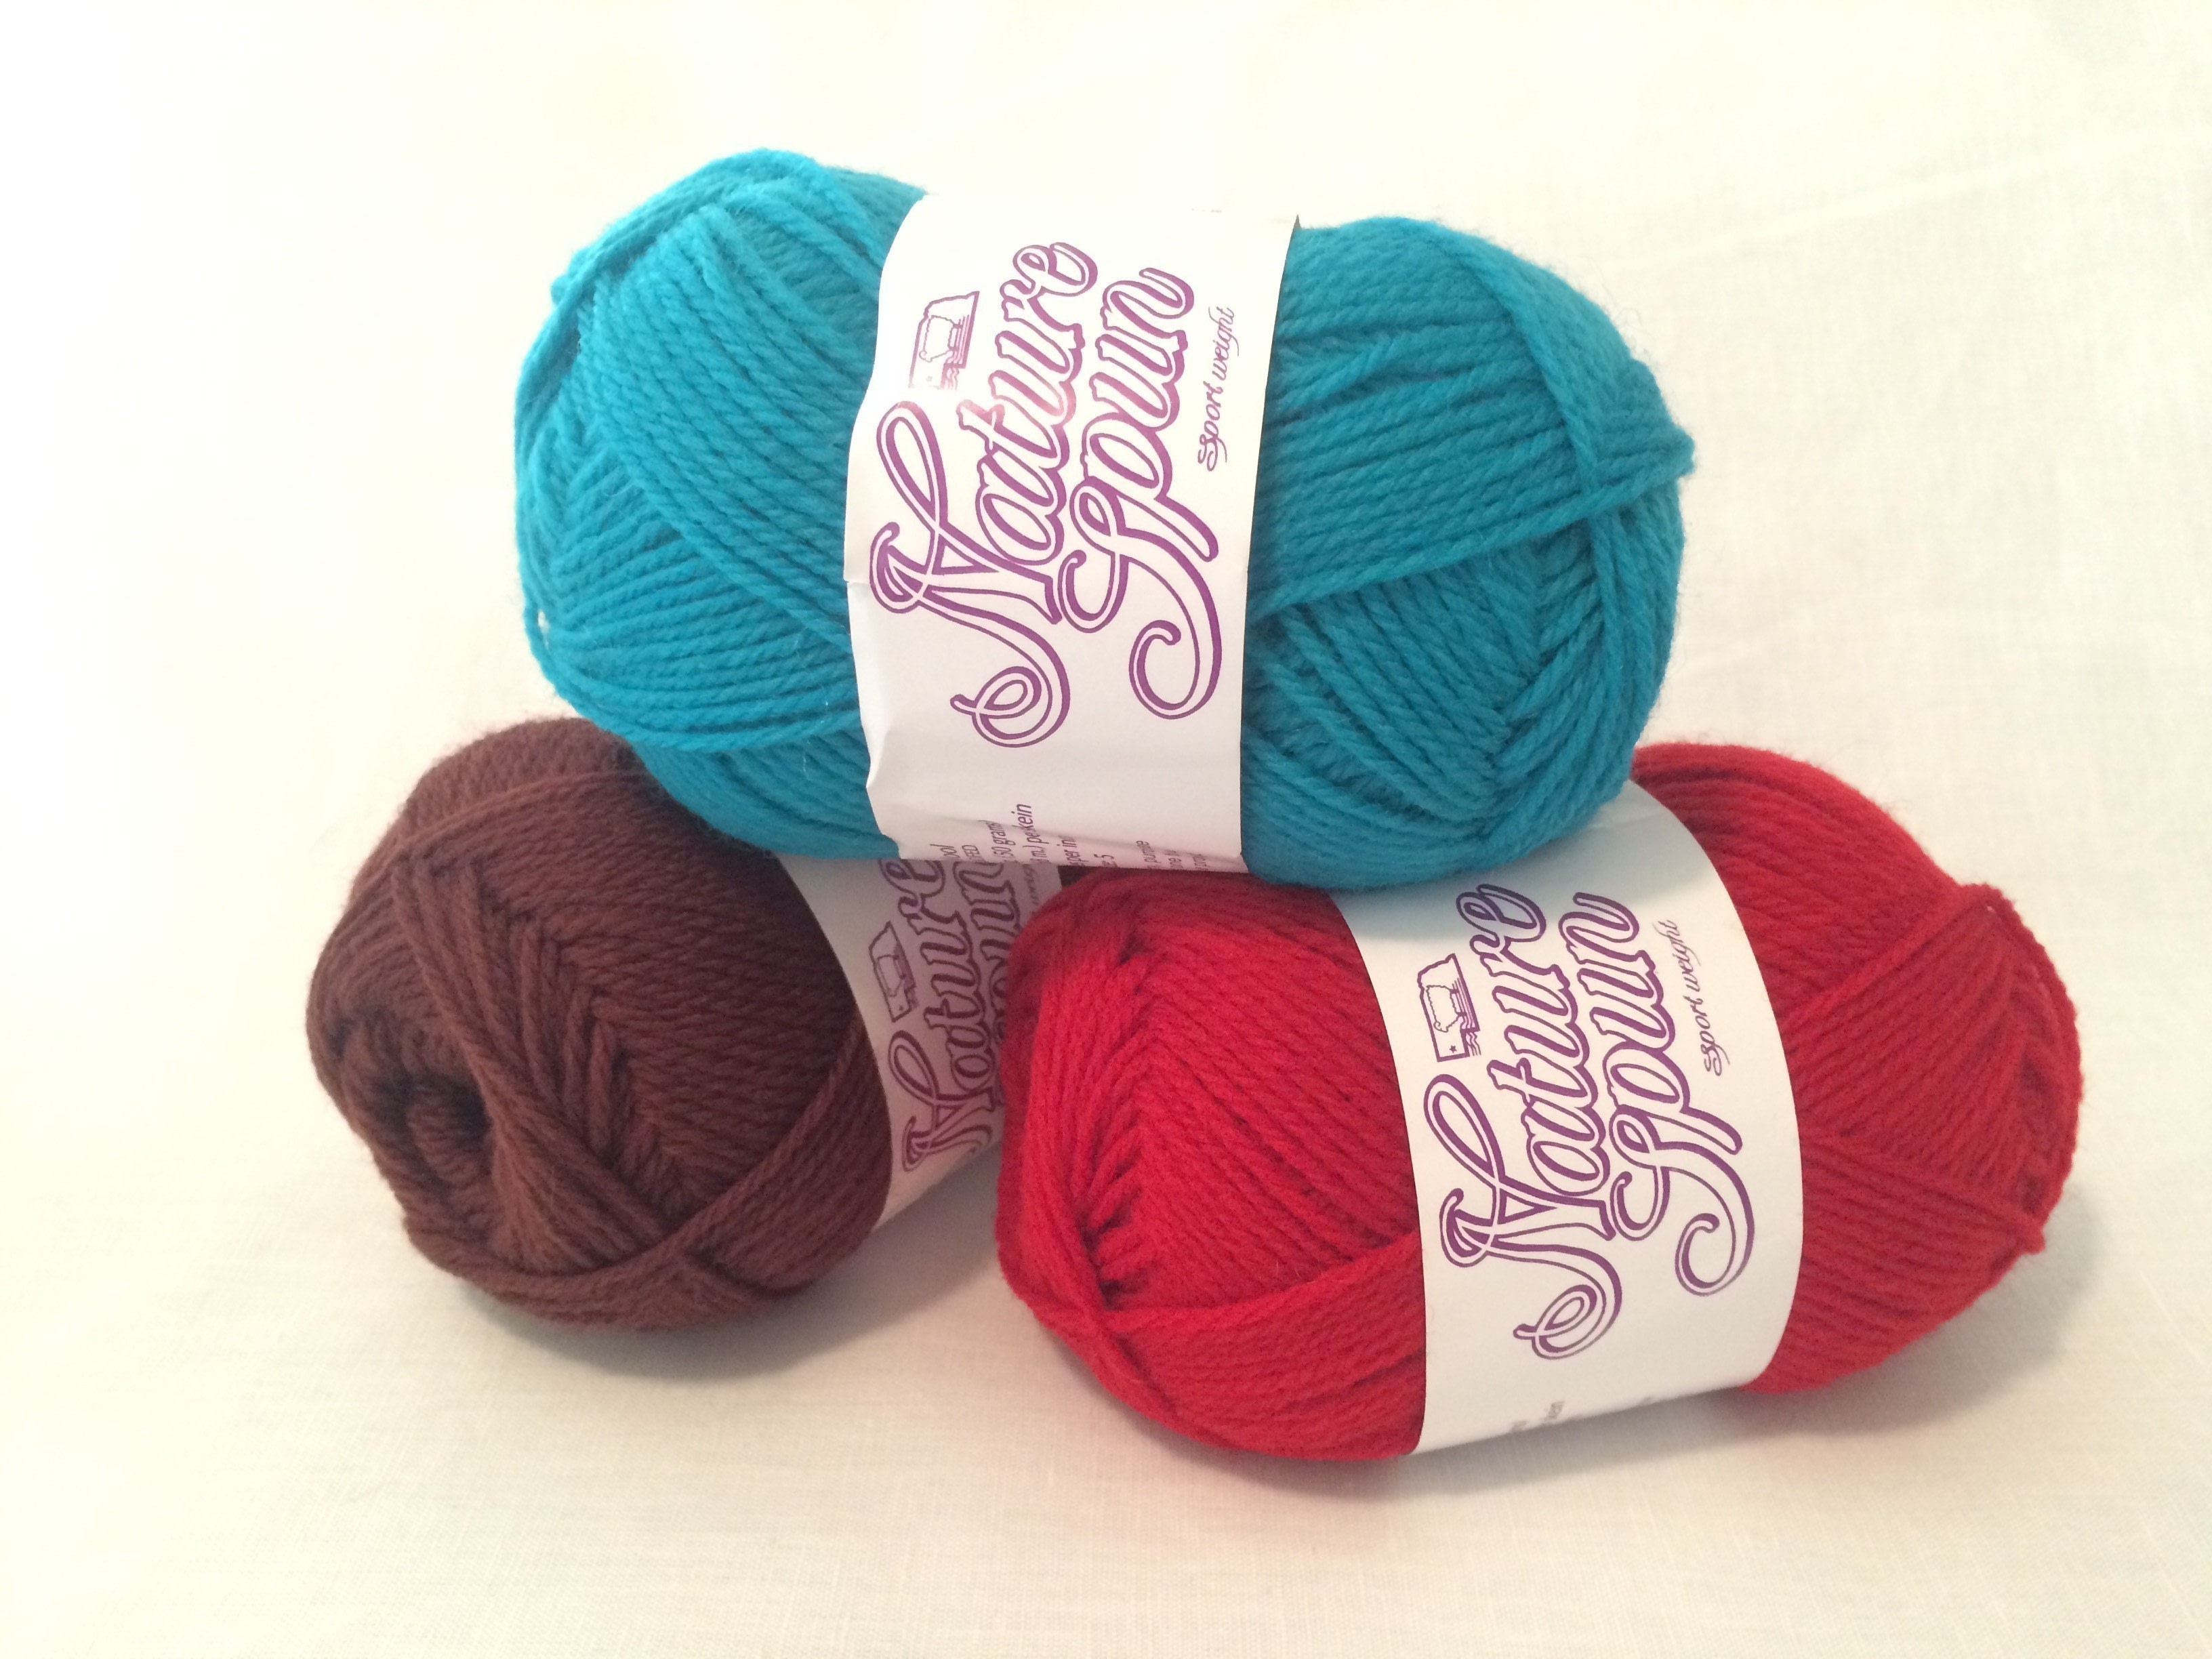
I used some worsted weight yarn in Aran to make the cover, and Brown Sheep Company Sport Weight yarn in Turqoise Wonder and Red Fox to do the cross stitching that was left over from my Thick and Quick Infinity Scarf.
You can see all their beautiful colors here
http://www.brownsheep.com/yarns/nature-spun
-
 Summer favorited Crocheted Tablet Cover
26 Jul 04:28
Summer favorited Crocheted Tablet Cover
26 Jul 04:28
-
 Maria José L. favorited Crocheted Tablet Cover
14 Nov 17:57
Maria José L. favorited Crocheted Tablet Cover
14 Nov 17:57
-
 RareJewel favorited Crocheted Tablet Cover
10 Feb 10:13
RareJewel favorited Crocheted Tablet Cover
10 Feb 10:13
-
 Nancy! favorited Crocheted Tablet Cover
27 Sep 17:49
Nancy! favorited Crocheted Tablet Cover
27 Sep 17:49
-
 Kinhime Dragon favorited Crocheted Tablet Cover
03 Aug 15:32
Kinhime Dragon favorited Crocheted Tablet Cover
03 Aug 15:32
-
 Katie P. favorited Crocheted Tablet Cover
23 Jul 02:53
Katie P. favorited Crocheted Tablet Cover
23 Jul 02:53
-
 Cassiefairy favorited Crocheted Tablet Cover
12 Jun 10:52
Cassiefairy favorited Crocheted Tablet Cover
12 Jun 10:52
-
 Pam published her project Crocheted Tablet Cover
25 Apr 09:00
Pam published her project Crocheted Tablet Cover
25 Apr 09:00
-
Step 1
Making the Cover-
With your Worsted Yarn and 5.00MM HookChain 36
Row 1- Turn and sc in second ch from hook, and in each ch across, ch 1 and turn (35 sc)
Repeat Row 1, 59 more times. (35 sc)
Row 61- sl into next 2 *sc, hdc, dc, dc, tr, dc, dc, hdc, sc, sl, sl*, repeat ** 2 more times, sl into last sc. Ch 2, turn.
Row 62- Repeat row 61, weave in tail and trim off. -
 Step 2
Sew it up-
Lay your iPad or tablet on the cover piece, then test wrapping it up and find they way you think it looks best. I left mine a little offset so I could easily pull out my iPad, but do whatever you like.
I folded mine up at Row 20.
When you have it folded like you want use a few safety pins to hold in in place and sew it together using the same yarn and the darning needle.
Then flip it "inside out" so your seams are hidden now. This is now our "right-side-out"
-
Step 3
Attach your clasps-
I used some faux leather buckle clasps I had laying around but you could use magnetic clasps or large buttons to close your cover. If you want to use buttons I suggest when your doing Row 61 to skip over each of the tr stitches, instead just ch 1 between your dc. This gives you a gap large enough to use as a button hole.
-
 Step 4
Cross Stitch-
Now with that wonderful yarn you have been saving for something, because its too nice to get trow away, but too little to make a whole project, you an cross stitch your own pretty design on top of your cover. Use each Single Crochet as a square to stitch your X on top of.
Because we turned around at the end of each row, the sc wont line up exactly straight, but its OK, because its a small project.Use your darning needle and Scrappy yarn bits to make your own design on your cover. Make it your very own, or as a gift!