


About
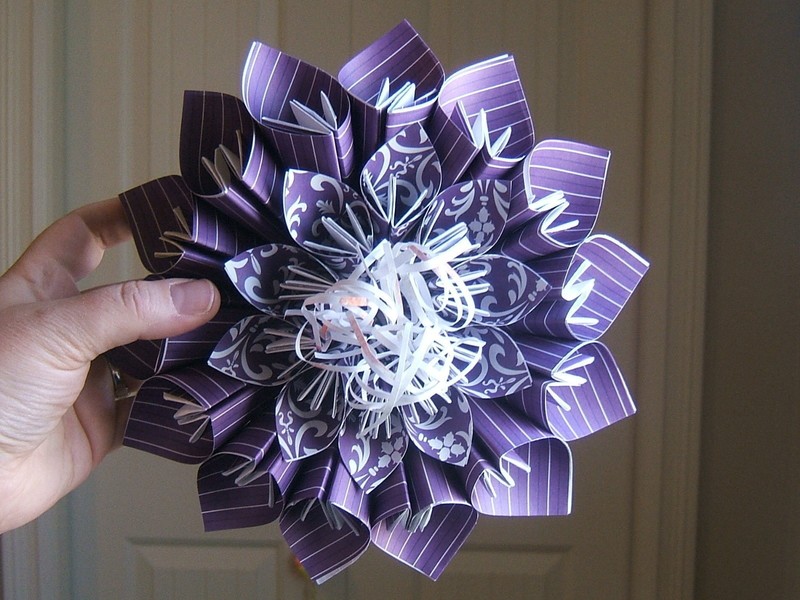
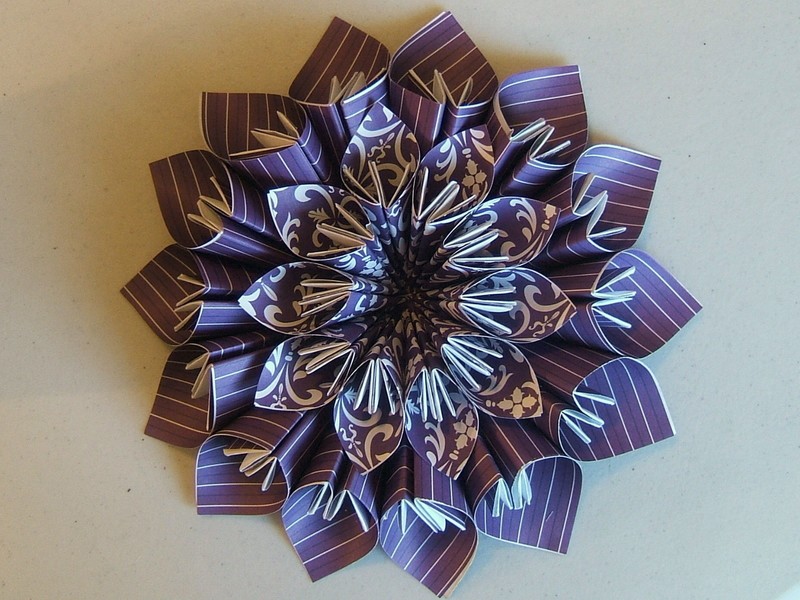
A Beautiful Holiday Wall Ornament!
Great way to dress up your home for the holidays without spending the cash.
Tags
-
 Carla H. added Create A Snow Blossom! to new ideas to sort
07 Dec 01:00
Carla H. added Create A Snow Blossom! to new ideas to sort
07 Dec 01:00
-
Carla H. added Create A Snow Blossom! to book pages/newspaper
07 Dec 01:00
-
Rebecca M. favorited Create A Snow Blossom!
05 Jan 15:35
-
 DehSpieller added Create A Snow Blossom! to To do
28 Nov 18:01
DehSpieller added Create A Snow Blossom! to To do
28 Nov 18:01
-
Lee B. favorited Create A Snow Blossom!
18 Aug 02:55
-
Rosario F. favorited Create A Snow Blossom!
18 Mar 14:42
-
Debbie V. added Create A Snow Blossom! to Paper crafting
16 Feb 03:52
-
Debbie V. favorited Create A Snow Blossom!
16 Feb 03:52
-
 MalpassB favorited Create A Snow Blossom!
11 Dec 00:57
MalpassB favorited Create A Snow Blossom!
11 Dec 00:57
-
Jessica H. added Create A Snow Blossom! to paper
24 Nov 15:45
You Will Need
-
 Step 1
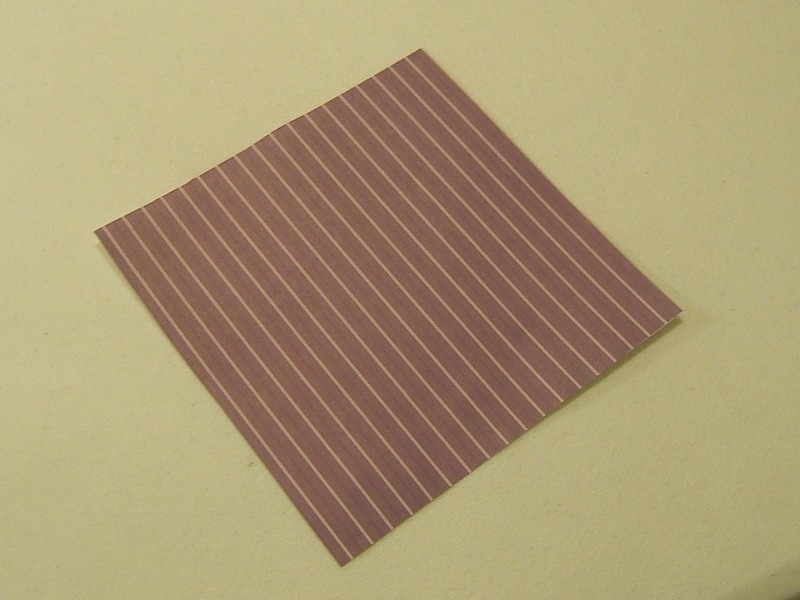
You will need 14 pieces of scrapbook paper measuring 6 inches x 6 inches.
You will need 10 pieces of a complimentary scrapbook paper measuring 4 inches x 4 inches
You will need 1/2 piece of blank copy paper for the fringed centre.
You will need 3 pieces of heavier cardstock measuring about 2 inches by two inches for the backing...
-
 Step 2
Take your piece of paper ( 6 inches x 6 inches)...
-
 Step 3
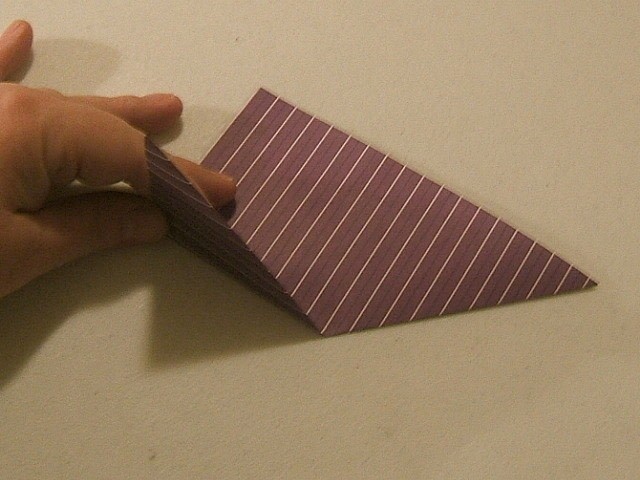
Fold it corner to corner with the patterned side facing out as shown.
-
 Step 4
Start with the left hand corner, and bring the point up to the tip of the triangle.
-
 Step 5
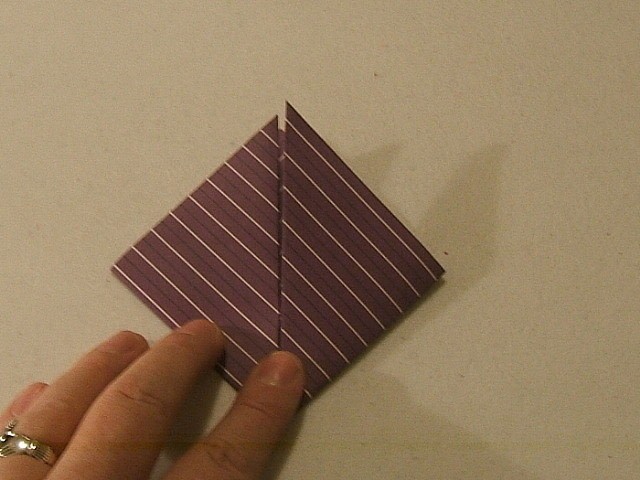
Now finish the crease as shown.
-
 Step 6
Repeat steps 4 and 5 for the other side...like this.
-
 Step 7
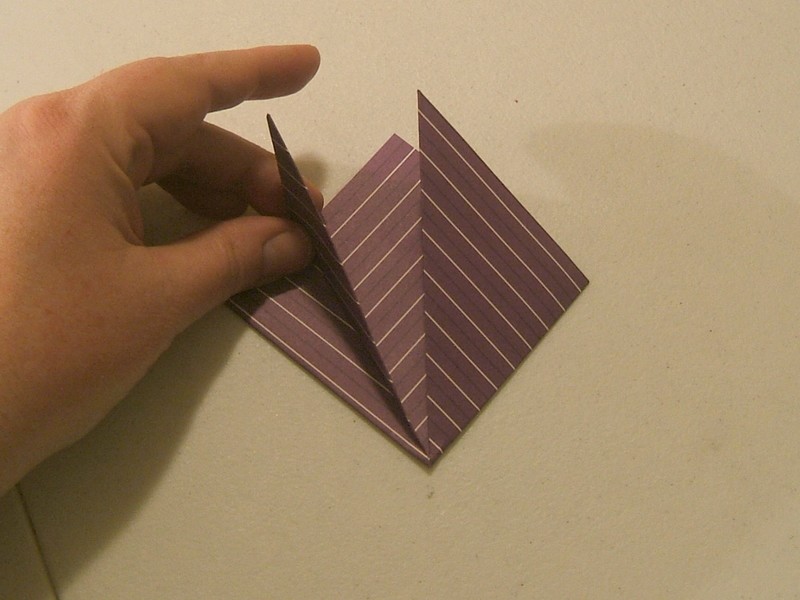
Start with the left hand side again, pulling the flap back on itself as shown.
-
 Step 8
Complete the crease as shown, repeat steps 7 and 8 for the other side.
-
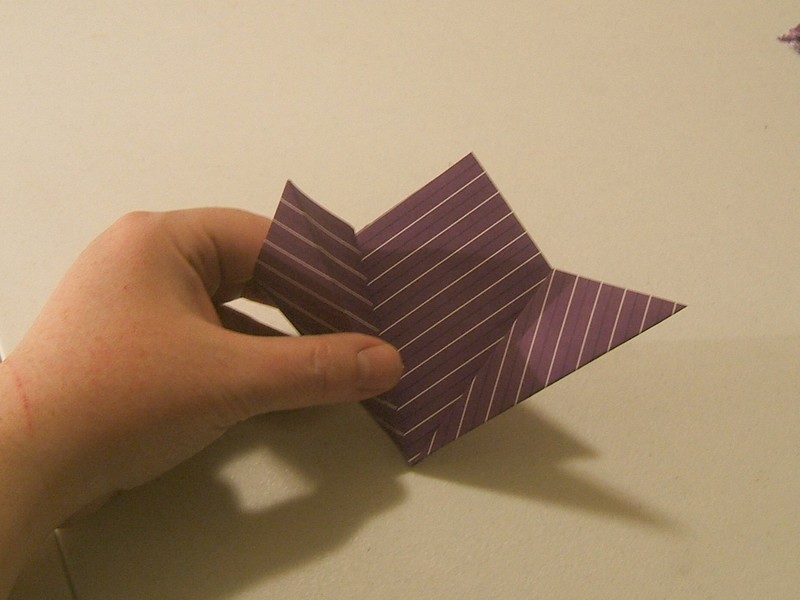
 Step 9
Here we are...this is what your module should look like now. :)
-
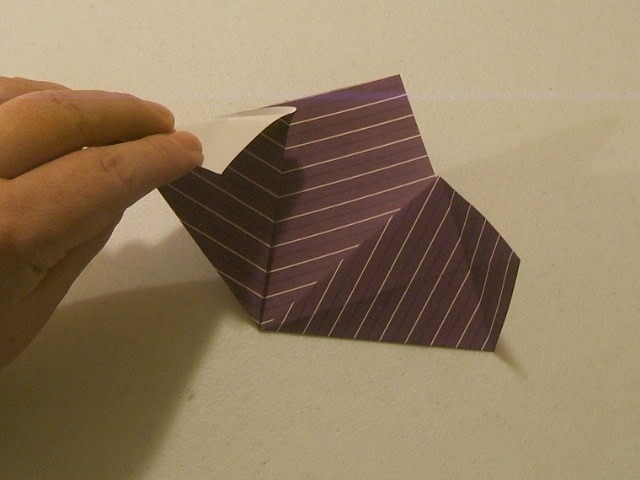
 Step 10
Now stick your index finger inside the left flap as shown.
-
 Step 11
...and flatten out like this. Do the same for the right side.
-
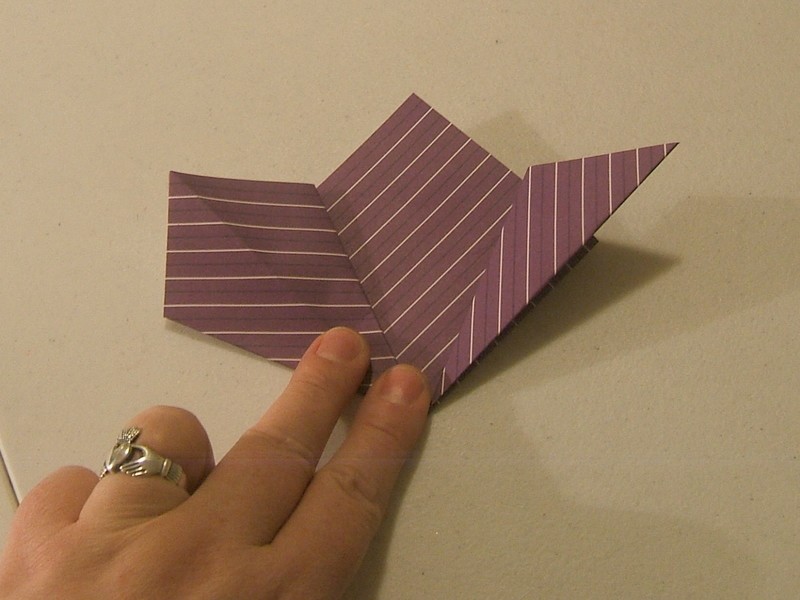
 Step 12
Okay, this is what you should have so far.
-
 Step 13
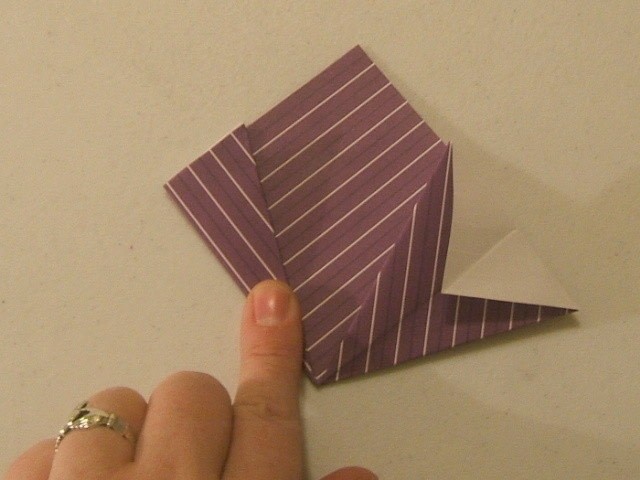
Left flap again...Simply fold down the tip as far as it will go. Crease.
-
 Step 14
Fold down the tip on the right flap as far as it will go. This is what your module looks like so far.
-
 Step 15
Left flap again...See picture...fold up the left half of the flap.
-
 Step 16
Just like this.....
Let's do the other side... -
 Step 17
Okay...this is what your module looks like now.
-
 Step 18
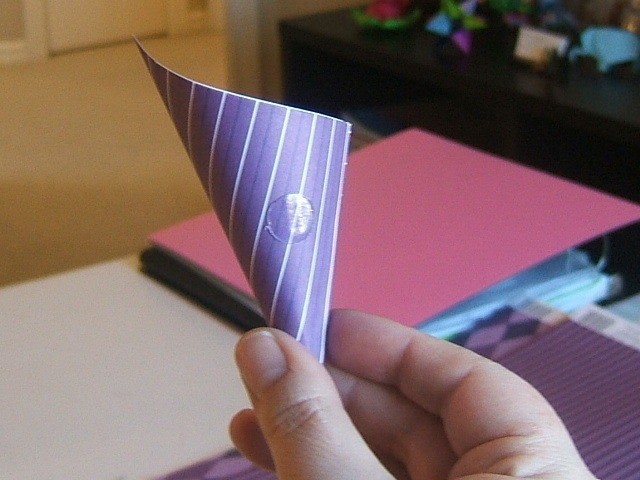
Add a glue dot to the left flap...Do you see it?
-
 Step 19
Start bring the flaps together as shown. The glue dot creates an instant bond.
-
 Step 20
Congrats! You've made your first model....now make another one.....
-
 Step 21
Now add a glue dot to the side of the module shown here.
-
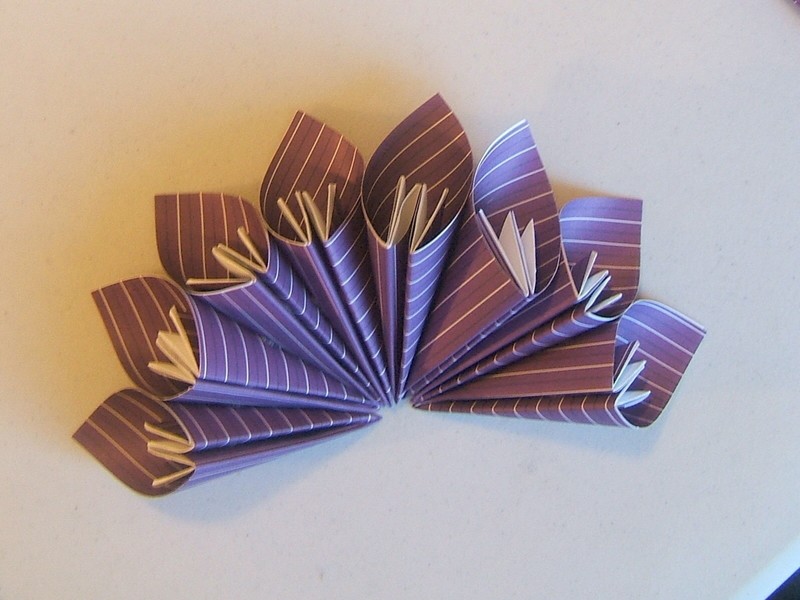
 Step 22
Stick the two together. Continue until you make a complete circle which will be a total of 14 modules.
-
 Step 23
Keep Going....
-
 Step 24
Great job! Now lets reinforce the back a little bit....
-
 Step 25
Take a 2 inch x 2 inch piece of heavy cardstock and put a couple pieces of double sided tape on it.
-
 Step 26
I stuck a slightly smaller piece on top of it (so you could easily see) and reinforces the project.
-
 Step 27
Add double sided tape to the other side of the bright pink piece of card stock, and stick it directly onto the back. Nice and strong! :)
-
 Step 28
Let's use our complimentary paper now in 4 inch x 4 inch squares...You will need a total of 10 modules to complete the inner ring....
-
 Step 29
Here we go...same strategy as before to create these modules....
-
 Step 30
Using a glue dot to the back of the module and to the side of the module (to stick these guys together to themselves AS WELL AS to the larger ring) complete the small ring...
-
 Step 31
Keep going....
-
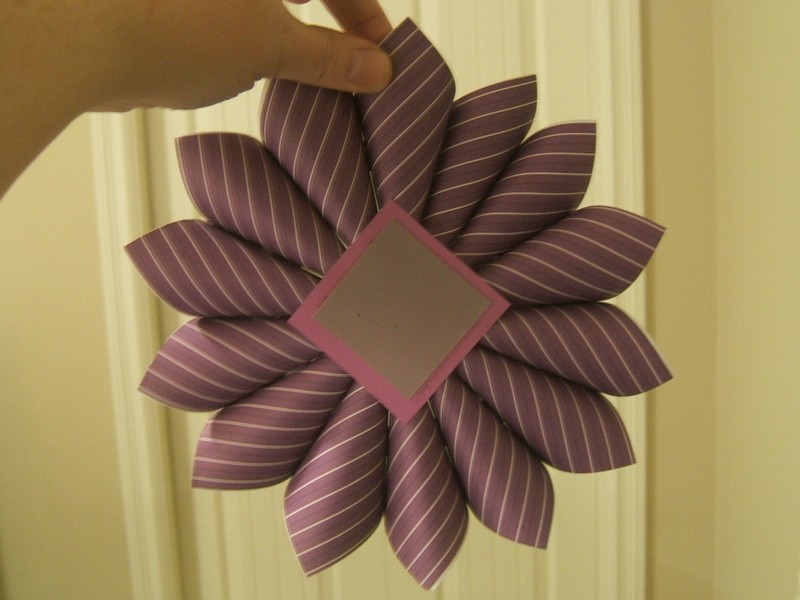
 Step 32
There we go! Inner ring finished...Now for the centre....
-
 Step 33
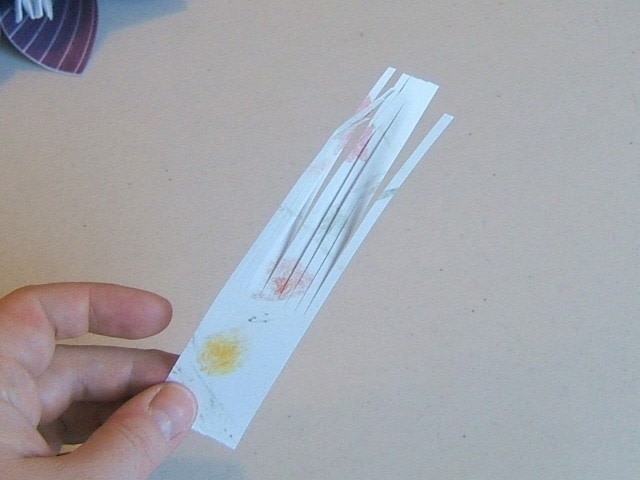
Using a strip of copy paper....create a fringe by cutting very thin strips about 2/3 of the way down as shown.
-
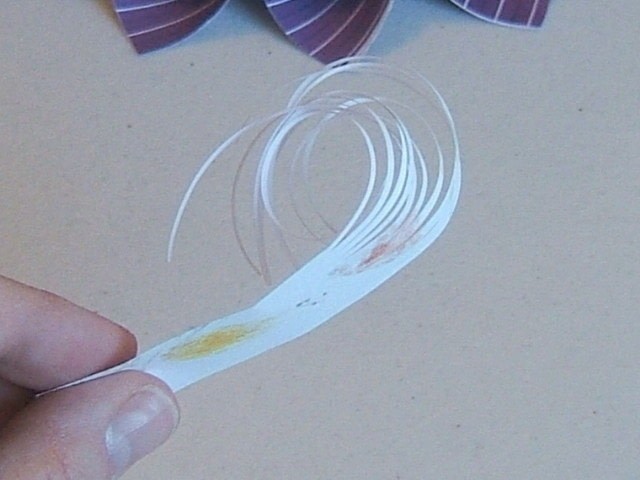
 Step 34
Using your scissors, curl the fringed paper.
-
 Step 35
Twist the uncut portion of the paper in a tube as shown. Use double sided tape to hold it in place, and then stick inside the centre of your snow blossom...make about three of these.
-
 Step 36
Ta Da! You did it...Now for the ribbon....Turn over snow blossom...
-
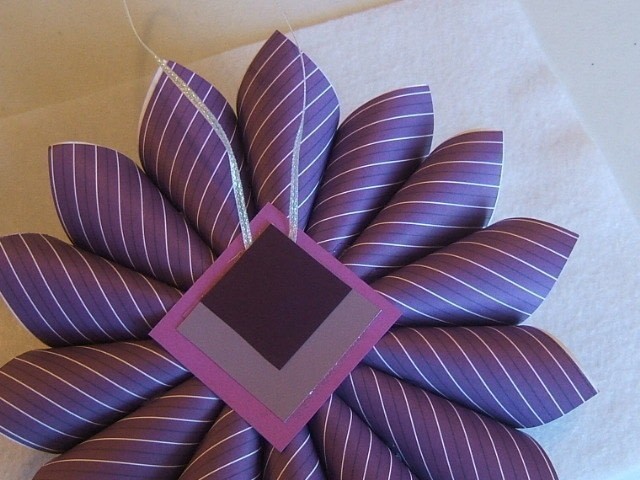
 Step 37
Add double sided tape, and stick decorative ribbon to it as shown.
-
 Step 38
Add sa smaller piece of cardstock to the back to nicely hide the adhered ribbon. :)
-
 Step 39
You did it! I hope you enjoyed this tutorial. :)
Lanie


CO + K User
thank you for your great tute you've made, and the sharing, i'm becomming a big fan of yours.LOL;-D !!!!