
About
From Clay to Kiln
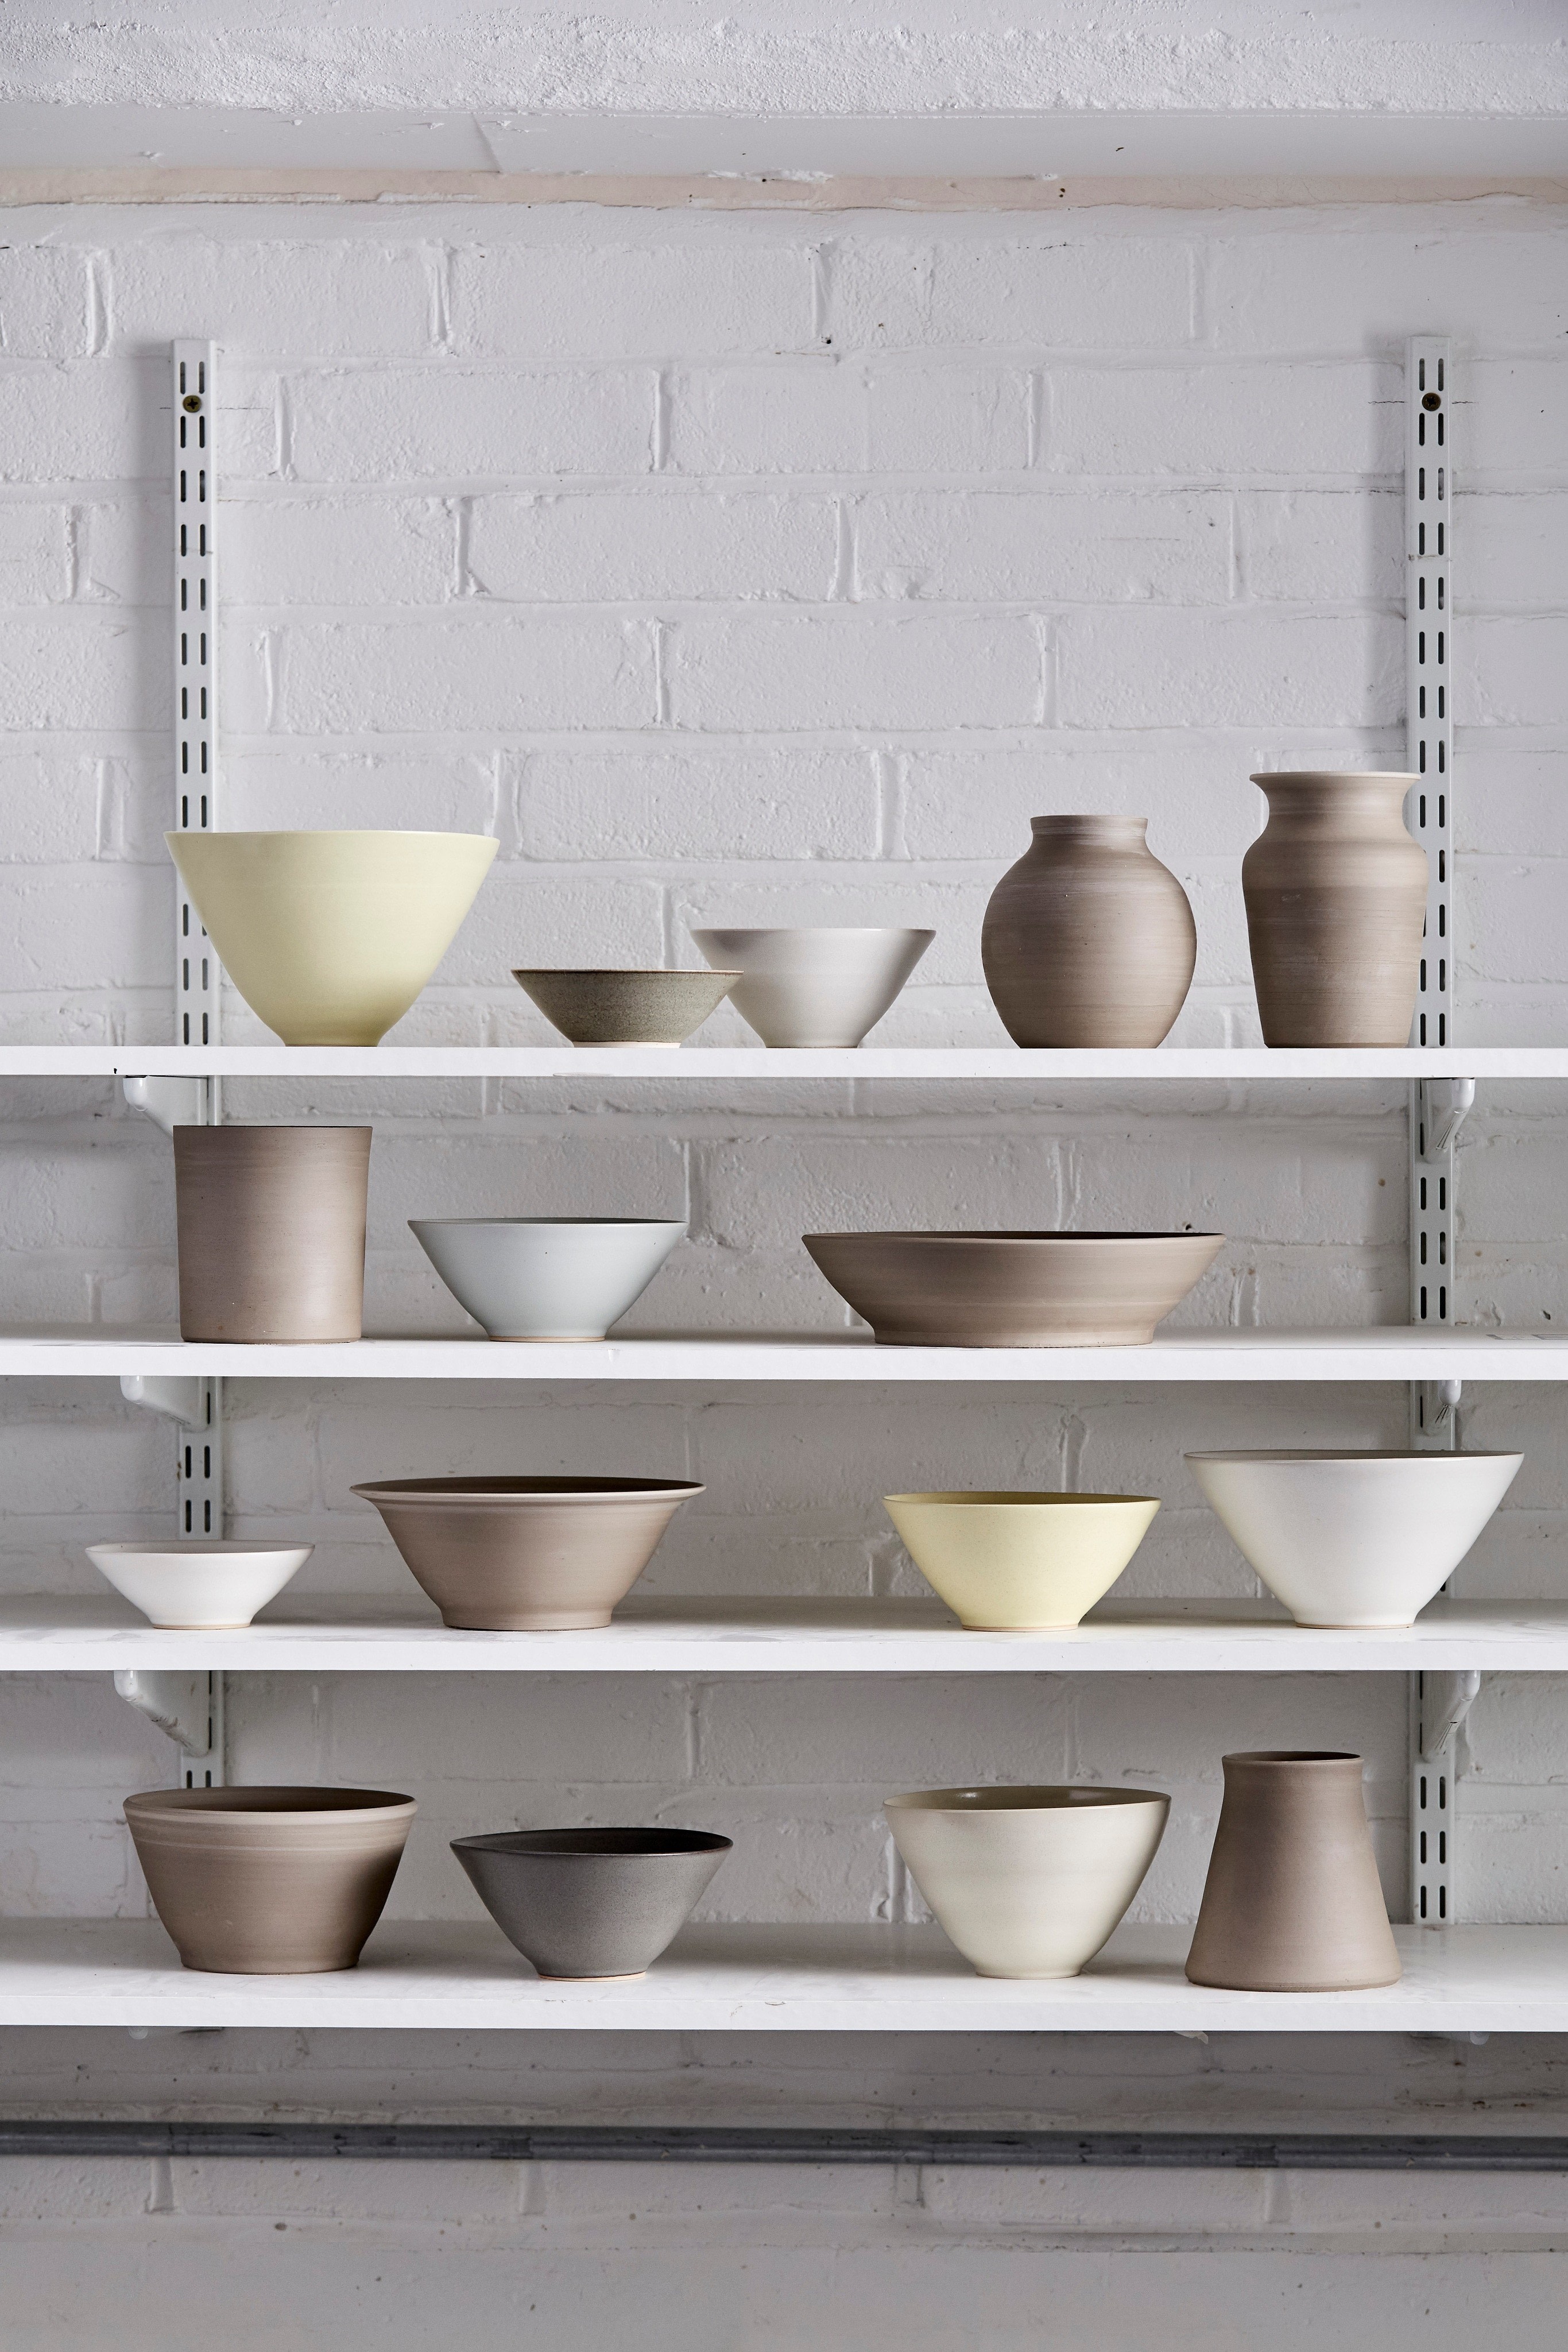
A bowl is perhaps the most common form in functional ceramics. It comes in all shapes and sizes, from a cup to a sink, but the theory behind its form remains the same: it is practical and ergonomic, an open vessel and a functional container.
Some of my favourite pots are housed in the British Museum’s Korean Collection. Although they are 2,000 years old, they use exactly the same principles and tools as we do today. Technology has moved on light years since then, but only the addition of a motor to a wheel has changed the technique. Those finely thrown bowls have seen generations come and go, yet still have the same strength and resonance today as they did when they first came out of the kiln.
It’s worth having a good think about what it is you want to make before you get started, as the design of your form will alter your starting position. I like to throw thin, delicate tableware, and the following method is an example of how to get the most from your clay. If you want to make something with a little more robustness, strength or weight, I suggest you try to make a thin bowl first so you see where it needs strength and weight for balance. Then increase the weight of clay you use without increasing the scale of the bowl. This way, you will truly understand the form and make considered choices.


You Will Need
-
 Step 1
1 Going in
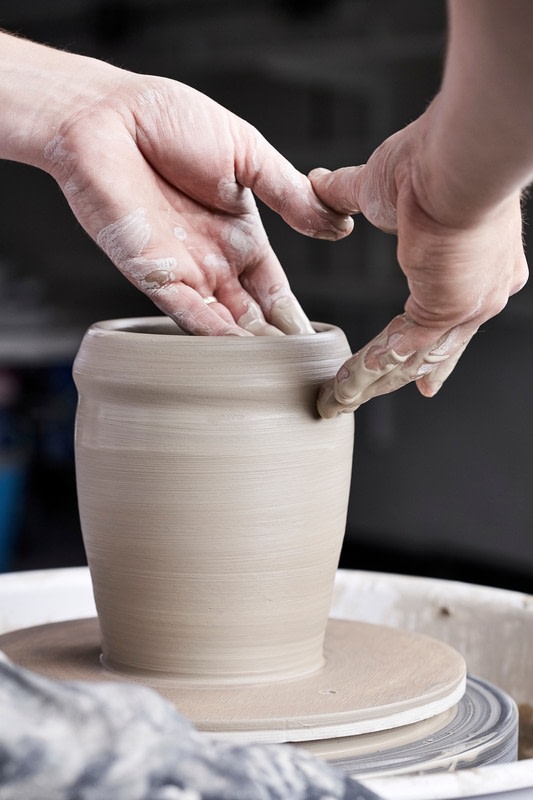
Using ‘Pint Glass’ and ‘Cub Scouts’ hand positions
This first stage is the same as that used for a cylinder, but use three fingers to create the hole. Using your left thumb as a bridge to support the right hand, run three fingers in towards the centre of the clay. Remember: send the scouts over the bridge to find the middle. Gently apply pressure until you feel a small point running between your index and middle fingers. Take time to be certain you’re in the centre of the clay.
Apply pressure from the pads of your fingertips, not the ends. The ends of your fingers will bend back slightly as you press the clay. This creates compression. It takes quite a lot of force and will feel strange the first time you do it properly. You need to be sure the clay is squeezed down into the base, as this makes it much stronger and will stop it from cracking later. Try to make the base 1–1.5cm (½–5⁄8in) thick, depending on whether it will be turned or not. The thicker the base, the better for turning, particularly if you intend to make a foot ring. -
 Step 2
Opening out
Once the centre has been pushed down to the correct depth, swing the ‘Pint Glass’ left hand around so that it is directly in front of you at the 6 o’clock position (2a). Keep the pads of your inside fingers flat against the clay and start to pull both hands, as one, back towards you. Your fingers will bend back slightly at the tip, forming a perfect curve as the bowl reaches the desired width. -
 Step 3
Gently pull your inside fingers up the wall to continue the curve of the inside wall (2b). Be careful not to squeeze your left and right hands together at this point.
-
 Step 4
Cleaning and Compressing the base
Hold a sponge with your right thumb against the inside of your fingers. Press the sponge into the base and allow the end of the sponge to sit under your fingertips to increase the surface area of the fingers’ pressure. Work back and forth over the curved interior near the base, applying enough pressure to compress the clay but not so much as to thin the base.
-
 Step 5
Lifting up
Using ‘Crab Claw and Trigger Finger’ hand position
This first stage of lifting is very similar to that used for a cylinder, as you want to lift the weight out of the base straight up the wall. Try to keep the form contained, but don’t worry if it flares out a little as it will be opened up eventually anyway. With a medium wheel speed and the outside index finger, gently squeeze towards the inside index finger. Apply firm pressure at the bottom where you are also pushing against the base of the pot. This is particularly tough in a bowl because the interior is curved, which leaves more weight in the bottom. Try not to spoil the curve on the inside and make sure that most of the applied pressure comes from the outside.
Start from the very bottom of the wall and squeeze gently as you draw your hands slowly upwards. It will be easier to lift the clay as you move up the wall; be sure to use measured movements so that the thickness of the wall will be even. Repeat this two or three times before changing hand positions.
-
 Step 6
Weight lifting
Using ‘Tip to Tip’ hand position
This step will help you get the most from your clay and avoid as much trimming as possible later on. If you do not intend to trim the pot, it is vital to get as much weight as possible out of the base at this stage. Start by undercutting the base by holding your right middle finger with the nail against the spinning wheel.
-
 Step 7
Place your left fingers against the inside of the pot. Mirror this with your right hand on the outside. Try to touch your thumbs together where possible to stabilize your hands and make them move as one unit. Do not try to ‘lift’ the clay, as it will pull off. Instead, with the pad of your right middle finger, squeeze firmly inwards against the middle finger on your left hand.
-
 Step 8
Gradually move your hands up the wall, attempting to keep your hands and arms as steady as possible. Allow your inside hand to lead your outside hand by just a fraction. Bear in mind that, as you move up the wall away from the base, you will need less pressure because the clay is thinner. Again, try to maintain the internal curve in the base. You can allow the clay to flare out slightly with each lift.
NOTE Leave enough thickness in the wall at this stage to continue the thinning process in step 9.
-
 Step 9
Opening out the bowl
Using ‘Tip to Rib’ hand position
Before opening the bowl out, it’s a good idea to compress the rim a little. To do this, hold the rim between the index finger and thumb of your left hand and, using a sponge or a finger on your right hand, push the rim down and in.
To open the bowl in three movements. I like to use a square iron kidney and hold it in my right hand, but you can form a straight ‘rib’ by aligning your fingertips. Either way, you want to cover a fairly broad surface area on the outside to support the wall and prevent it from buckling.
Place the rib vertically on the outside of the pot, with your right hand at the 3 o’clock position on the wheel face and the fingers of your left hand on the inside. Push the wall out by one-third of the way to its final width. Repeat this step twice.
-
 Step 10
With your inside hand, push it against the outside hand. Draw the two hands up the sides of the bowl. Do not panic at the rim. It may seem as if it is turning in over your fingers, but just keep going and the clay will follow. You are only shaping the bowls, so there should be no squeezing.
-
 Step 11
TIP Watch that the rim isn’t getting too thin – a little compression between pushes can prevent splitting.
-
 Step 12
Finishing the inside
Using ‘Back-handed Kidney’ hand position
Once you have the outside form as you want it, hold the curved edge of a kidney on the inside wall to create a seamless curve (where desired) between the base and wall. Placing your right hand in the left side of the bowl gives you more dexterity in the wrist. The clay will pull off the rib backwards, but this gives you greater control of the curve. You may want to set up a mirror behind the wheel so you can see the curve in profile. This will save your back by preventing you from leaning over. If your rims turn in during drying, this is a good opportunity to push them out slightly to combat this common problem.