


About
Ceramics for Beginners
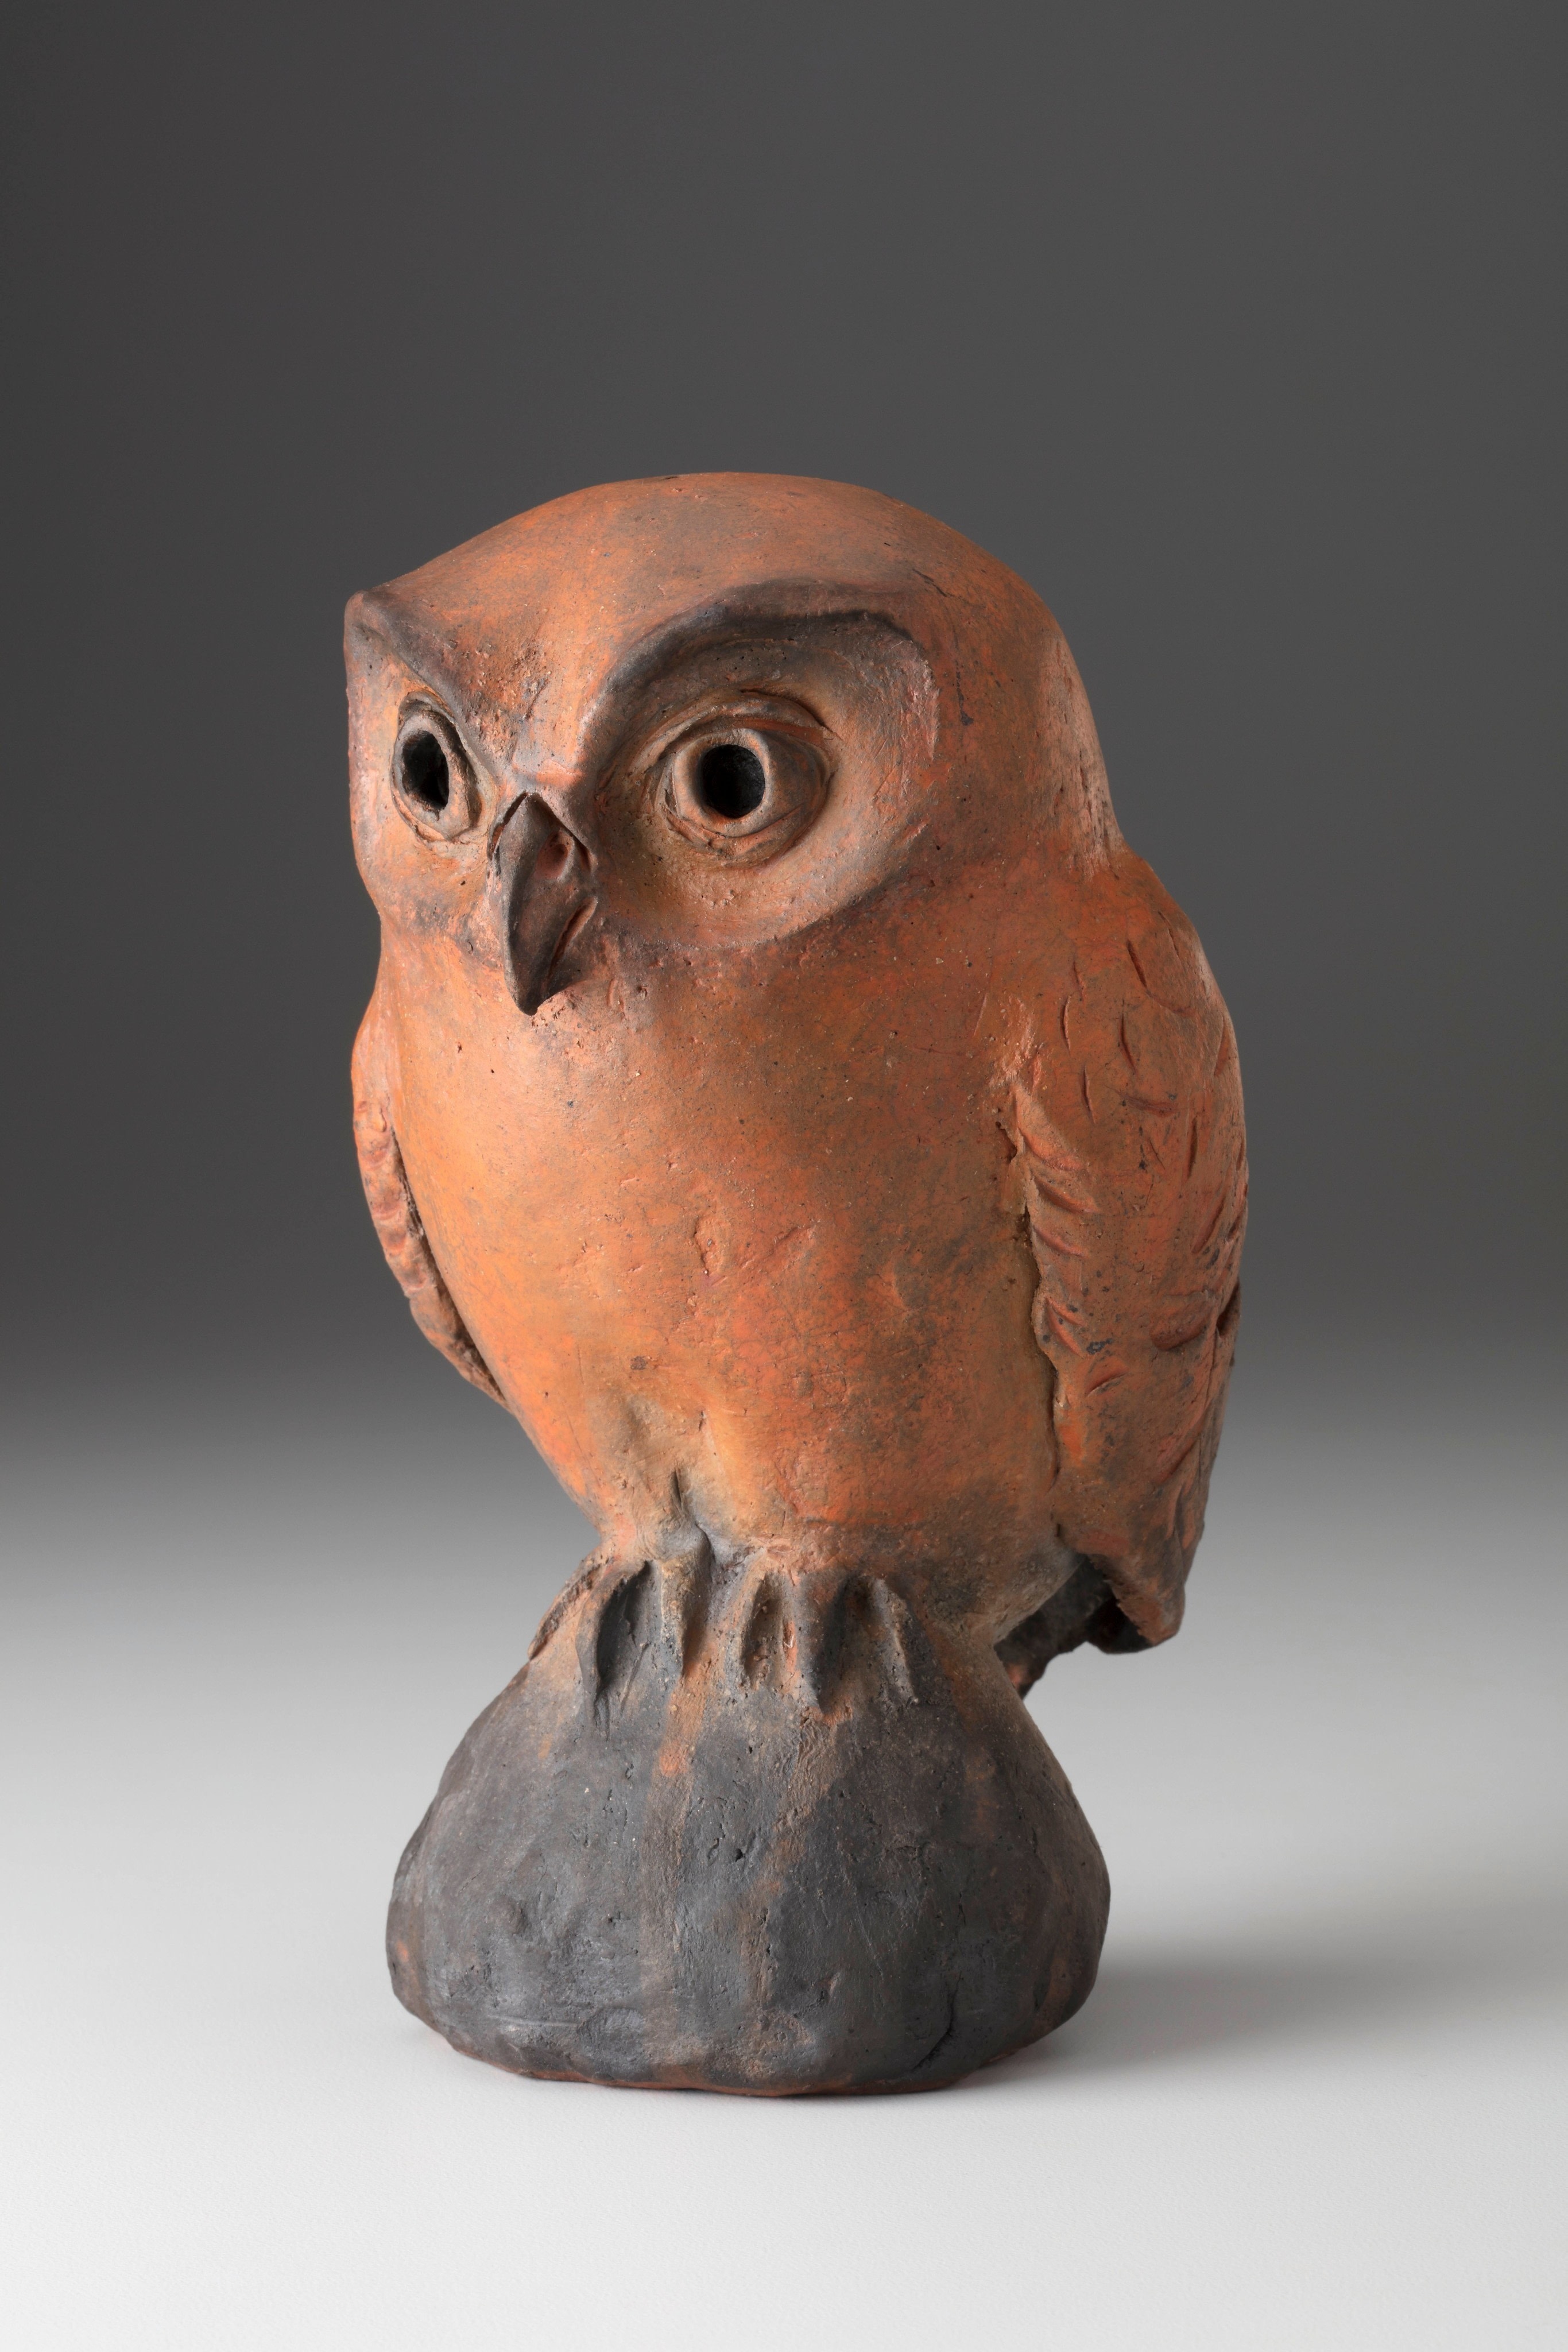
The distinctive shape of this owl is made of a few key elements: an egg-shaped body, large round eyes, and a short pointed beak. These simple visual characteristics make the owl an easy and exciting subject to make. Your owl will begin to emerge very quickly—as soon as you make the eye sockets, your owl will already be staring back at you.
Tags
© 2024 Susan Halls / Lark Crafts · Reproduced with permission. · Ceramics for Beginners, Susan Halls, Lark, £21.99, available from www.thegmcgroup.com
-
 Search Press published her project Ceramic Owl
05 Oct 09:00
Search Press published her project Ceramic Owl
05 Oct 09:00
You Will Need
-
Step 1
To form the owl’s body, make an egg-shaped composite two-piece pinch pot. Pinch a rougher, less refined pinch pot. You will invert it to create the owl’s perch. I like keeping the perch simple and making it look like a rock, but with a few softly drawn lines, you can turn it into a log or tree trunk. Make the pinch pot for the perch thicker throughout to lend some stability to the piece. Let both shapes dry or use the heat gun until they are almost leather-hard.
Join the bird’s body to the base with slip. The fuller, rounder end of the two-piece pinch pot will form the head of the bird. You may need to reinforce the joining area by smoothing in a coil of clay at the base of the body. Make sure the piece balances on its own. If it is wobbly, try gently leaning the body in the direction that helps center its balance and check that the bottom edge of the base is level. If your base is uneven, gently tap it on your work surface to help even it out. -
Step 2
Use a serrated modeling tool to define the shape of the head, and add some subtle definition between the head and the body. You can continue this shaping and carving later, but it’s helpful to get started now. Use the modeling tool or a potter’s knife to smooth out any unwanted texture.
-
Step 3
Press in the eye sockets, using your thumb or finger. Leave a ridge of clay between the eye sockets to leave space for attaching the owl’s beak.
-
Step 4
Place a small ball of clay into each socket and smooth each one in with slip, taking care not to flatten the ball completely. Press the end of a rounded stick in the clay ball to add pupils to each eye—make them nice and deep to make them stand out. With the rounded edge of a flat craft stick, press in the lines for the top and bottom eyelids.
-
Step 5
To make the beak, form a small, wedge-shaped cone with a very pointed tip. Brush on some slip, and press the bottom of the cone firmly into the ridge between the eyes. Using a stick or modeling tool, draw in the lines that separate the upper and lower beak. Make the nostrils by pressing the tip of a stick into the base of the beak.
-
Step 6
Add eyebrows by placing a short, tapered coil of clay on the edge where the top of the head and the upper eye socket meet; then brush on some slip. Smooth it in, being careful not to lose any definition.
-
Step 7
Form the tail flap by rolling a long, slightly tapered piece of clay. Make one end thicker than the other, and then trim the tail flap to your desired length. With a modeling tool, draw in some soft vertical lines to depict the tail feathers.
-
Step 8
Apply some slip and attach the thicker end of the tail flap halfway up the owl’s back. Smooth in the join until the seam is no longer visible.
-
Step 9
The wings are made with similar shapes. Roll two pieces of clay. Make the joining end of each piece thicker, and curve the other end slightly inward so that the final shape resembles a comma. Press in the tips of various tools to create feathery details. Set the wings high up on the side of the body and wrap them around the body so they look curved. Join them with slip.
-
Step 10
Using your thumb or finger, make an indentation near the base of the body, just above the perch, to define the owl’s legs.
-
Step 11
You will add three toes to the front of the piece. (While owls have four toes in total, the last one is hidden in the back.) Start by smoothing two pads of soft clay into the base of the owl’s body with slip. (You could also cut each toe from a strip of clay, but I prefer this method for a softer and subtler appearance.) Press in a wide stick to separate the toes and spread them out—you want to avoid having them look like the tines of a fork. The middle toe should be longer than the outer two. Pierce a hole inside the base, making sure it goes all the way through the bird’s body.

