About
Make a Caterpillar Bracelet with Bead In Hand in Oak Park, Illinois
This bracelet is easily adapted for women and men. It can be made to look fun and funky or elegant and classy. The design can even be turned into a necklace. Enjoy!
Suitable for ages 9 and up.
Requires:
• Manual dexterity
-
 Erin B. favorited Caterpillar Bracelet
01 Aug 05:34
Erin B. favorited Caterpillar Bracelet
01 Aug 05:34
-
 LJRcreatives added Caterpillar Bracelet to Colorful Summer
12 Jul 18:49
LJRcreatives added Caterpillar Bracelet to Colorful Summer
12 Jul 18:49
-
 Racheal D Ayers added Caterpillar Bracelet to My Future Projects
17 May 21:07
Racheal D Ayers added Caterpillar Bracelet to My Future Projects
17 May 21:07
-
Racheal D Ayers favorited Caterpillar Bracelet
17 May 21:06
-
 Wild A. favorited Caterpillar Bracelet
03 Apr 22:02
Wild A. favorited Caterpillar Bracelet
03 Apr 22:02
-
 Crafterella featured Caterpillar Bracelet
29 Mar 23:00
Crafterella featured Caterpillar Bracelet
29 Mar 23:00
-
Deb E. favorited Caterpillar Bracelet
23 Mar 22:56
-
 RareJewel favorited Caterpillar Bracelet
23 Mar 20:29
RareJewel favorited Caterpillar Bracelet
23 Mar 20:29
-
 Kimberly Humphrey published their project Caterpillar Bracelet
23 Mar 09:00
Kimberly Humphrey published their project Caterpillar Bracelet
23 Mar 09:00
-
 Step 1
TIPS TO GET YOU STARTED
WAXED LINEN
Waxed linen is stiff enough that it can be used without a needle to string on your beads. If the tip loses its “pointiness,” twist the end between your fingers to tighten it back up. You may need to trim the end on occasion if twisting doesn’t work. -
Step 2
REMOVING OR ADDING LINKS
Rolo chain is very strong, but the links are not soldered and therefore can be opened and easily removed or added back in. This is easiest using two pair of chain nose pliers, but any strong tool that can grip and pull will do...
-
 Step 3
• Find the “seam” in the link you want to remove
• Insert pliers on either side of the seam -
 Step 4
• Pull the link until the seam opens enough to slip it off.
-
 Step 5
• To add a link back on, slip it back over another link in the chain and push closed.
-
 Step 6
WORKING SURFACE
Work on a flat surface. A bead mat is ideal, but any soft cloth will be fine.To be sure the chain stays in position as you work, leave it flat on your work surface.
-
 Step 7
POSITIONING THE CHAIN
The key to this bracelet is keeping the chain “upright” and straight as you work. For this pattern, let’s give the links names.
• Links that are perpendicular to the work surface are UP links
• Links that are parallel to the work surface are SIDE links.
You will start with an UP link, and finish with a SIDE link (you’ll understand why when you finish). -
Step 8
INSTRUCTIONS
Adding Beads
You'll add beads along one entire side of your bracelet, then do the second side. The beads sit next to the UP links, kind of nestling in them, while the cord goes through the SIDE links -
 Step 9
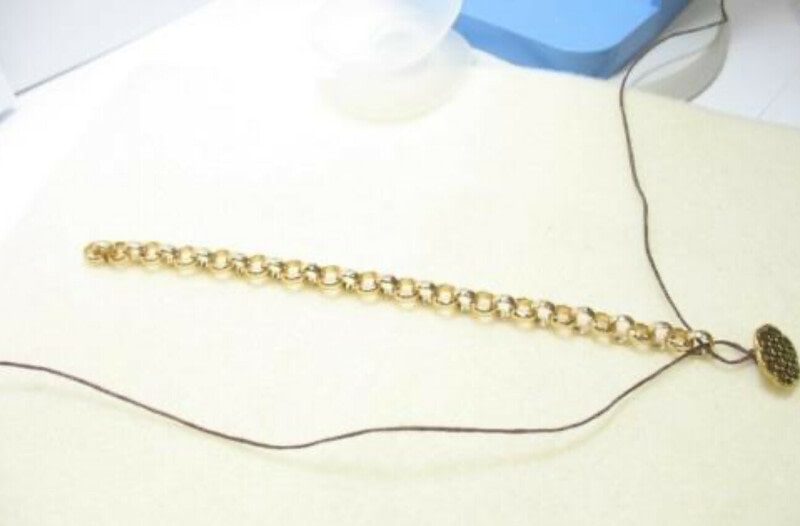
1. String the button on the waxed linen and center it, then tie an overhand knot close to the button. You can use a shank button (as in this photo) or a sew-through button.
-
 Step 10
2. Bring both cord ends through the first link of the chain
in opposite directions (remember, the first link is positioned so it is an UP link). Pull the cords snug. Not super tight -- just snug. -
 Step 11
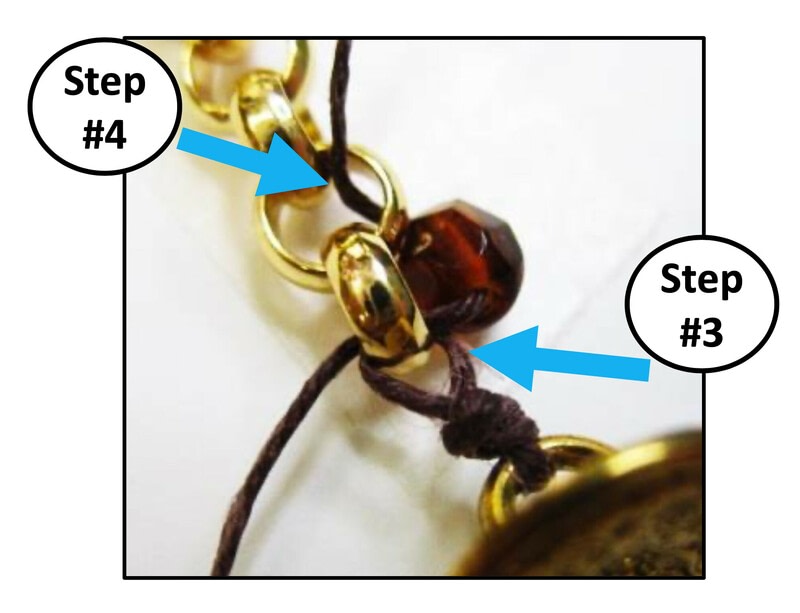
3. String one bead onto your waxed linen and push it all the way down the cord so it is close to, and kind of sitting in, the first UP link.
-
 Step 12
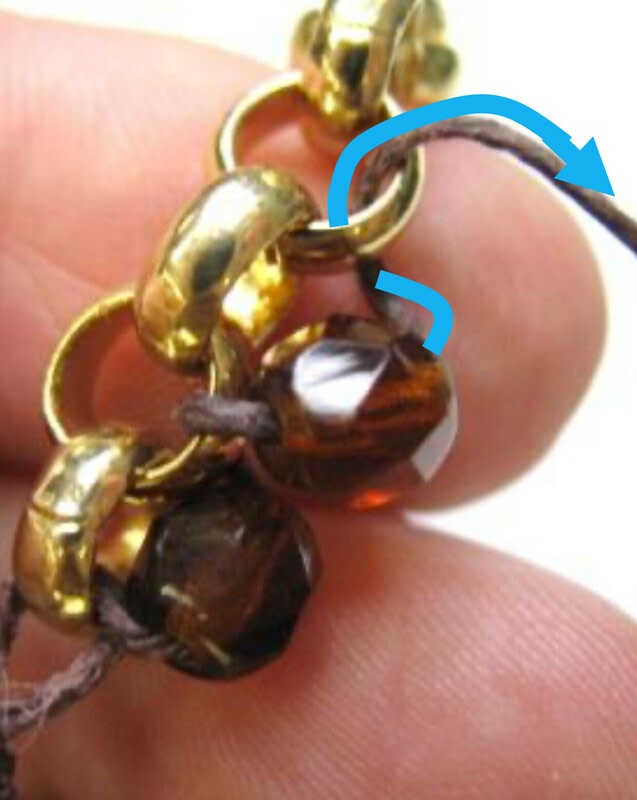
4. Bring the cord UNDER and through the next link of chain, which is the SIDE link.
-
Step 13
5. Pull the cord snug and adjust the bead as necessary so it sits close to its link
-
 Step 14
That's the basic step!
6. Repeat steps 3 to 5: Add another bead, adjusting it if necessary so it sits snug against the UP link, and bring the cord under and through the next SIDE link.
In other words, the beads and cord alternate every other link.
Continue until you've finished one side.
-
 Step 15
Side Two
Keeping your bracelet flat, continue by adding one bead and bringing the cord under each side link, as you did for side 1.
Note: Keep the chain in the same position on your work surface as you had it for side one. This ensures that the cords are threaded through the links symmetrically on each side and avoids creating a slight “twist” to the bracelet. -
 Step 16
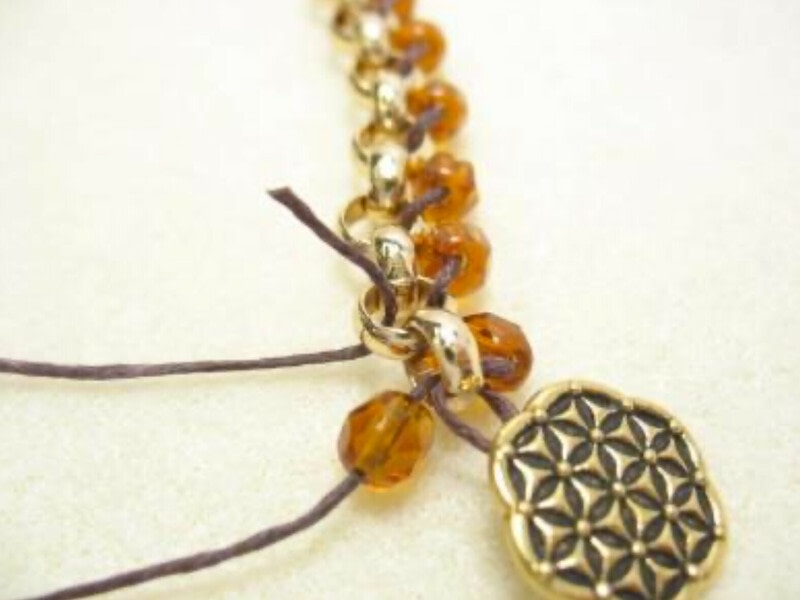
Correct: Here you can see that each cord goes over, then under, the side links at the same points.
-
 Step 17
Incorrect: This shows the cords being threaded through the links in opposite directions.
-
 Step 18
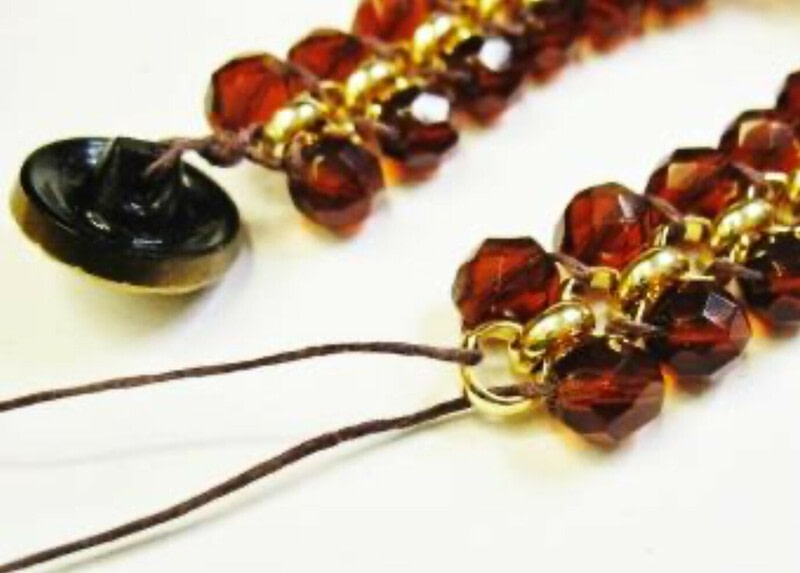
Finishing
When you reach the end you'll see why you need to finish with a SIDE link. Bring the cords through this link in opposite directions (just like you did at the start). Wrap the bracelet around your wrist to check the length – you want it about 1 inch shorter than the final length to allow for the closure. This is where you would add or remove chain links to adjust the length.
-
 Step 19
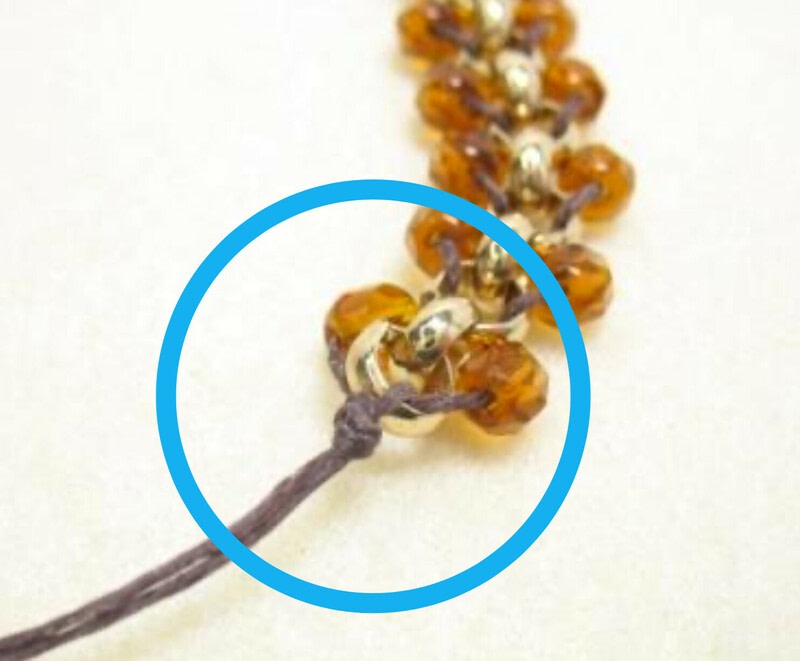
7. Tie an overhand knot snug against the last link.
-
 Step 20
8. To make the loop for the button, add 13 to 15 size 11/0 metal seed beads on each cord.
-
 Step 21
9. Test to be sure the finished loop will fit comfortably around the button. Do this by holding the cords together where the seed beads end and making sure the button fits through the resulting loop. Avoid making the loop too large.
-
 Step 22
10. When you’re satisfied with the fit, tie another overhand knot close to the seed beads.
-
 Step 23
Trim the cords close to the final knot and you are FINISHED!
-
Step 24
Finishing Options
• Double Knot: The tackiness of the waxed cord makes
very tight knots. To be extra secure, tie a double knot
before trimming the cord ends.
• Little Fringes: Turn the remaining cord into fringe by
adding some of the metal seed beads, other beads or
charms on each end.
• Adjustable Length: If you’re making this as a gift and
not sure about the length, keep the bracelet on the short side but add another loop for the button so the fit can be adjusted. -
 Step 25
Fringe ends using leftover 6mm beads
-
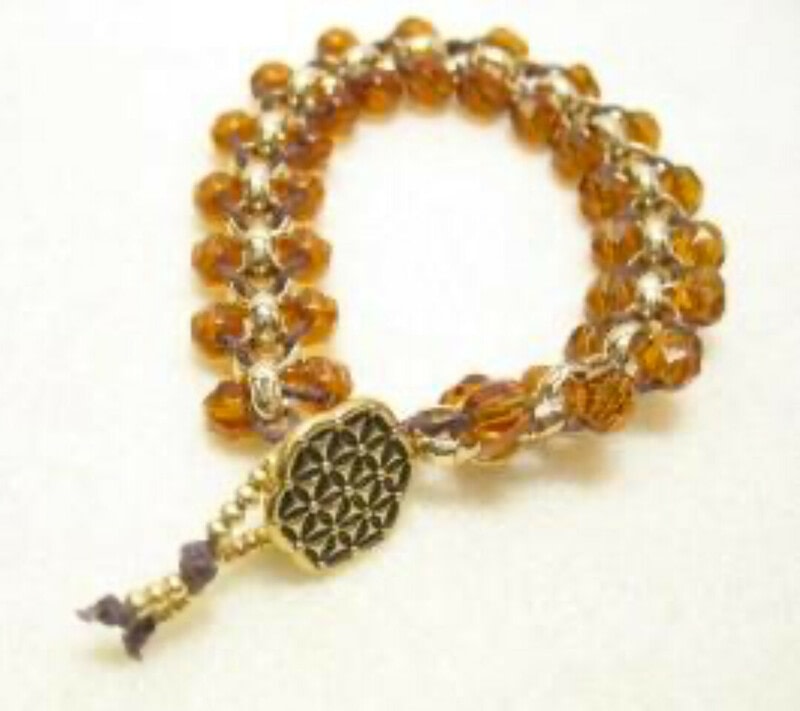
 Step 26
Two loops for the closure allows for an adjustable length