
About
Create a gorgeous cat ear ring with the Scribbler 3D Pen
Making your own jewellery is super easy and so creative with the Scribbler 3D Pen.
Tags
-
 Key West Witch favorited Cat Ear Ring
10 Jul 04:17
Key West Witch favorited Cat Ear Ring
10 Jul 04:17
-
Key West Witch added Cat Ear Ring to Rings
30 Jun 06:50
-
Key West Witch added Cat Ear Ring to Snakes A to Zzzzz
30 Jun 06:50
-
 Carla B. favorited Cat Ear Ring
24 Jun 02:09
Carla B. favorited Cat Ear Ring
24 Jun 02:09
-
 Amy A. added Cat Ear Ring to Hmmm
05 Jul 03:08
Amy A. added Cat Ear Ring to Hmmm
05 Jul 03:08
-
 RunsWithScissors favorited Cat Ear Ring
01 Dec 02:05
RunsWithScissors favorited Cat Ear Ring
01 Dec 02:05
-
 Heather R. favorited Cat Ear Ring
08 Oct 18:13
Heather R. favorited Cat Ear Ring
08 Oct 18:13
-
 Kinhime Dragon favorited Cat Ear Ring
29 Sep 20:08
Kinhime Dragon favorited Cat Ear Ring
29 Sep 20:08
-
 Crafterella featured Cat Ear Ring
28 Sep 23:00
Crafterella featured Cat Ear Ring
28 Sep 23:00
-
 Roxyandboys favorited Cat Ear Ring
27 Sep 06:15
Roxyandboys favorited Cat Ear Ring
27 Sep 06:15
-
 Step 1
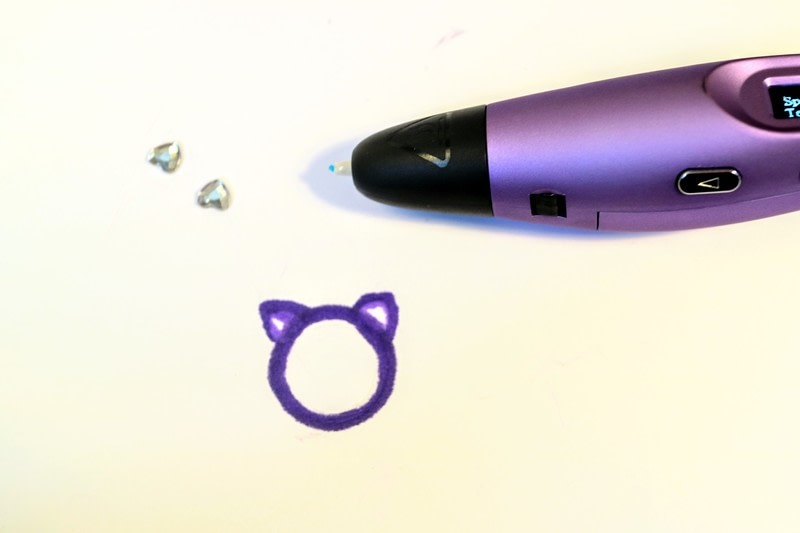
Start with a ring that fits nicely to help you get the size of your ring correctly. Sketch the inner ring onto paper.
-
 Step 2
Sketch around the outside of the inner ring with a marker pen to get the thickness of your ring correct.
-
 Step 3
If you'd like to put crystals inside the ears, pick out two that will fit nicely in the centre of the ears and arrange them on to loop.
-
 Step 4
Sketch the shape of the ears around the crystals.
-
 Step 5
Place the crystals to one side and heat up your 3D printing pen.
-
 Step 6
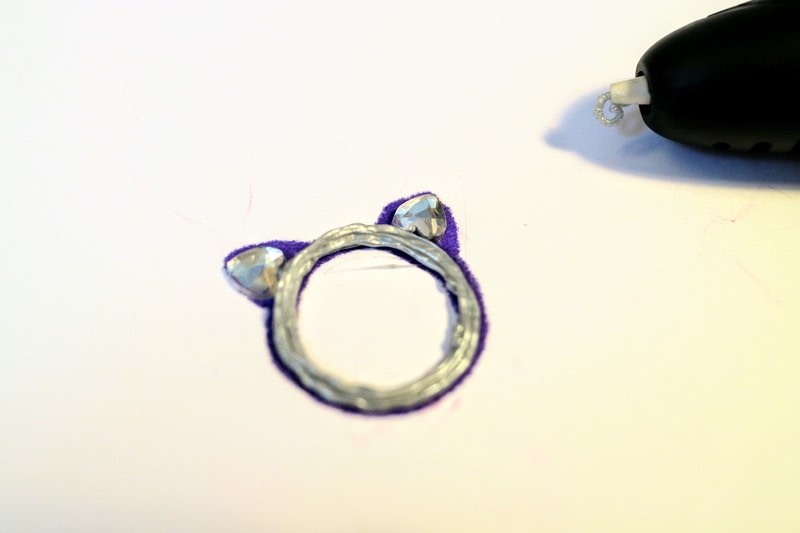
Start by filling in the inner space behind the gems with plastic. It only needs to be one line thick.
-
 Step 7
Stick the crystals to the plastic backing with jewelry glue.
-
 Step 8
Allow to dry for 10 minutes or so.
-
 Step 9
Begin drawing around the loop of your ring with the 3D printing pen, going around and around while following the pen lines you made earlier. Get the ring nice and thick and as even and smooth as possible.
-
 Step 10
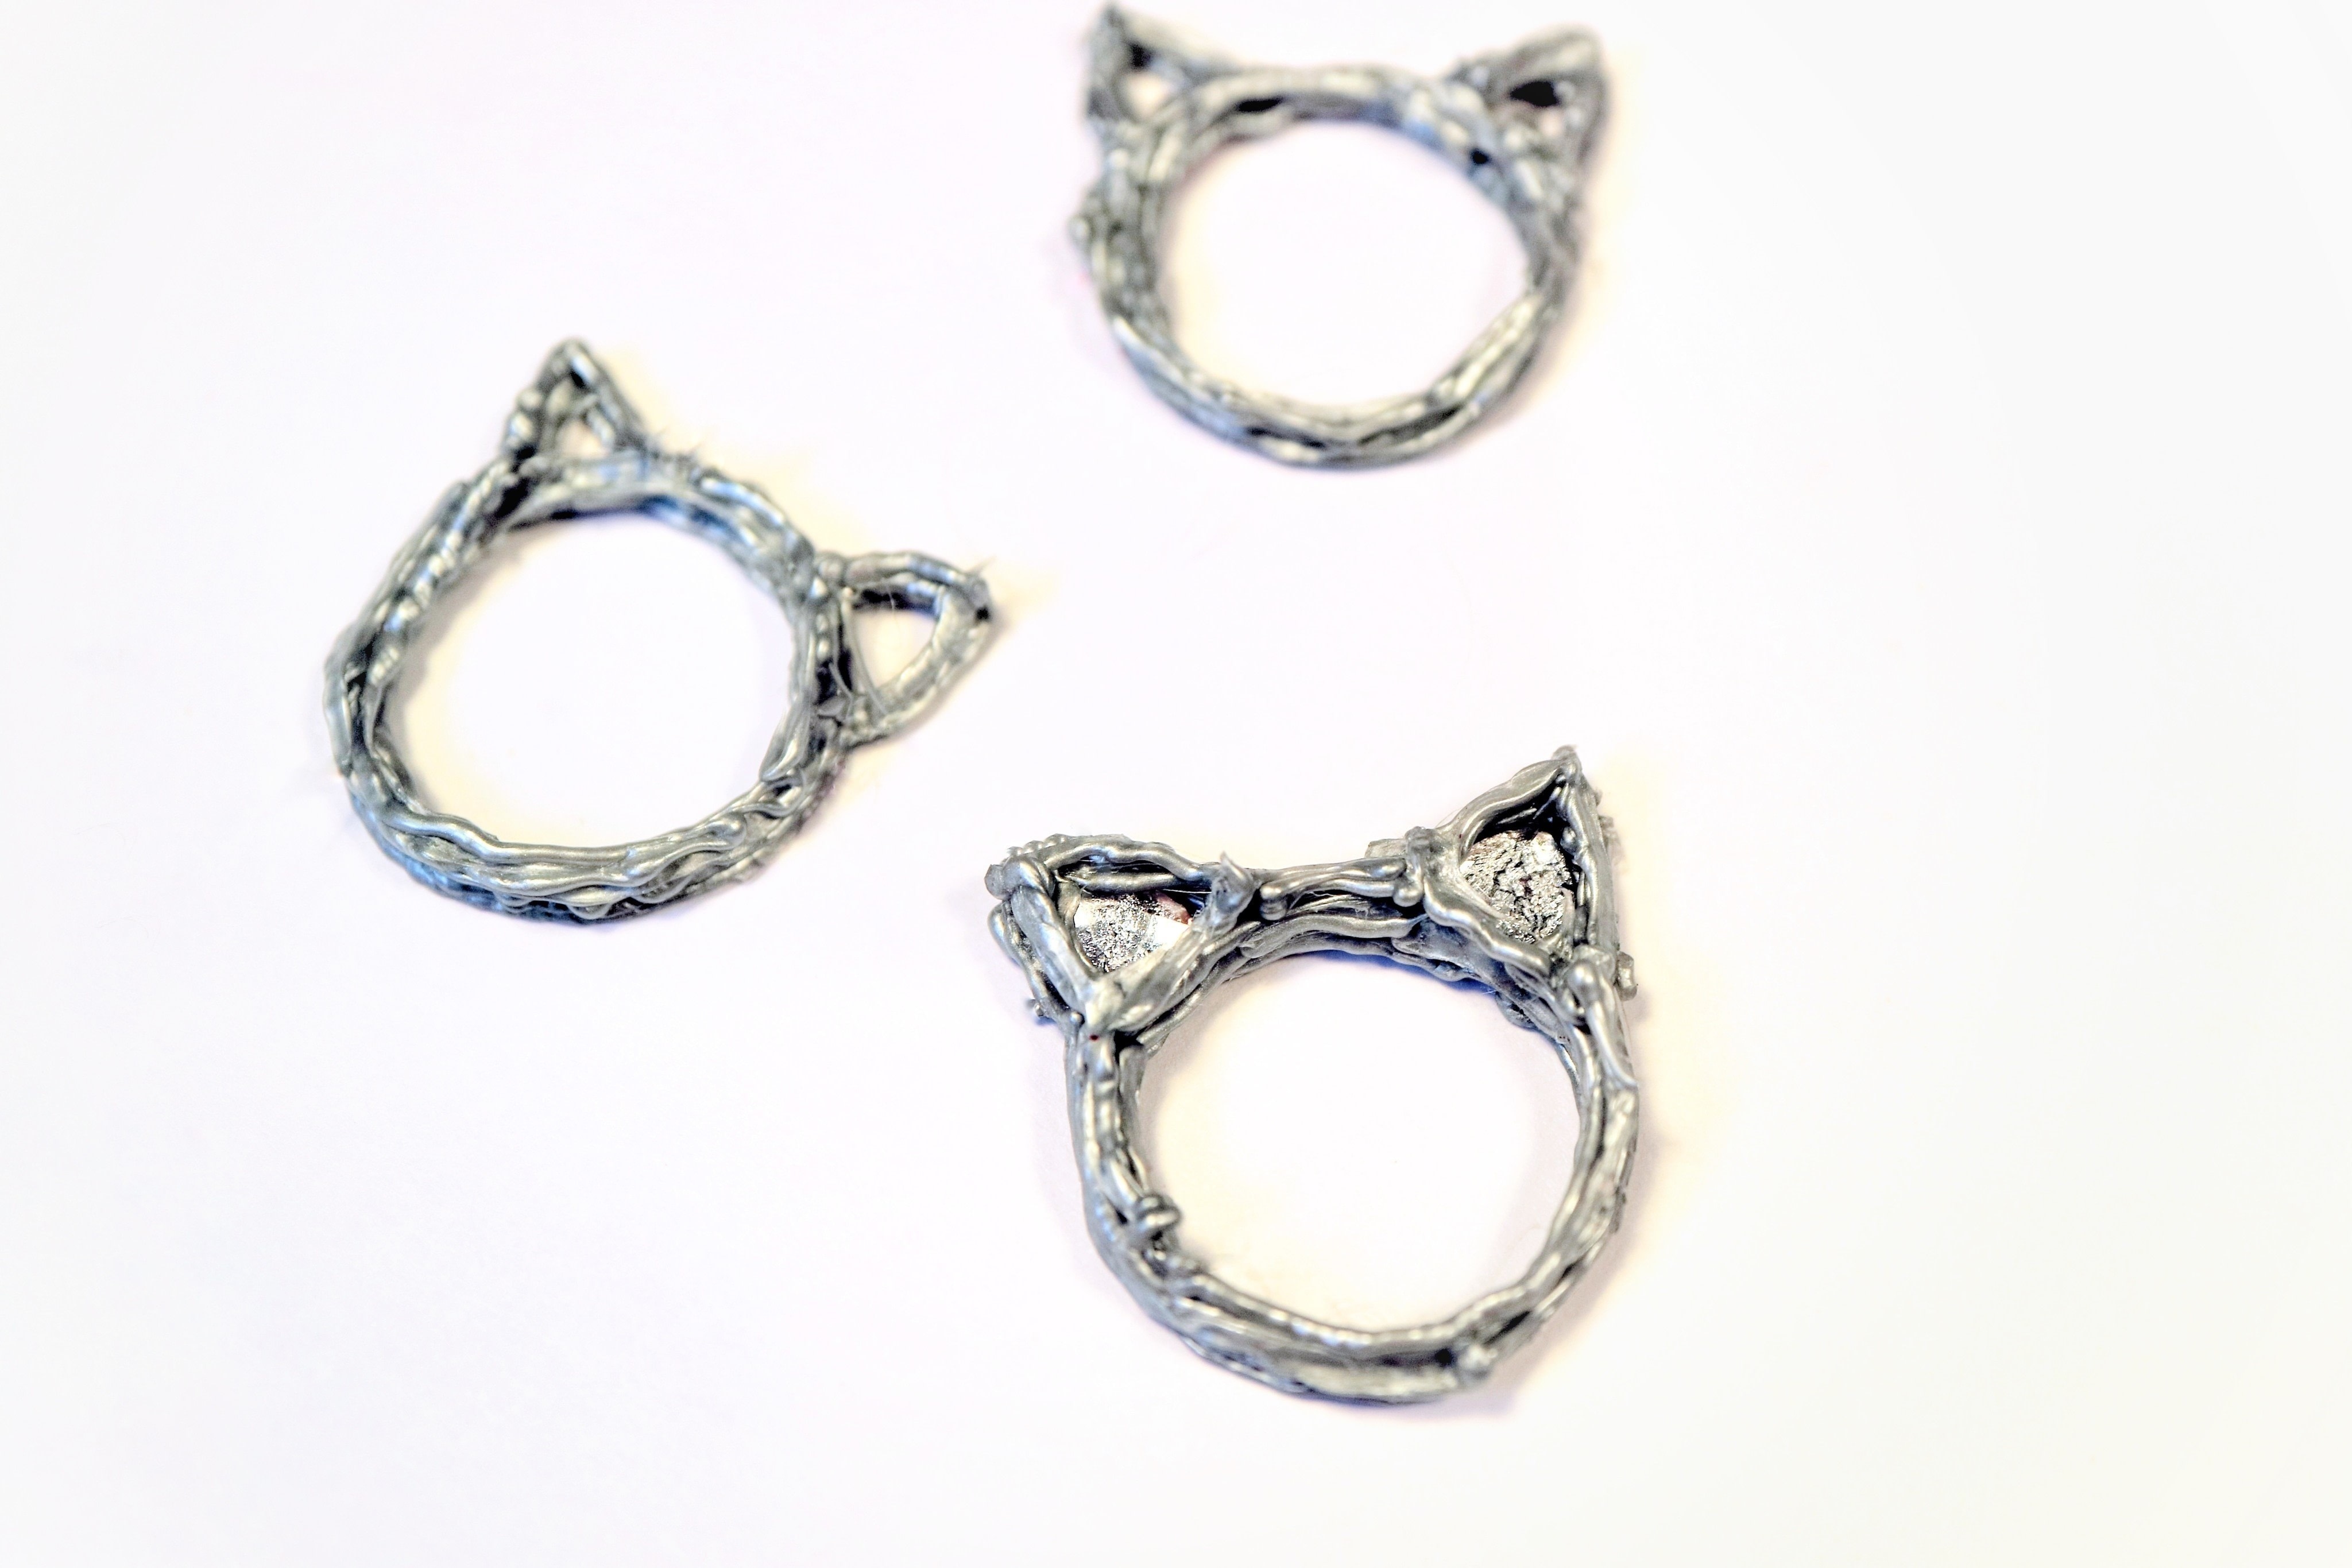
Finally, draw around the ears, joining up to the ring base and sealing the crystals in place.
-
 Step 11
Leave to cool and then try on, cutting off any wisps plastic with scissors.