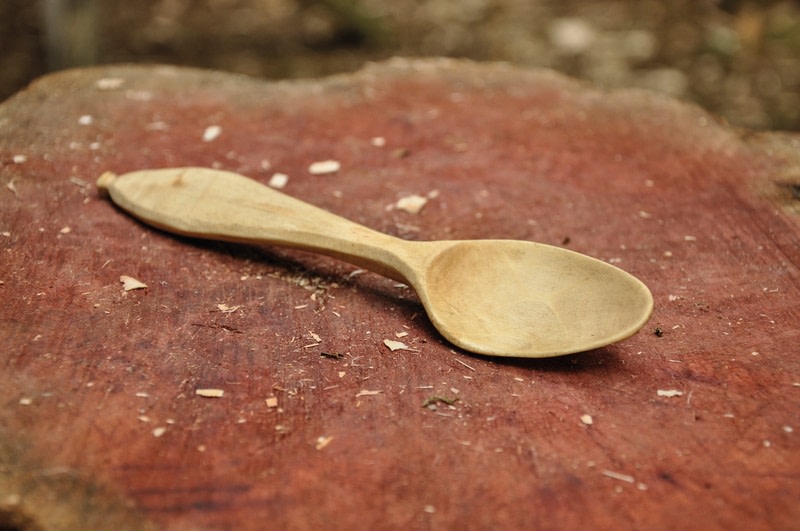
Carved Spoon
Extract from The Forest Woodworker • By Sjors van der Meer and Job Suijker • Published by Search Press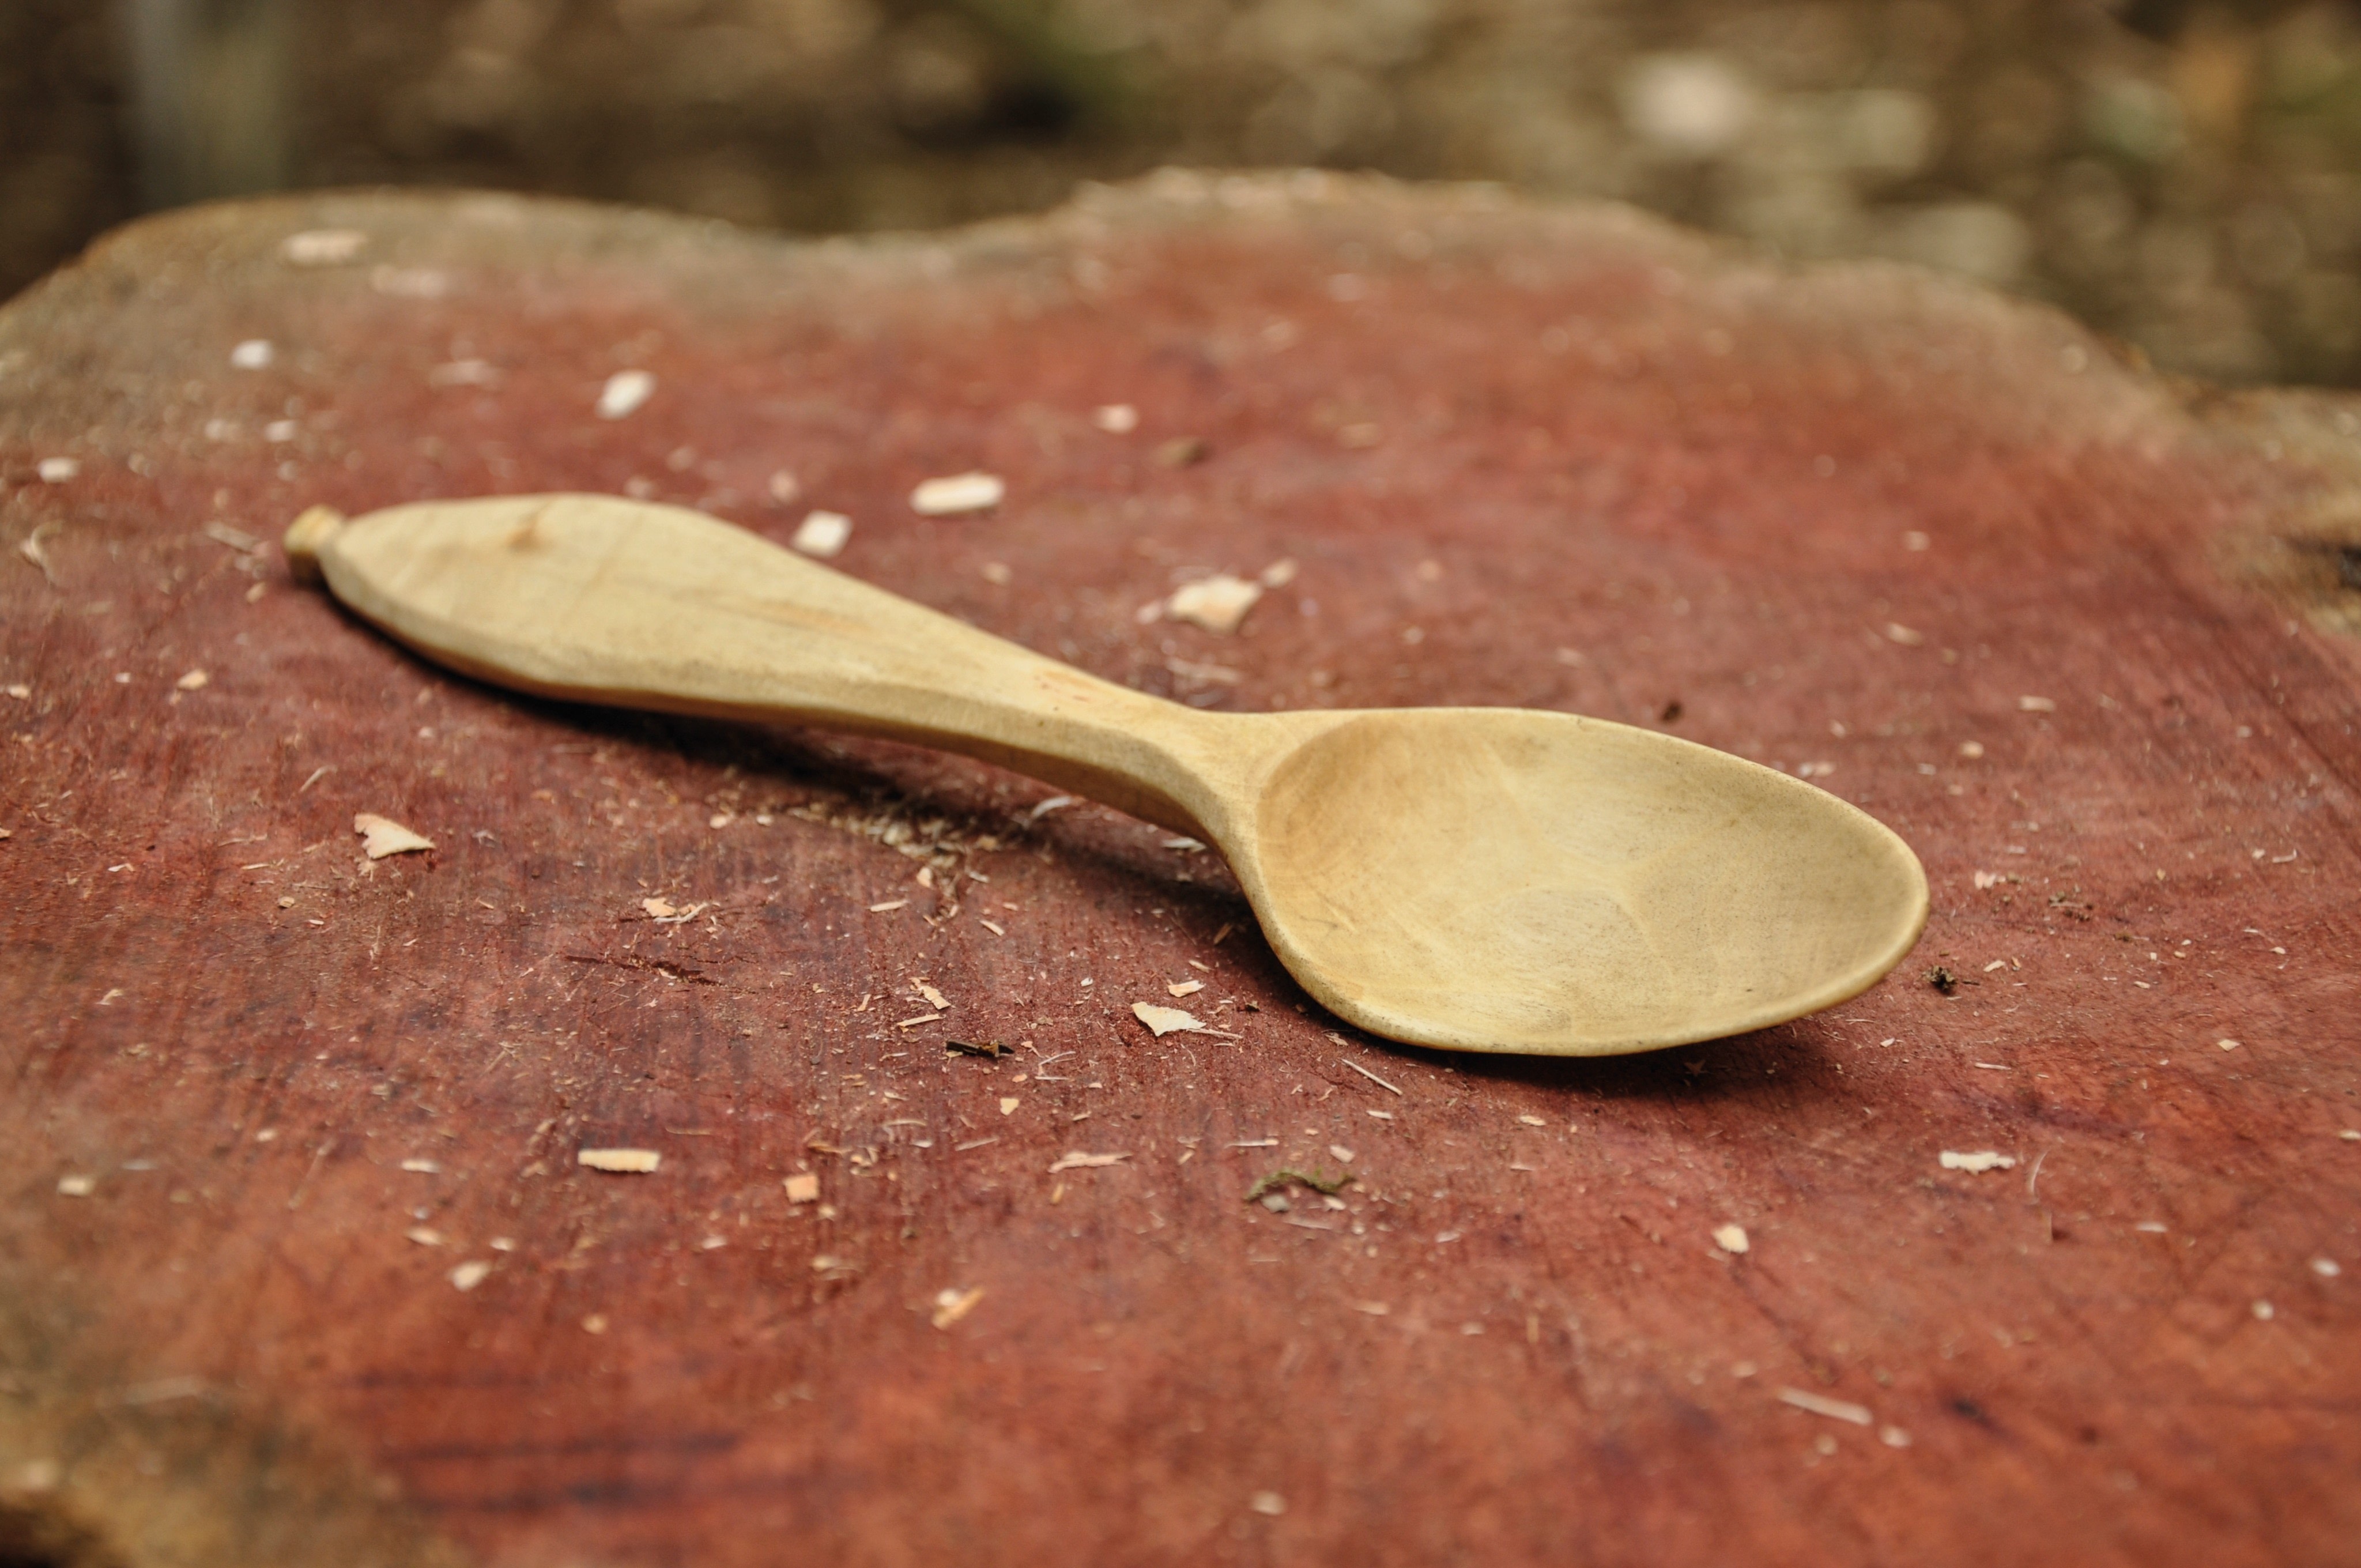

About
The Forest Woodworker
‘Rest in progress’
During the first years of our workshops, we hardly ever used a knife. We did everything with a froe, axe and drawknife. Until we were introduced to the great skill of spoon carving. Just like working on the shaving horse, it is very addictive, but different... smaller, more intimate. Something you do by the log burner in winter, although it is also fun to do in front of your tent in summer.
A big advantage of spoon carving is that you need considerably less wood than for a stool or chair. You will always find a piece of wood you can use. In this chapter we will explain how to do that. The art of spoon carving in the Netherlands is very much indebted to Jan Harm ter Brugge, possibly the best spoon carver of the country.
-
 CiiMoore favorited Carved Spoon
20 Jan 19:45
CiiMoore favorited Carved Spoon
20 Jan 19:45
-
 Markee R. favorited Carved Spoon
14 Dec 13:05
Markee R. favorited Carved Spoon
14 Dec 13:05
-
 Martin T. added Carved Spoon to My List
10 Mar 07:44
Martin T. added Carved Spoon to My List
10 Mar 07:44
-
 Pam favorited Carved Spoon
18 Feb 17:50
Pam favorited Carved Spoon
18 Feb 17:50
-
 Crafterella featured Carved Spoon
24 Jan 23:00
Crafterella featured Carved Spoon
24 Jan 23:00
-
 Search Press published her project Carved Spoon
10 Jan 09:00
Search Press published her project Carved Spoon
10 Jan 09:00
You Will Need
-
Step 1
Finding a suitable piece of wood
For spoons we use birch, maple, alder, apple, pear, cherry, plum, willow, or hazel. Willow and hazel do not dry very ‘hard’ but are easy to cut and so these types of wood are good for practice. Other types of wood are also suitable – just try them. Oak and ash are less suitable because of the long fibres and the open wood structure with big pores.Apart from the type of wood, the state is also important. Knotty and bent wood is not advisable, especially with your first spoons. Start with a nice straight log of 20cm (8in) long, with a 7–8cm (about 3in) diameter. A young birch tree is ideal but other wood is good too. Just use whatever is available.
-
Step 2
Working with an axe
The log contains two spoons! Start by cleaving it in two, straight through the middle. Put the axe on the crosscut wood, exactly in the middle. Hit it with a piece of wood or a wooden hammer. Usually the log will cleave completely. If not, you can lift the log with the axe and drop it down on the chopping block until it cleaves.
-
Step 3
Take one half. The first phase of the work is chopping the rough shape – with an axe. This will make carving a whole lot easier. Working with an axe on such a small piece of wood requires some skill, attention and patience. With every hit, you should be aware of where you want the axe to land. Do not use much force! Let the axe do the work.
-
 Step 4
Cleave the log and judge both halves (picture 1). Are they both suitable? Or do you have to reject one because of flaws in the wood? Take the best part and remove the pith along the whole length.
-
 Step 5
Work with the axe on the bottom flat part (about a third; pictures 2 and 3).
-
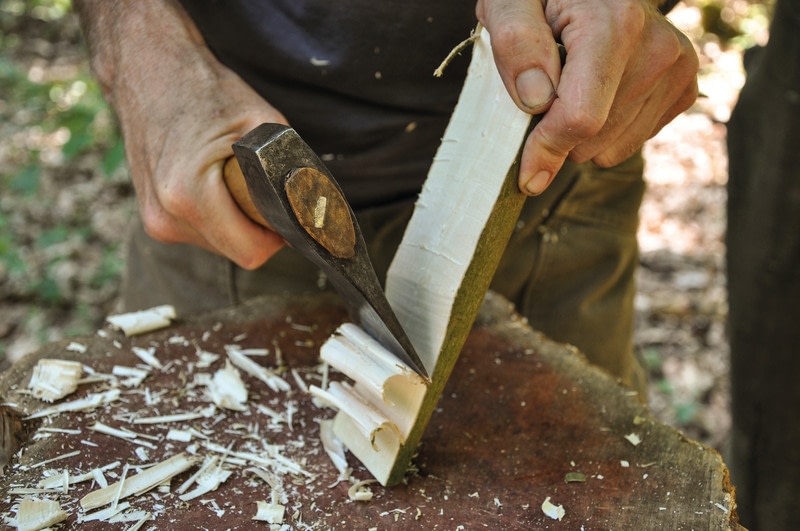
 Step 6
Lower this part – without making a slope – all the way to the end (see box, right). You do this by prising the wood fibres with the axe while chopping.
-
 Step 7
It is best when the slope of the part where the bowl comes goes up a little at the end (picture 4).
-
 Step 8
Now turn the wood around and lower two thirds of the convex side. Only work on the part that will become the handle (picture 5).
-
 Step 9
Now you have made a curve in the wood that will give your spoon a nice shape (picture 6).
-
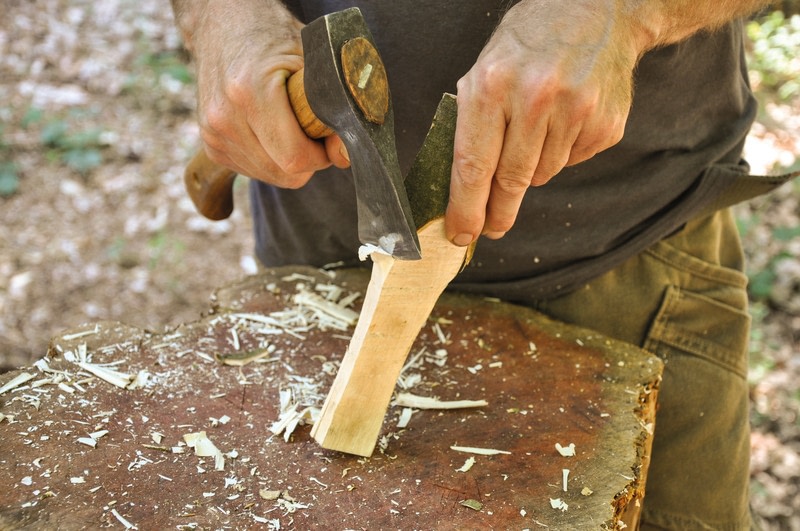
 Step 10
Use the axe to make the handle part narrower. Make sure out that you do not make a pointy handle. Keep everything as straight and angular as possible at this stage. This will give you clarity and stability on the chopping block (picture 7).
-
 Step 11
Chop the part at the back of the bowl (picture 8). Do this by applying 45-degree corners. Towards the point, you lower the bottom side of the bowl. Make a 45-degree transition where the bowl is fixed to the handle.
-
 Step 12
At this stage, you could also (roughly) design the shape of your spoon (picture 9).
-
 Step 13
Make two saw-cuts at the neck of the spoon. These cuts will help you remove this bit more safely. Work from both sides of the handle towards the saw-cuts. In the picture you see only one saw-cut; on the other side, the wood has been chopped off (picture 10).
-
 Step 14
Do as much of the chopping with the axe as you feel comfortable with (picture 11).
-
 Step 15
How not to shape
Do not taper the wood all the way to the end, as shown below, or you will not be able to shape a successful spoon from it. Refer to picture 4 for the correct shape.
spoon-carving club
What do you need?
- A workshop or a cosy room.
- A wood burner or an open fire are a bonus. Invite some friends who want to work on their wood-carving skills.
- A couple of pieces of green wood.
- Enough knives and axes.
- Maybe a fixed evening each week. People can just show up. Perhaps bring a small contribution for the host.Now you have a carving club. You can meet up every now and then and carve spoons, and together you can enjoy the delights of this great craft. Let us know when you start your own club – an annual gathering would be great!
-
 Step 16
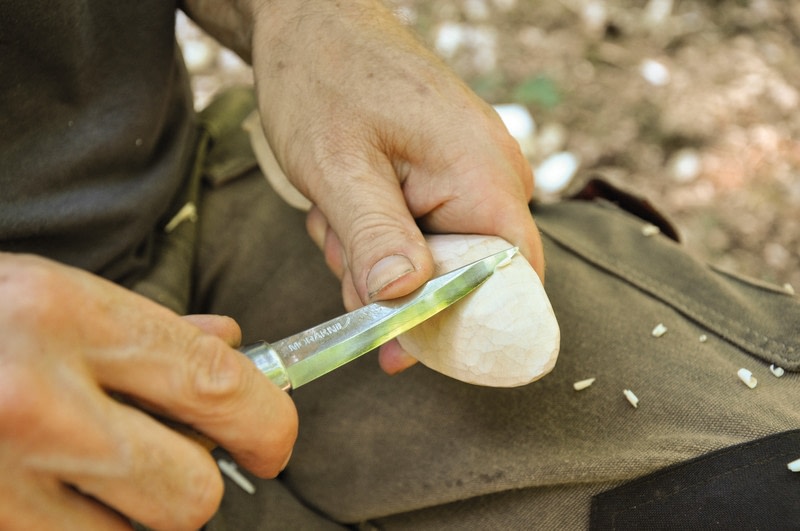
Working with a knife
Start by hollowing the bowl. It does not have to be perfect at this stage. Carve with the spoon knife perpendicular to the grain (or fibres) of the spoon. Do not use too much force. Start carefully with short movements until the first irregularities have been cut away and the knife starts to cut smoothly. Work from the centre to the edge. Keep a couple of millimetres along the edges. Do not make the bowl too deep – the average spoon has a bowl of about 6mm (1/4in) deep.
-
 Step 17
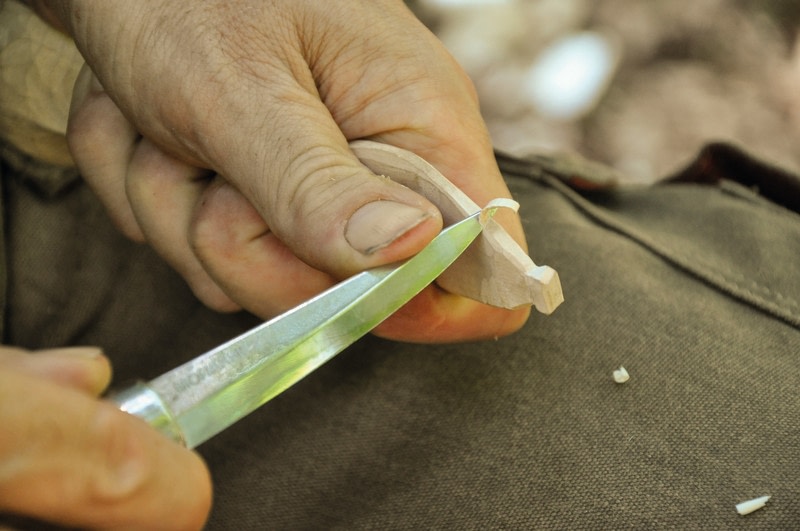
Working with a wood-carving knife
First work roughly, with the forehand grip, shin grip and slicing grasp. The chest-lever grip is also good at this stage. With the reinforced pull stroke you can tidy up the handle. Where the bowl becomes a handle, use the pull stroke and the thumb push. Be careful! The grain changes direction here, so always work from both sides to the narrowest point and make sure the handle does not get too thin here. There is no fixed order in spoon carving. It is nice to alternate working on different parts of the spoon, using different carving techniques.
-
 Step 18
You will get a logical and elegant base shape by keeping the neck narrow and high and the rest of the handle wider and thin. You have now done a lot of carving, but the spoon is still rough and heavy. As one of our students once said: ‘It is about taking everything off that is not a spoon.’ It really is that simple.
-
 Step 19
Every now and then, look at the spoon from a distance, from every angle. Check whether the proportions and symmetry are right. Rounding off all sharp edges, with facets, gives a lovely finish. Make sure all the lines flow.
-
 Step 20
Take your time and cut and carve it to the desired shape. The knifework is now done.
-
 Step 21
Finishing
Dry the spoon. You can then sand it down if you want. Some people do not want to do this as it removes all the nice sharp cuts you have made with the knife. You can also finish the spoon by going around it with a very sharp knife. You will notice that the dry wood under the knife looks different than the green wood did. You are now ‘closing’ the wood, which gives a nice, shiny finish. Using a scraper is another option, but we will not discuss that here.Oiling
Several types of oil are suitable. Linseed oil can go rancid and dries very slowly. Olive oil is not ideal but does get used. Marsha van der Meer from ‘Baptist’ gave us a nice recipe: mix one part coconut oil with one part beeswax, then heat slightly. Apply with your hands onto the spoon. We have not tried it ourselves as we usually work with nut oil. Spread liberally over the spoon. You can heat the spoon beforehand, so that the spoon absorbs it better. Leave, then dry the spoon with a soft cloth. Enjoy your meal.