


About
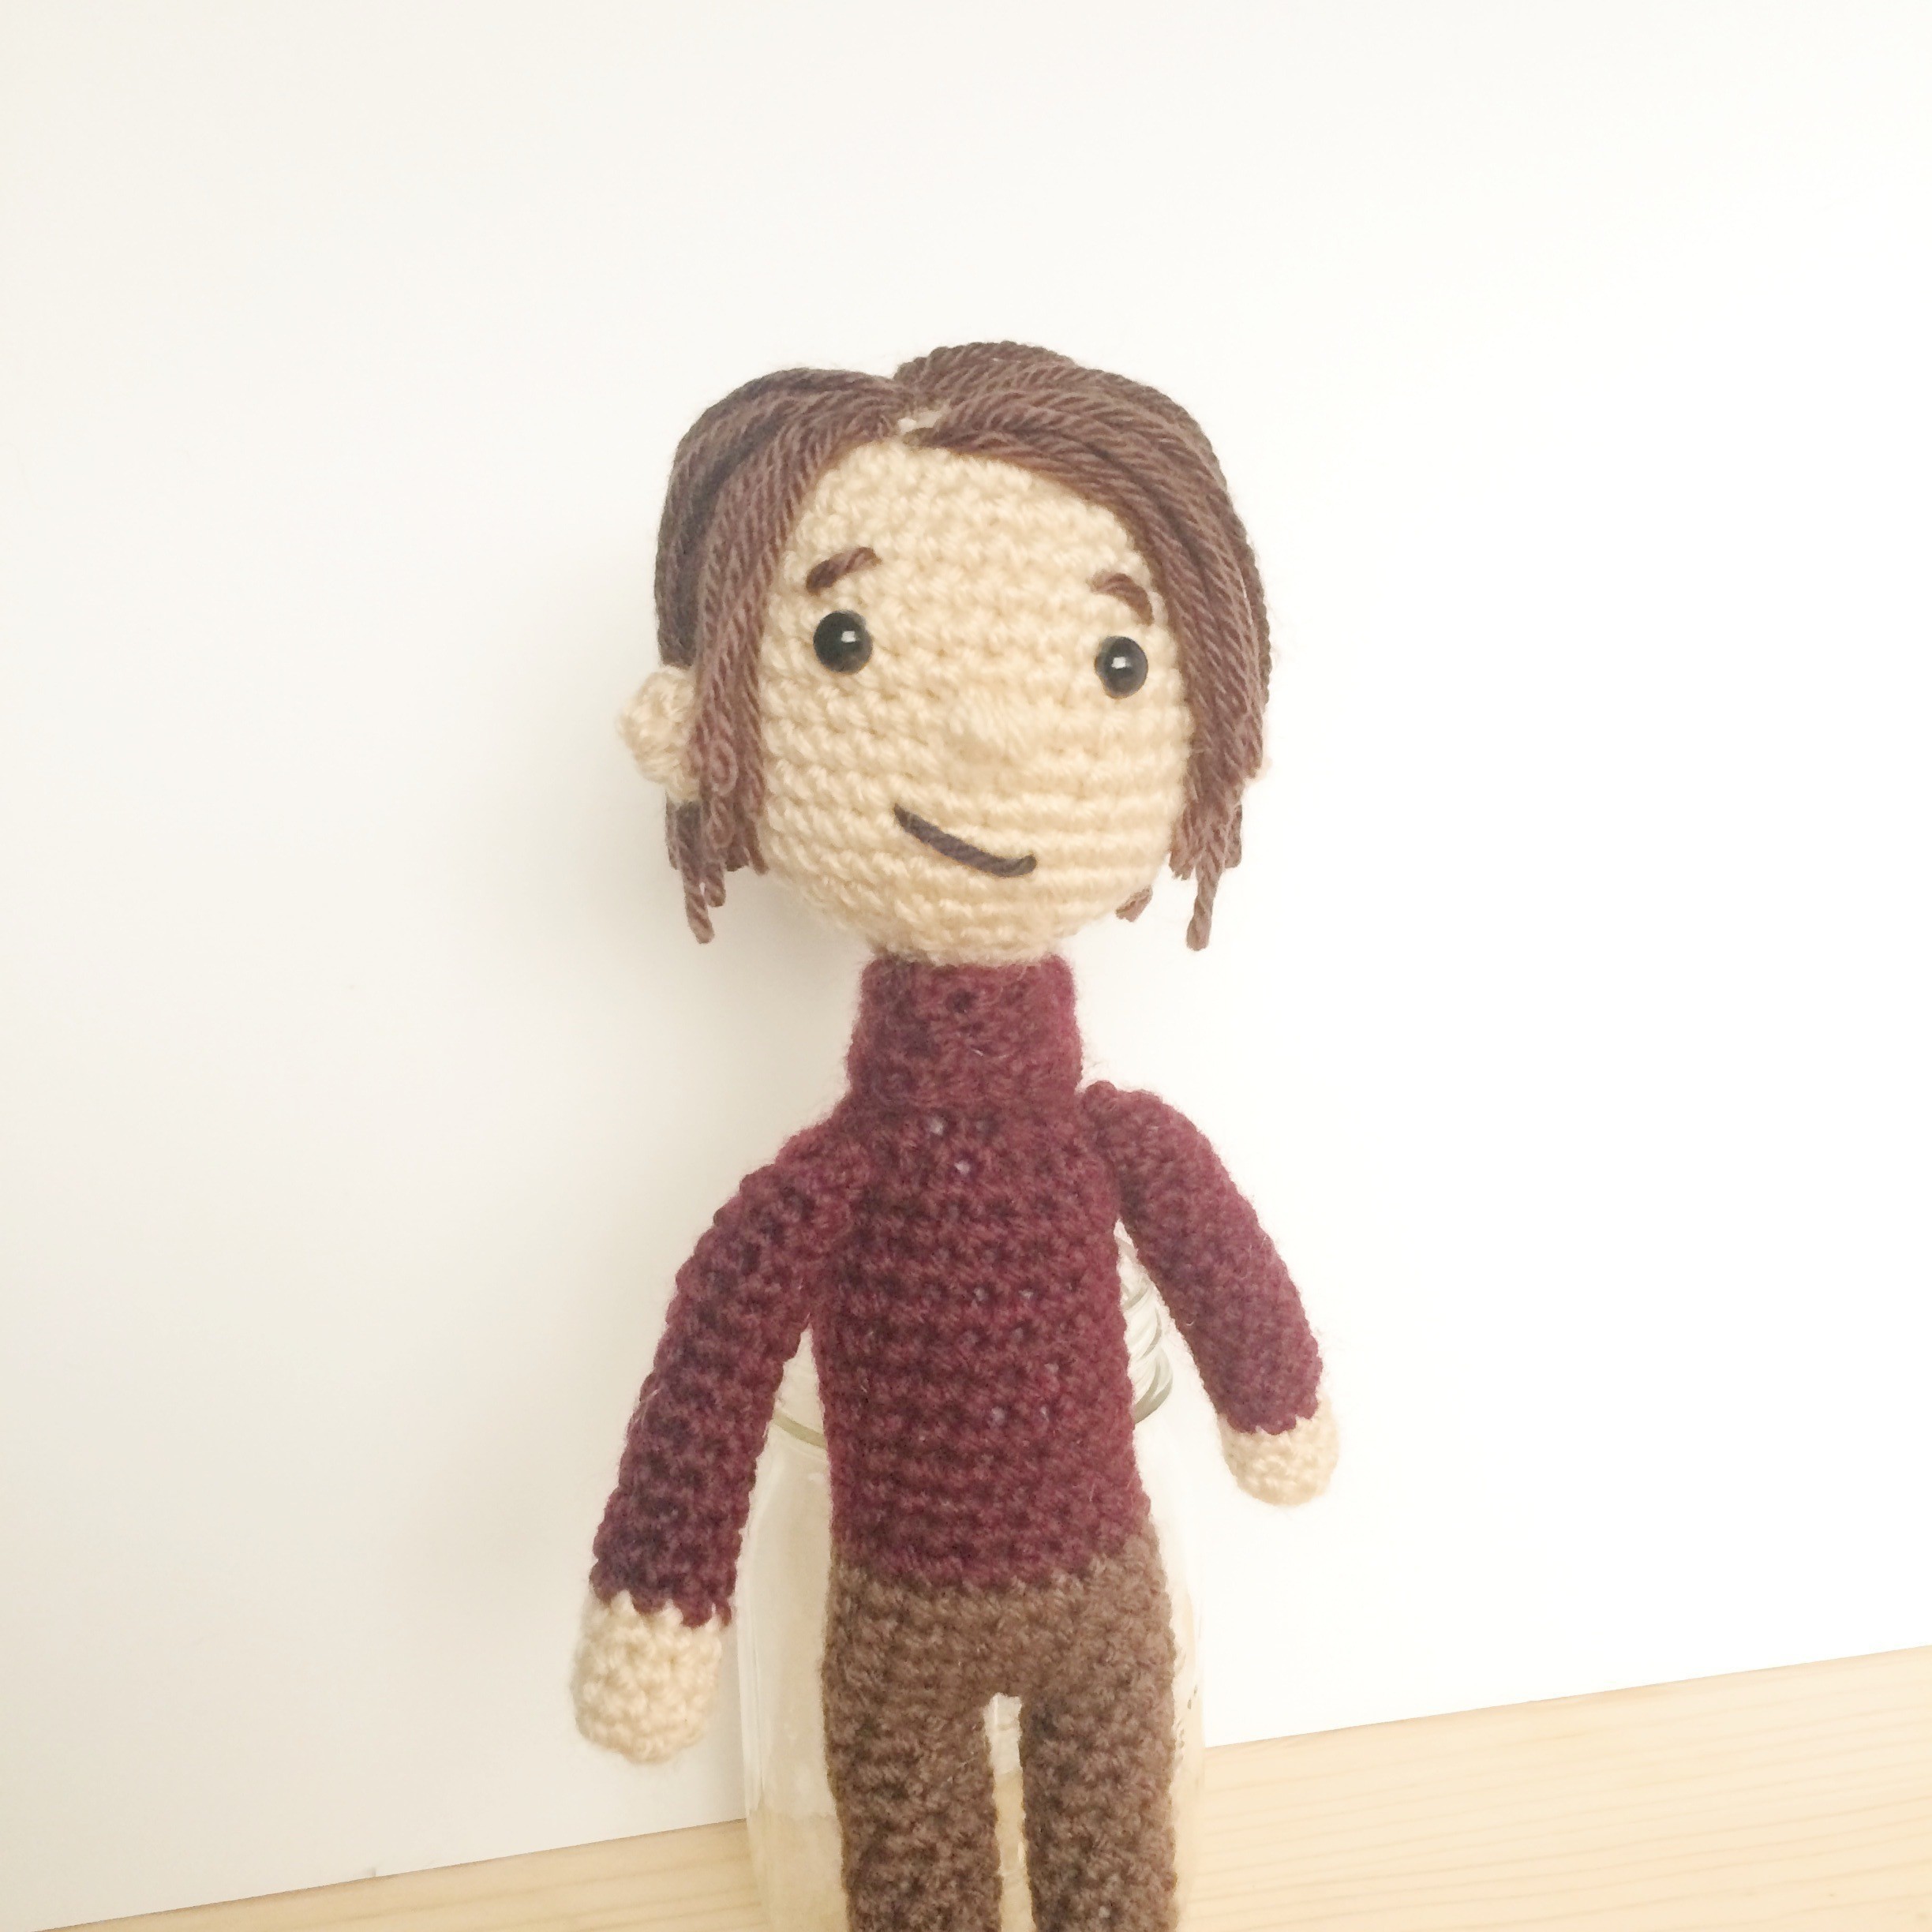
Take a bit of the Cosmos home with this Carl Sagan amigurumi
As a Carl Sagan lover I couldn't resist to make this Sagan inspired amigurumi doll. Make your own with this easy pattern! (Grab the PDF file with detailed instructions)
Downloads
- 107450_2F2015-02-12-194357-carl-sagan-amigurumi-doll.pdf 348 KB [ Download ]
-
 Neko-San K. favorited Carl Sagan Amigurumi Doll
31 May 21:08
Neko-San K. favorited Carl Sagan Amigurumi Doll
31 May 21:08
-
 Sheri P. favorited Carl Sagan Amigurumi Doll
30 Mar 06:59
Sheri P. favorited Carl Sagan Amigurumi Doll
30 Mar 06:59
-
 Chudames favorited Carl Sagan Amigurumi Doll
23 Mar 22:53
Chudames favorited Carl Sagan Amigurumi Doll
23 Mar 22:53
-
 Suzi T. favorited Carl Sagan Amigurumi Doll
10 Mar 09:01
Suzi T. favorited Carl Sagan Amigurumi Doll
10 Mar 09:01
-
 nicolle.olafson favorited Carl Sagan Amigurumi Doll
02 Mar 17:19
nicolle.olafson favorited Carl Sagan Amigurumi Doll
02 Mar 17:19
-
 TheYearlingBlog favorited Carl Sagan Amigurumi Doll
13 Feb 18:12
TheYearlingBlog favorited Carl Sagan Amigurumi Doll
13 Feb 18:12
-
 Bowtiesandfezzes published her project Carl Sagan Amigurumi Doll
12 Feb 19:40
Bowtiesandfezzes published her project Carl Sagan Amigurumi Doll
12 Feb 19:40
-
Step 1
LEGS (worked in spiral), Make 2
With black yarn make 8 sc into a magic ring (use stitch markers to mark the beginning of the
round)
Make 1 sc in each stitch for 4 rounds (8 sc)
Change to brown yarn
Make 1 sc in each stitch for 20 rounds (8 sc)
TORSO (WORKED IN SPIRAL)
Now we will join the legs together to make the bottom of the torso. Choose 1 leg and make 2 sc
in the first stitch. This will be your joining stitch. Make the next sc in the first stitch of the second
leg. Make 1 sc in the next 6 stitches. Make 2 sc in the next stitch (the last stitch of the round).
Make the next sc in the last stitch of the first leg and then continue to make 1 sc in each stitch
until the end of the round. You have now joined the legs to form the torso.
Make 1 sc in each stitch for 4 rounds (18 st)
Change to maroon yarn
Make 1 sc in each stitch for 11 rounds (18 st)
Begin torso decreases as follows
(sc2tog, 1 sc) around (12 st)
Make 1 sc in each stitch (12 st)
(sc2tog, 1sc in next 4 st) twice (10 st) -
Step 2
NECK AND TURTLENECK (worked in spiral)
Because we will be working with one color on the back loop and one color on the front loop, it is
easier to work the neck first and then the turtleneck.
Do not cut the maroon yarn. Instead, join with skin colored yarn on the back loop of the first
stitch.
Make 2 rows of 1sc in each stitch with the skin colored yarn (10 st)
(sc2tog, 1 sc in next 3 st) twice (8 st)
Break the yarn and leave a long tail to sew the head onto the neck
Continue with maroon colored yarn on the front loop of the last torso stitch
Make 4 rows of 1 sc in each stitch (10 sc)
Make 2 sc in each stitch (20 sc) - this will be the point where we fold the turtleneck over
sc2tog around (10 sc)
Make 4 rows of 1 sc in each stitch (10 sc)
HEAD (worked in spiral)
With skin colored yarn, make 8 sc in a magic ring and make head increases
2 sc in each stitch around, (16 st)
(2 sc in first stitch, 1 sc in next) around (24 st)
(2 sc in first stitch, 1 sc in next 2) around (32 st)
Make 1 sc in each stitch for 9 rounds. - Read hair, eyes and nose directions
Start head decreases
(sc2tog, 1 sc in next 2) around (24 st)
(sc2tog, 1 sc in next) around (16 st)
Sc2tog around (8 st)
Break yarn and weave in ends -
Step 3
HAIR, EYES AND NOSE
I recommend you stop once you’ve completed 3 or 4 rows of 32 stitches of the head and attach
the hair to your doll. To do so, cut 6 inch pieces of brown yarn and attach to the top of the head
using the latch method or whatever method you like best. We will cut the hair to the appropriate
length later. Attach the safety eyes 5 rows below the hairline. Make a nose by sewing around
the stitches, 2 rows below your eye positioning. Make a mouth with black yarn 2 rows below the
nose.
ARMS (WORKED IN SPIRAL), MAKE 2
Using a 3.25 mm hook and skin colored yarn make 8 sc in a magic ring.
Make 1 sc in each stitch for 4 rows
Change to maroon colored yarn and make 1 sc in each for 14 rows.
Leave a long tail for sewing onto body
EARS (worked in spiral), make 2
With skin colored yarn, make 6 sc into a magic ring. (6 sc)
Make 2 sc in first stitch, 1 sc in next, around. (9 sc)
Make 1 sc in each stitch. (9 sc)
Sew ears onto head at about the same level as the eyes.
FINISH THE DOLL
Sew the head onto the neck using the long tail of yarn you left on the neck portion. Sew arms
onto torso. Cut the hair to look like Carl’s. -
Step 4
JACKET, worked in rounds
With 4.5 mm hook
Chain 21, make 1 sc in 2nd chain from hook and the next 19 stitches (20 st)
Chain 1 and make 1 sc in each stitch for 14 rows
Now we’ll split the stitches to leave an arm hole. Place a stitch marker in the 5th stitch from
each edge of the body of the jacket such that you have 10 stitches for the back of the jacket and
5 stitches for each side of the front. Work 4 rows of sc in each portion of the jacket.
To make the arms of the jacket, chain 2 and then make the next stitch on the back of the jacket.
This means you will have added 2 stitches for the arm width and effectively joined the front part
with the back part. Working in spiral, make 9 rounds of 12 stitches for each arm of the jacket.
Break yarn and weave in ends.
Join yarn at one of the bottom edges of the jacket and sc all around the jacket body until you
reach the 8th row of the body of the jacket. Then make 1 half double crochet in the next 5 stitches and 1 dc in the next 10 or so (sorry, didn’t write down stitch count here), make 1 half
double crochet in the next 5 stitches and continue down the edge of the jacket in single crochet.


