


About
Organize your buttons by type, size and colour with a button corkboard gallery!
After organizing my beads, it was time to move on to buttons. I used to keep my collection in a large jar which I would spill out anytime I needed a button, which wasn't ideal, so I decided to make a gallery for my craft room wall so it would be super easy to find the one I need. It also looks really pretty!
Tags
-
 Kimberlee thepenartist favorited Button Gallery
07 May 13:05
Kimberlee thepenartist favorited Button Gallery
07 May 13:05
-
 Sarah Sylvia S. favorited Button Gallery
18 Jul 04:15
Sarah Sylvia S. favorited Button Gallery
18 Jul 04:15
-
 Cat Morley published her project Button Gallery
29 Mar 08:56
Cat Morley published her project Button Gallery
29 Mar 08:56
You Will Need
-
 Step 1
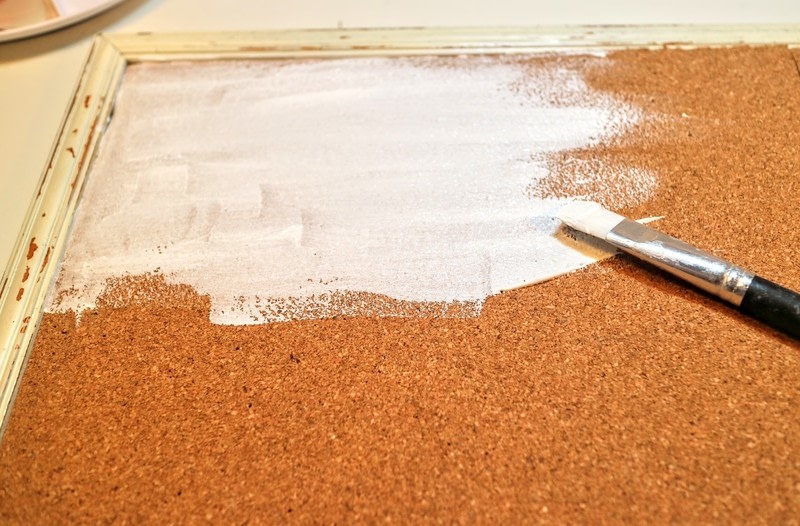
For this, you'll need a bulletin board made from cork.
-
 Step 2
If you like the original colour, you can leave your board unpainted but I decided to paint mine white to make the button colours pop a little more.
-
 Step 3
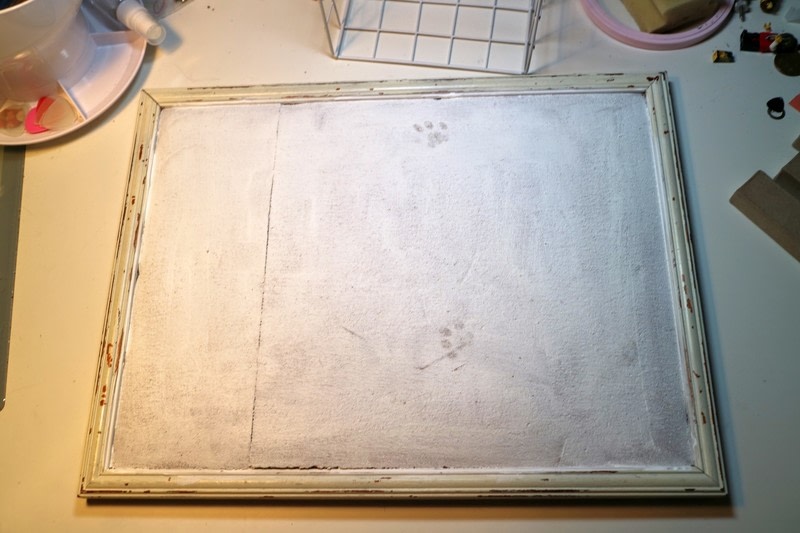
Apply one coat of white paint then leave to dry before applying a second and leaving to dry overnight.
-
 Step 4
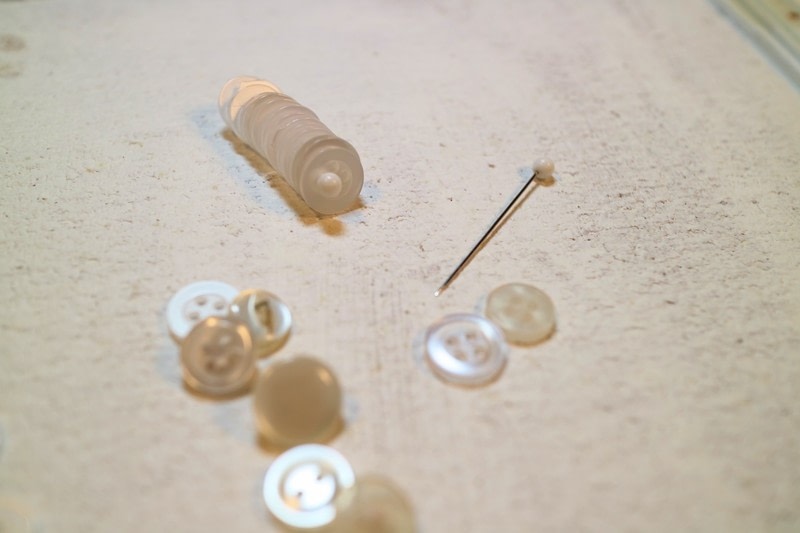
Now it's time to organize your buttons. Start sorting them by colour, then size.
-
 Step 5
Group together all the buttons of one type and string onto a dressmakers pin. You'll want to use pins with large heads to stop the buttons from slipping off.
-
 Step 6
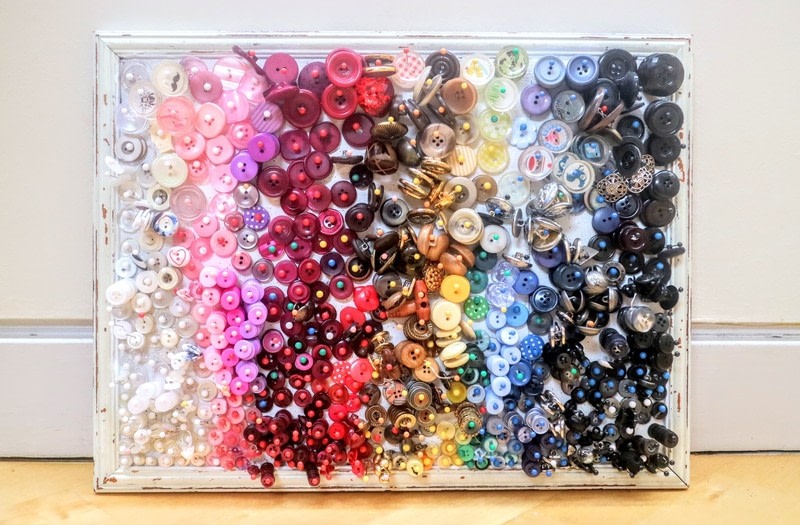
Starting at the top left of your board, pin the smallest clear and white buttons, getting larger as you move vertically down the board and darker and my shade as you move horizontally across the board.
-
 Step 7
Fill up your board with all of your buttons, rearranging as you go to make them as neat as possible.


 1
Watercolor Art »
Watercolor Paints Made From Make Up
1
Watercolor Art »
Watercolor Paints Made From Make Up

