


About
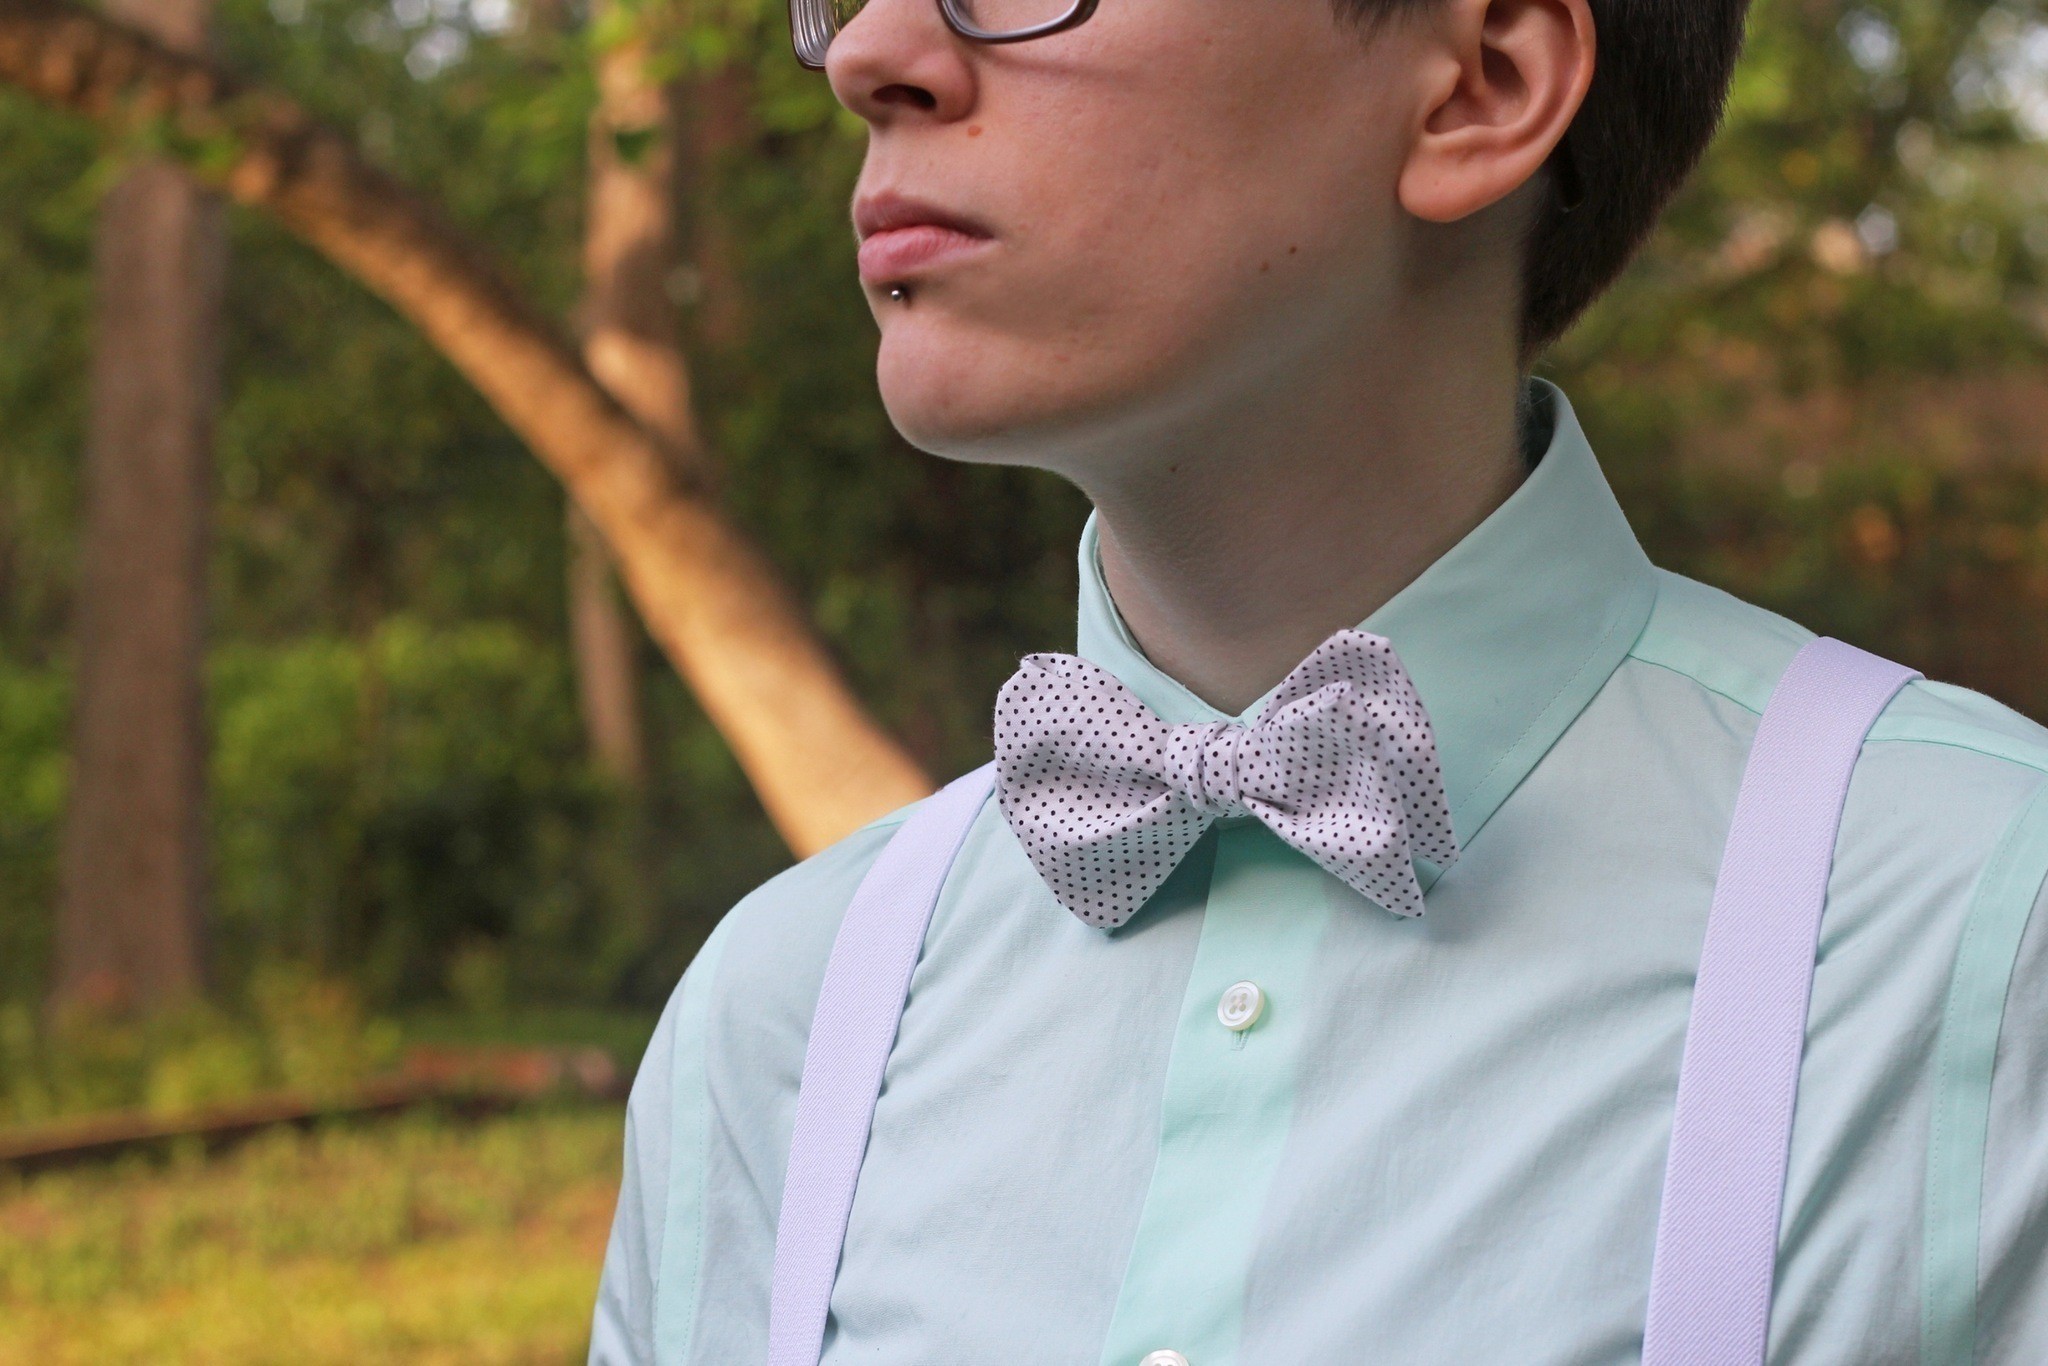
Make your own classic bow tie!
Learn how to make the classic bow tie with this helpful tutorial. Free pattern attached!
Downloads
- 2014-04-05-191225-bowtiepattern.jpg 1.96 MB [ Download ]
-
 Julie R. favorited Bow Tie Tutorial
31 Dec 00:27
Julie R. favorited Bow Tie Tutorial
31 Dec 00:27
-
 Markee R. added Bow Tie Tutorial to Columbia from The Rocky Horror Picture Show
01 Apr 14:43
Markee R. added Bow Tie Tutorial to Columbia from The Rocky Horror Picture Show
01 Apr 14:43
-
Bree M. favorited Bow Tie Tutorial
01 Jan 04:04
-
Meta H. added Bow Tie Tutorial to sewing
28 Dec 22:26
-
 LottaAurora favorited Bow Tie Tutorial
27 Jul 10:45
LottaAurora favorited Bow Tie Tutorial
27 Jul 10:45
-
 Eleanor favorited Bow Tie Tutorial
10 Jun 17:48
Eleanor favorited Bow Tie Tutorial
10 Jun 17:48
-
C K. favorited Bow Tie Tutorial
09 Jun 23:16
-
 M.e. published her project Bow Tie Tutorial
04 Apr 16:28
M.e. published her project Bow Tie Tutorial
04 Apr 16:28
-
 Step 1
First, print out your bow tie pattern. The pattern of the tie itself should be 20.5 inches long, so it will need to be printed on two sheets of regular printer paper. Cut the pattern out & tape the two pieces together.
Pin your pattern to the fabric, and cut out the bow tie shape.
-
 Step 2
Repeat the last step three times, for a total of four bow tie pieces. Each piece is identical, so it doesn't matter how you lay your pattern down.
We are making two different bow tie sections for the final product. Pin two of the bow tie pieces together right sides together, skinny end to skinny end. Do the same for the other two pieces. You should now have two bow tie shapes with the pattern facing in on both sides.
-
 Step 3
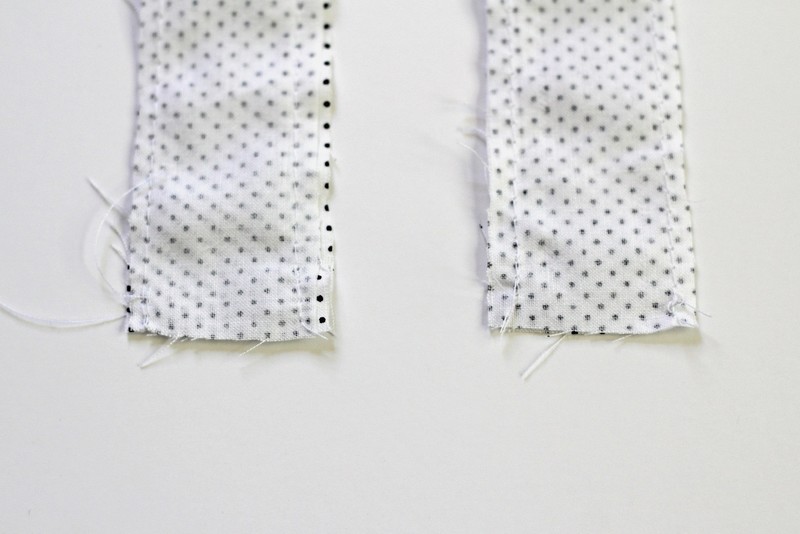
Take your pieces to the sewing machine & begin sewing around one of your bow tie shapes. Start at the skinny end. Take your time going around the bow end, this part is a little tricky. The pattern allows for 1/4 inch seam allowance.
Sew entirely around the bow tie shape except for the bottom of the skinny end, as seen above. Leave the skinny end open. Do the same for your second piece.
-
 Step 4
Your pieces, now sewn together, should look like the photo to the right with the skinny ends open.
-
 Step 5
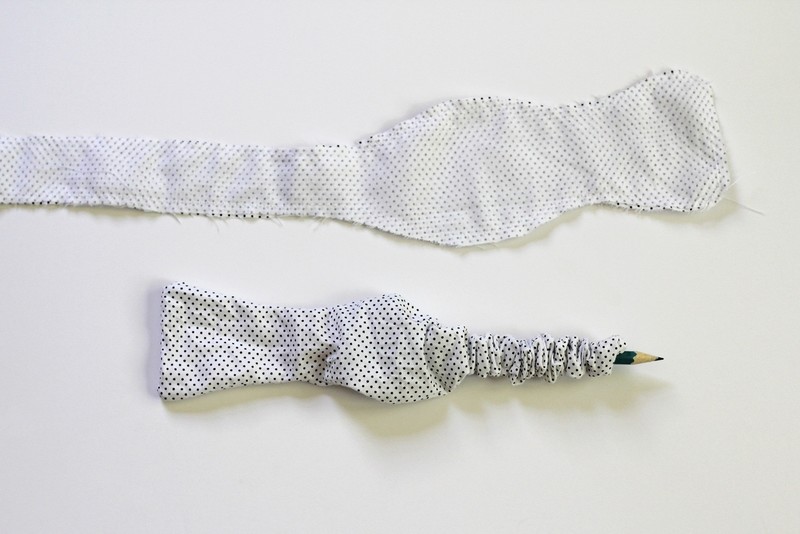
Now comes the really tricky part, & this is where patience really is a virtue. Turning these suckers right side out! Use the rubber-end of a pencil or some kind of stick to help you. This will be frustrating, so take your time & go slow. You don't want to force it - you could break a seam!
(If it's getting stuck, roll the end around in your hand.)
-
 Step 6
Make sure you poke all of the edges of the bow section out, getting it as flat as you can.
-
 Step 7
After you've turned them both inside out, sew the opening shut. I rolled mine inside of itself about 1/4 of an inch before sewing. Alternatively you could fold the fabric over 1/4 inch and sew shut.
-
 Step 8
Take your pieces to the ironing board, & iron them flat.
-
 Step 9
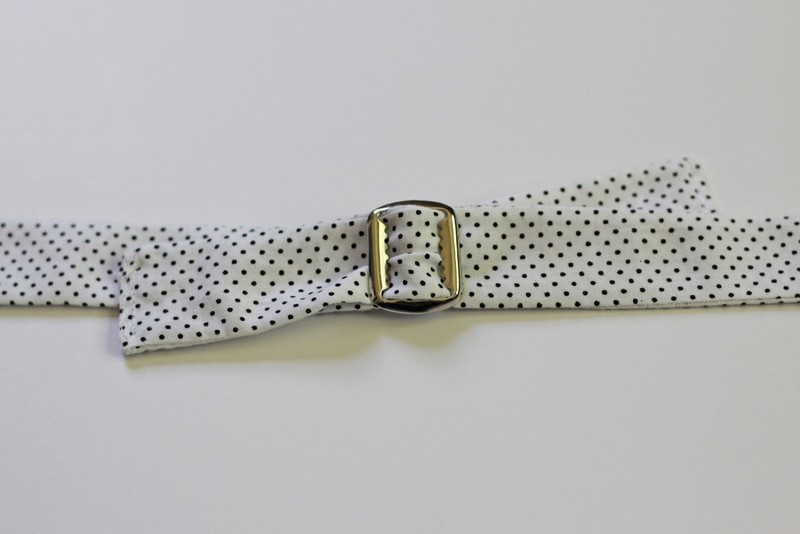
Finally, feed the skinny end of one of your pieces through the vest buckle. When putting your bow tie on, you'll feed the second piece through as shown above. I love this feature because it means you only have to tie it once as you can take it off from the back.