About
Botanical Drawing
The apple blossom seemed exceptionally prolific and beautiful this year. As I could not work on a drawing at the time, and apple blossom is very ephemeral and changes every day, I took lots of photographs of sprays of blossom.
I chose an arrangement of two flowers and some buds, and decided to draw it slightly larger than life to make the details of the stamens and carpel easier to see. I tweaked the composition in order to lose some buds and add a leaf.
Feel free to make any alterations you feel will improve your composition, but ensure that the changes you make stay true to the nature of the plant
Tags
© 2024 Penny Brown / Search Press · Reproduced with permission.
-
 Discordia favorited Apple Blossom
25 Sep 15:17
Discordia favorited Apple Blossom
25 Sep 15:17
-
 Amber R. favorited Apple Blossom
22 Aug 18:46
Amber R. favorited Apple Blossom
22 Aug 18:46
-
 JadeSucksAtLife favorited Apple Blossom
19 Feb 22:05
JadeSucksAtLife favorited Apple Blossom
19 Feb 22:05
-
 Search Press published her project Apple Blossom
31 Jan 09:00
Search Press published her project Apple Blossom
31 Jan 09:00
-
 Step 1
Start by drawing the top one of the two flowers in the top third of the sheet of paper. With an HB pencil, lightly draw in a small circle at the centre of the flower where all five petals are attached. Then draw the petals, noticing where one overlaps another. Lightly mark in the centre lines of the petals.
-
 Step 2
Draw the stamens and the carpel in the flower centre. Shade in the darker areas of tone on the petals with an H pencil. Start your marks at the centre of the flower, stroking the lines towards the edges. Then draw the small areas of shadow on the edges themselves, leaving the very tips of some edges white to show their thickness. Lightly sketch in the main veins.
-
 Step 3
Draw the second flower below the first, again starting with a small central circle. Note the way in which this flower droops downwards, and its petals curve inwards.
Start to strengthen the shading on the upper flower with an HB pencil. Use tone to define the separate areas showing where one petal overlaps another. Strengthen the veins from the centre of the flower outwards. With an H pencil, draw the shadow on the underside and on the right of each stamen. -
 Step 4
Draw in the stamens and carpel on the lower flower and the three buds grouped around the upper flower.
Mark in the darkest tone on the lower flower with an H pencil.
Strengthen the shading on the upper flower, using a B in the very darkest areas and blending with an H. Remember these are white petals so do not overwork them. Use a B, then a 2B, to darken the stamens. -
 Step 5
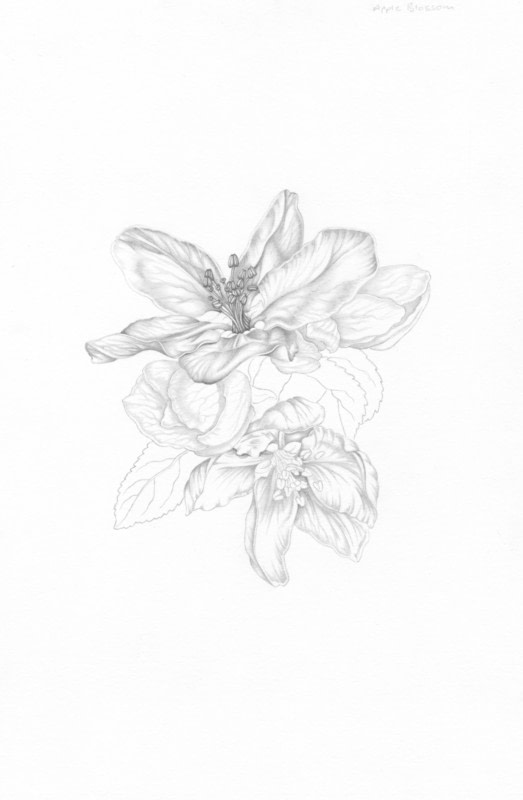
Draw the two leaves and the outline of the bud suggested in the rear centre of the composition. This bud needs to recede into the background and should therefore be drawn quite softly.
Strengthen the shading on the lower flower with an HB pencil. Start the initial shading on the three buds with an H pencil and lightly mark the veins. -
 Step 6
Use a B pencil to strengthen the shading on the lower flower and blend with an H. Darken the stamens and carpel with an HB and a B.
Use an HB to darken the buds, though keep them a little softer than the flower petals. Then use a very sharp B in the areas of deepest shadow to mark clearly where one bud overlaps another. Blend the shading with an H and a 2H. Use an H to softly shade the small background bud.
Shade the sepals around each flower centre with an HB and then shade their edges darkly with a B pencil. Shade the leaves quite strongly with an HB, leaving the veins white. The underside of the leaf on the right should be paler. The leaves and the sepals will be much darker then the flowers, which will help to throw them into relief. -
 Step 7
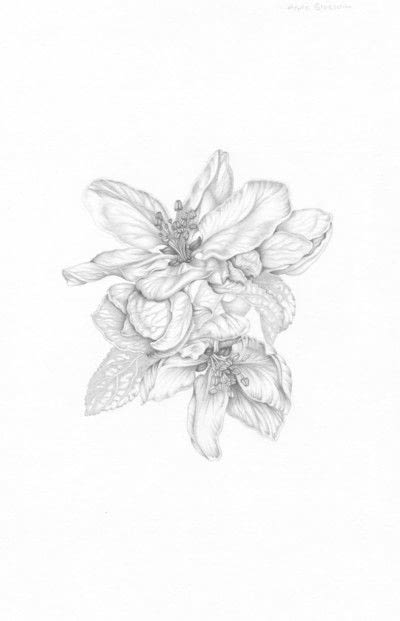
Shade the leaves quite darkly with a B and then a 2B, keeping the underside of the leaf to the right paler than the leaf on the left. Shade under the veins and work into the shapes drawn in HB in step 6. Blend with an HB. Stroke H lightly over the veins and carefully neaten their edges with a very sharp F pencil. Use a sharp 2B to darken the very tips of the serrations on the leaf margins.
With the 2B pencil, carefully work your way around the whole drawing, putting small touches of very dark tone into the areas of deepest shadow. These can be very tiny marks, for example under the lower edges of the front petals of the upper flower. However, these are important as they give depth and richness to the drawing.
Next, stroke a 2H under any shapes that overlap others, such as underneath the edge of the central foreshortened petal of the upper flower. This will help the elements in the foreground to stand out from the rest of the drawing.
Lastly, add the tiny hairs to the sepals with a sharp F pencil. -
 Step 8
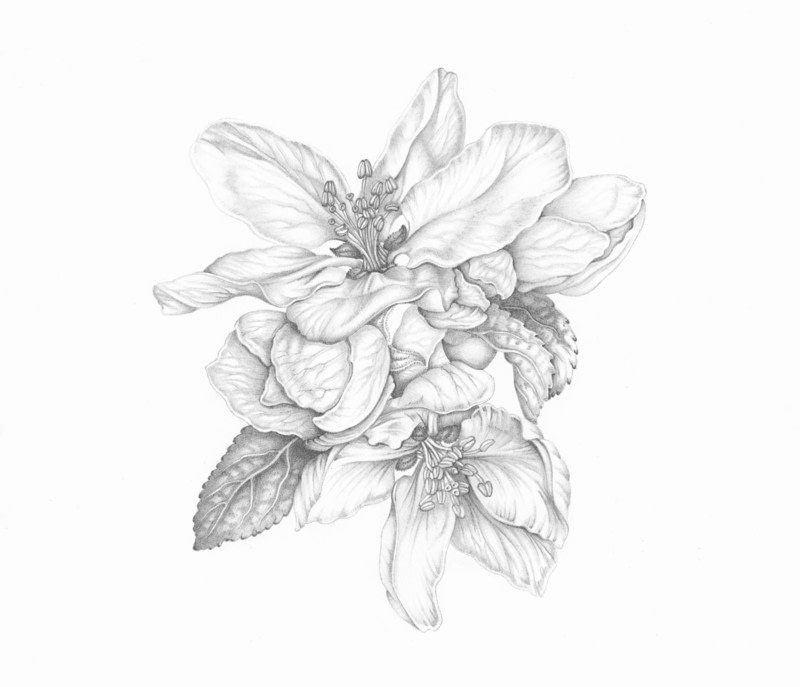
Apple Blossom
The finished drawing.