


About
STARSHIP ENTERPRISE FROM OLD FLOPPY DISC
This is a present for my son's Dad as he is in the hospital and I made this for him as he used to be a Trekkie - when we were married he had the "no talking during Star Trek" rule.
I think he will get a kick out of this and I could put in on an elastic cord and put it in his truck to hang of the rearview mirror, but I will see if he wants to do with after I give it to him.
This based on the following project, except that I left the metal media in the center it is painted.
Tags
-
 Step 1
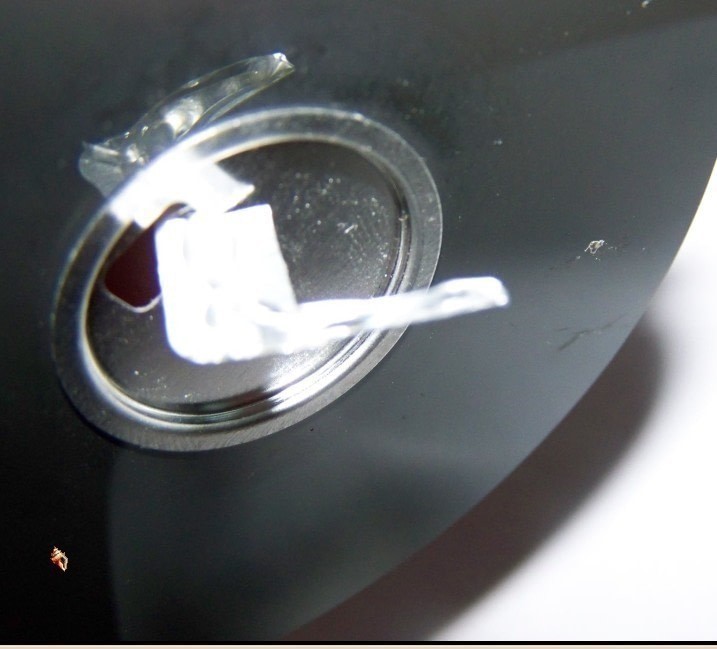
First, pry the metal part off of the bottom of the disc - if comes off fairly easy. This will be the bottom part of your space ship.
-
 Step 2
ry open the disc (I was able to do it with my hands, but if it is sealed well, you could use the tip of the scissors to pry it open at the bottom) and remove the shiny plastic disc from the middle as is will the top part of the starship. (I kept the out plastic part and will use it to make a Christmas Tree Ornament - here is the link to it that I posted at CO+K http://www.cutoutandkeep.net/projects/christmas_ornament_from_old_computer_disc). You could go ahead and paint the disc now and it would be probably be easier than trying cover over where you have glued down parts.
-
 Step 3
Use the scissor to make a cut at the bottom of the skinny metal strip on each side.
-
 Step 4
Bend the skinny metal strips to away from each other.
-
 Step 5
Bend down the wide part of the metal on each side.
-
 Step 6
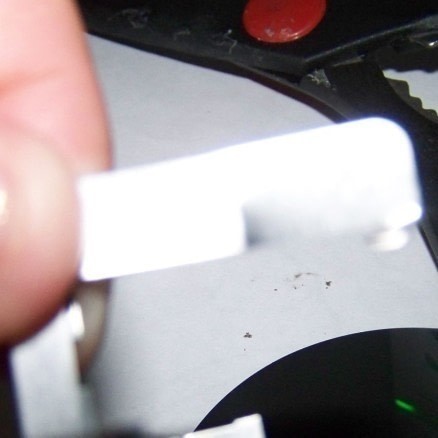
Make a small cut into in the metal part between the bottom part the the "wings" that you created by bending back the skinny strips at the top (in the photo I have the wide part in my hand and the skinny strips are on the left hand side of the picture - I photographed it backwards by mistake). I made the cut halfway down, but if I had it to do over, I would make the cut closer to the top of the skinny metal part.
-
 Step 7
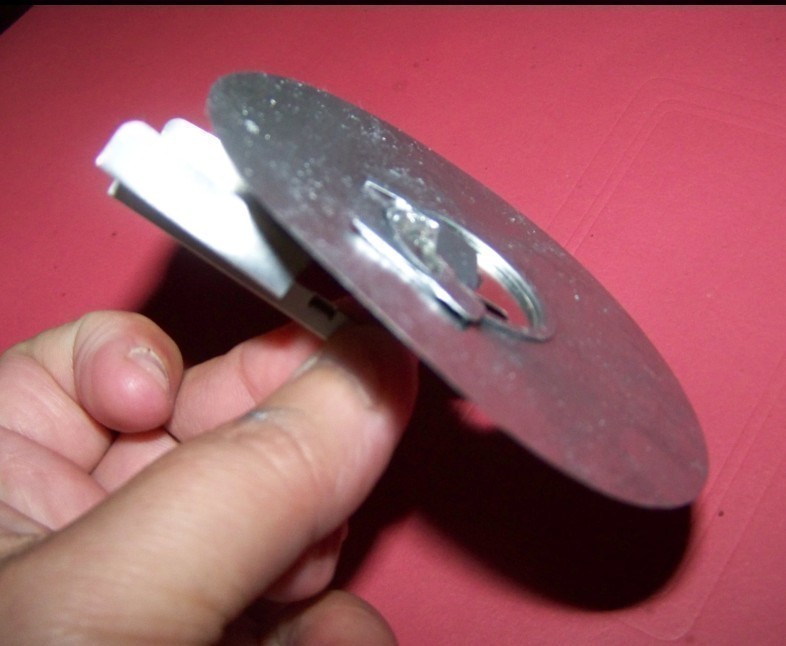
Temporarily bend the skinny strips back together to insert them through the wide hole in the metal disc and insert the disc into the area where you have made the small cut. Apply hot glue to both sides of the skinny metal and the top part of above where you inserted the disc into the center.
-
 Step 8
Firmly press the metal parts down on opposite sides to the disc.
-
 Step 9
Paint the disc with the silver metallic paint (if you didn't do so right after taking the disc out of the floppy disc case.


Comments

 1
Watercolor Art »
Watercolor Paints Made From Make Up
1
Watercolor Art »
Watercolor Paints Made From Make Up

