
About
Another use for those clear ornaments
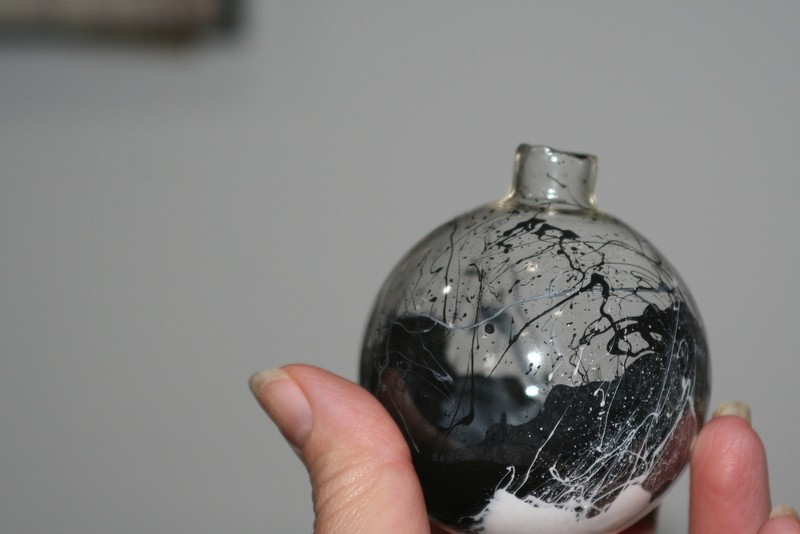
Super easy and you get some really cool effects. Just be patient, it take awhile.
Again, I have a thing for the fire colors, and black. Not really Christmas colors, but they look awesome on the tree.
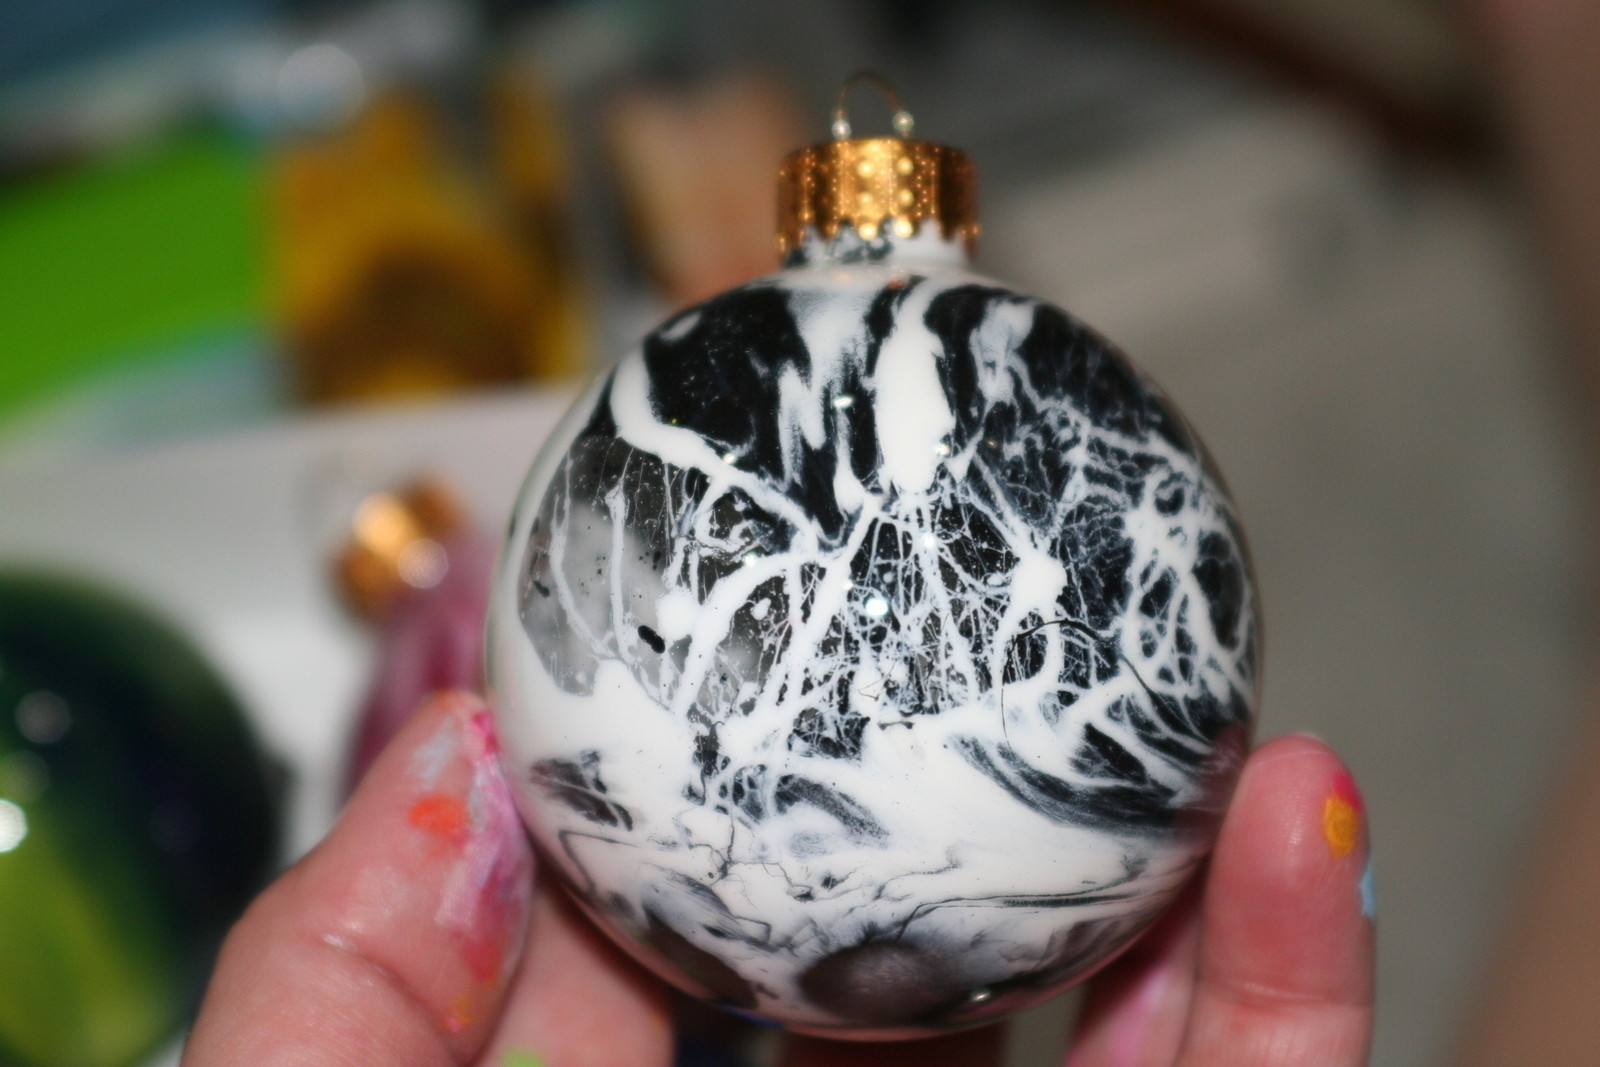
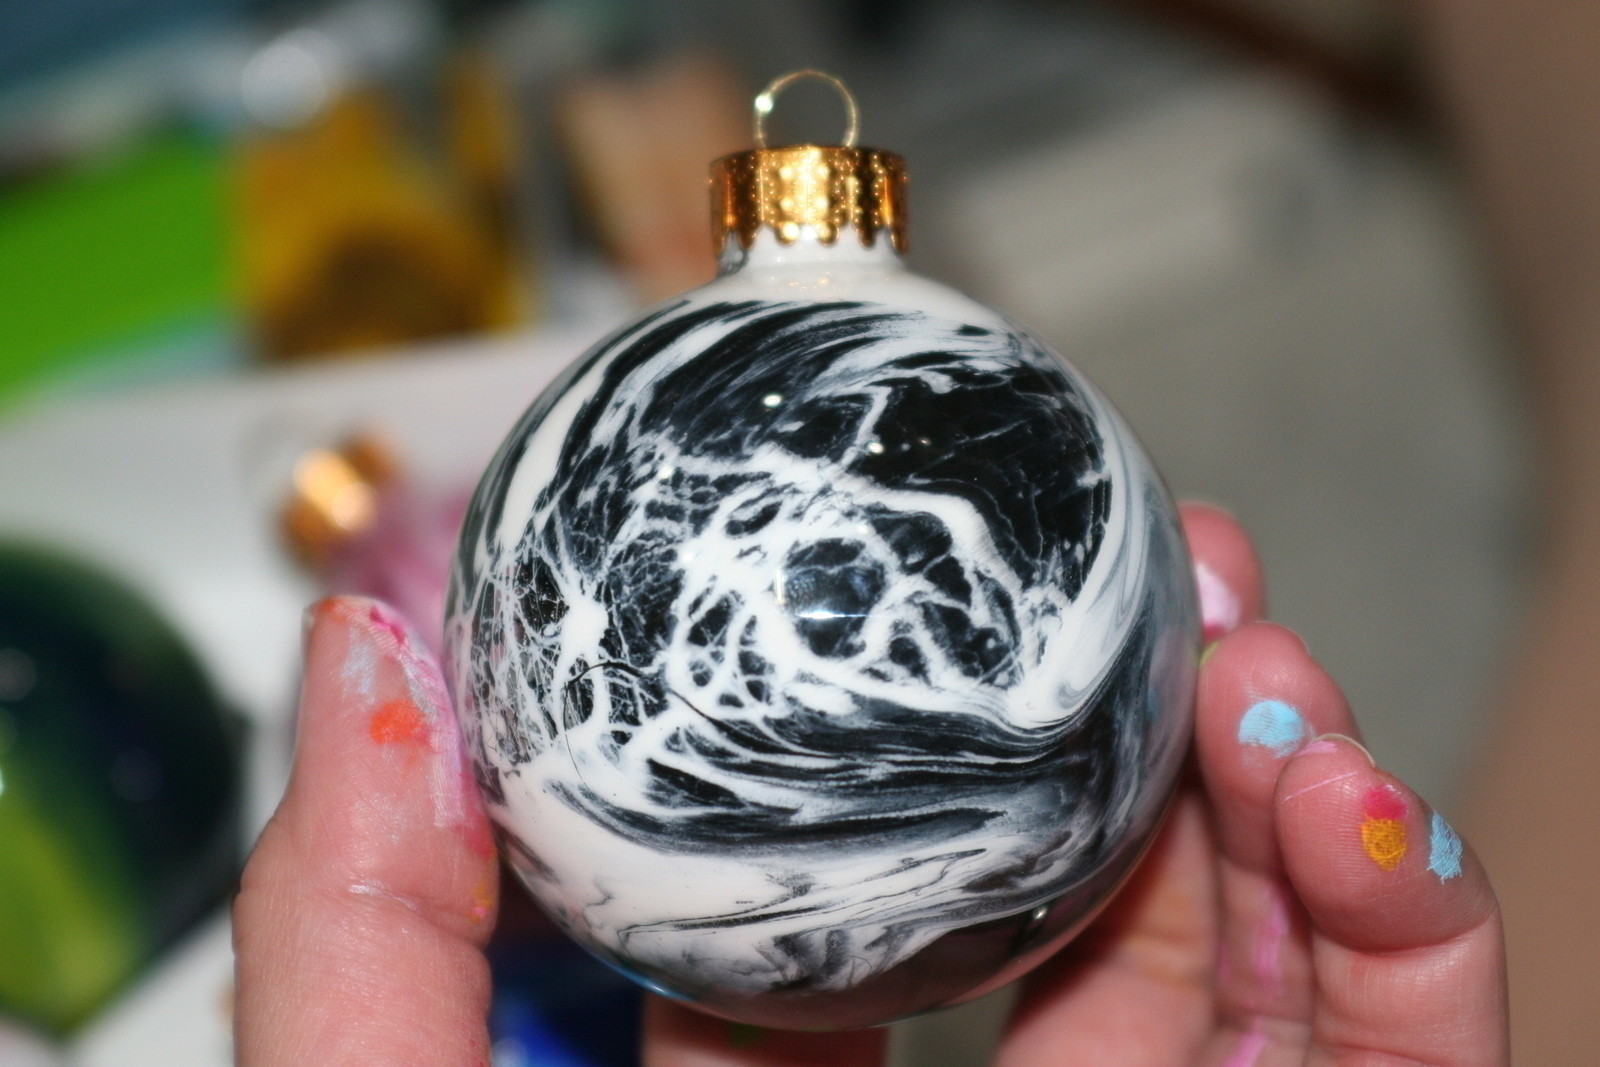
But remember, you need to let them dry as much as possible in between coats, that way they don't run and end up looking like the marbleized ornaments.
We want the splatter look in these.
Tags
-
 Brittney S. added Splatter Paint Christmas Ornaments to Misc Other
07 Jul 05:49
Brittney S. added Splatter Paint Christmas Ornaments to Misc Other
07 Jul 05:49
-
 Ellen R. favorited Splatter Paint Christmas Ornaments
07 Aug 20:47
Ellen R. favorited Splatter Paint Christmas Ornaments
07 Aug 20:47
-
 Zeth G. added Splatter Paint Christmas Ornaments to Events
22 Nov 08:27
Zeth G. added Splatter Paint Christmas Ornaments to Events
22 Nov 08:27
-
prim e. favorited Splatter Paint Christmas Ornaments
17 Nov 18:33
-
Tanecia W. favorited Splatter Paint Christmas Ornaments
25 May 23:01
-
 deb.mathenia favorited Splatter Paint Christmas Ornaments
21 Feb 19:46
deb.mathenia favorited Splatter Paint Christmas Ornaments
21 Feb 19:46
-
 Mai added Splatter Paint Christmas Ornaments to Festiveness
25 Jan 04:56
Mai added Splatter Paint Christmas Ornaments to Festiveness
25 Jan 04:56
-
Mai added Splatter Paint Christmas Ornaments to Festiveness
25 Jan 04:56
-
Melody S. favorited Splatter Paint Christmas Ornaments
04 Dec 14:35
-
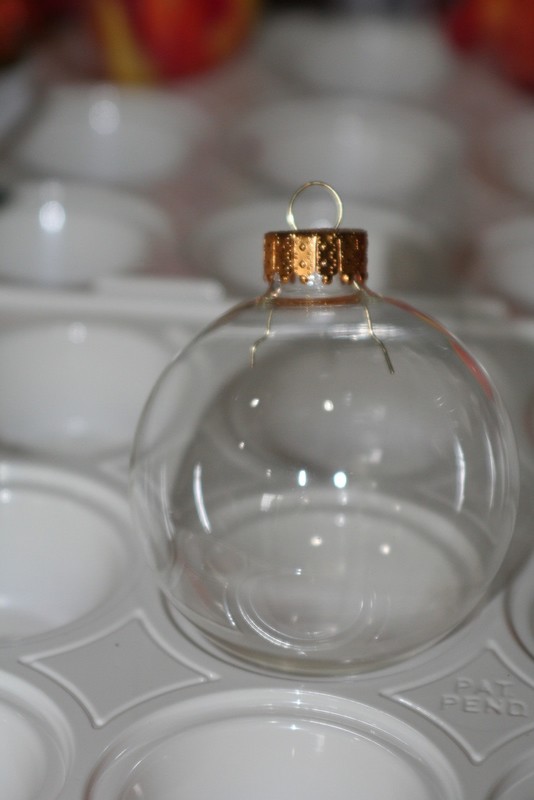
 Step 1
Remember those ornaments you made all pretty and shiny clean? Well, go get one!
-
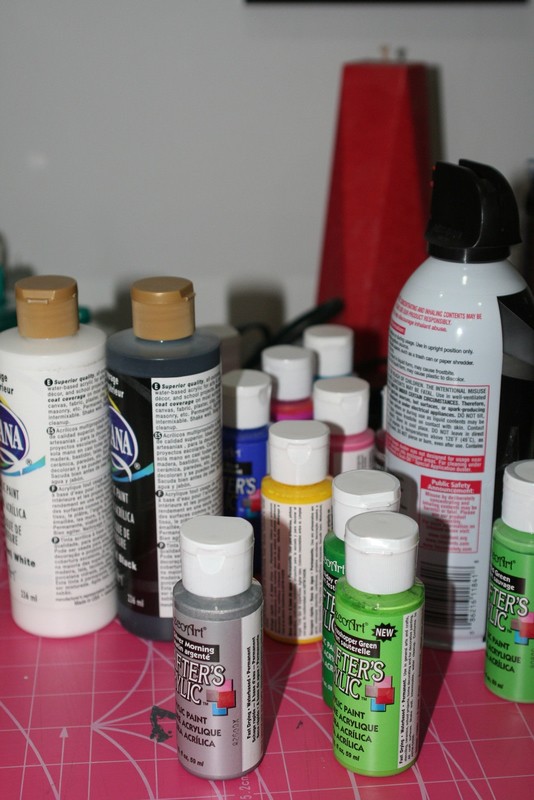
 Step 2
Gather you paints, and canned air. See that tall can with the black top on the right? That is canned air! :D
-
 Step 3
Put a few drops of the chosen color or colors, you can hold the ornament any way that makes it easy for you.
You will end up holding it at different angles to get the paint to various spots in the ornament.
Aim the "nozzle of the canned air at the lower edge of the paint spot and give it a quick blast of air.
-
 Step 4
A quick shot of air works better than trying to keep blowing the air.
The paint will go up the ornament and splatter.
On this one I had a bit much paint and blasted the air longer than a quick shot, but not to worry, it will be ok in the end.
Put your ornament to the side and do another one. Try to let them dry in between coats, for about 30 minutes. Like I said it takes a bit of patience, but so worth it.
-
 Step 5
Now that you spent the last 30 minutes or so tapping your fingers on the table waiting, choose your next color and put a dab in there, this is a bit much.
Now get your canned air and give it a quick shot of air.
Remember that you want to spray the air on the opposite side you want the paint to go.
-
 Step 6
Now put it down and tap those fingers for about 30 minutes or so, or better yet work on other projects!
That is what is so great about this project, I get to work on two at the same time!
-
 Step 7
Told you I like the fire colors, but trust me I made others too.
Once you get the splatter the way you like, let it dry completely.
You can either leave it so you can see through the glass, or once it is dry coat the inside with a color of your choice.


Comments