

About
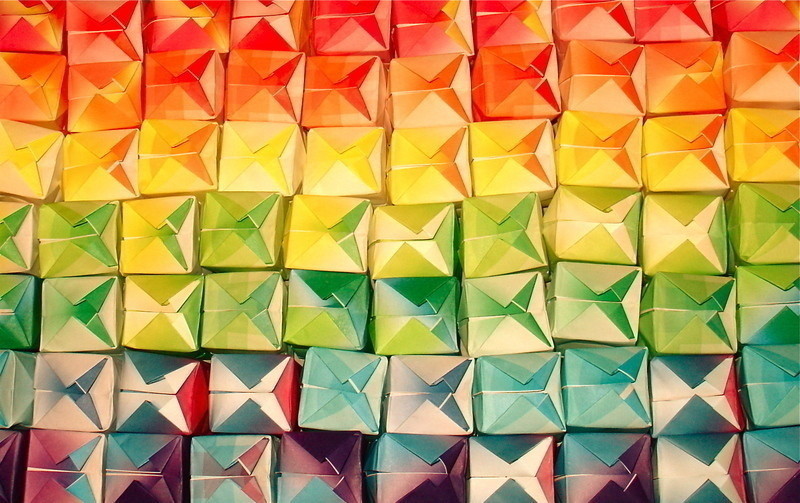
Rainbows in a box.
So for Christmas I made these paper balls to hand out and attach to my gifts. :P
They also are good tree ornaments because when you go to store them for the next year, they can deflate and pack flat. Then when the next year comes you can just simply re-inflate them.
I made 70 and they fit snugly in a shirt box, but could also be stored and displayed many other ways too.
WATCH OUT FOR PAPER CUTS! >:O
(Sorry for it being uber long!)
Tags
-
 Jordyn N. added Origami Paper Balls to Paper/Pen/Origami
13 Apr 16:12
Jordyn N. added Origami Paper Balls to Paper/Pen/Origami
13 Apr 16:12
-
 MandyCip_93 favorited Origami Paper Balls
02 Jan 18:34
MandyCip_93 favorited Origami Paper Balls
02 Jan 18:34
-
 lovey w. added Origami Paper Balls to one
30 Nov 04:53
lovey w. added Origami Paper Balls to one
30 Nov 04:53
-
 Munnazah C. added Origami Paper Balls to Origami and papercraft!
20 Oct 16:08
Munnazah C. added Origami Paper Balls to Origami and papercraft!
20 Oct 16:08
-
Munnazah C. favorited Origami Paper Balls
19 Oct 21:22
-
Oxie101 B. favorited Origami Paper Balls
20 Jun 20:59
-
Cindy N. favorited Origami Paper Balls
18 May 06:19
-
 Ada B. added Origami Paper Balls to Home Decor
14 Apr 12:28
Ada B. added Origami Paper Balls to Home Decor
14 Apr 12:28
-
 Risa.Hanae (JapZilla) added Origami Paper Balls to Paper
18 Feb 02:54
Risa.Hanae (JapZilla) added Origami Paper Balls to Paper
18 Feb 02:54
-
 nadine d. favorited Origami Paper Balls
24 Nov 22:09
nadine d. favorited Origami Paper Balls
24 Nov 22:09
You Will Need
-
 Step 1
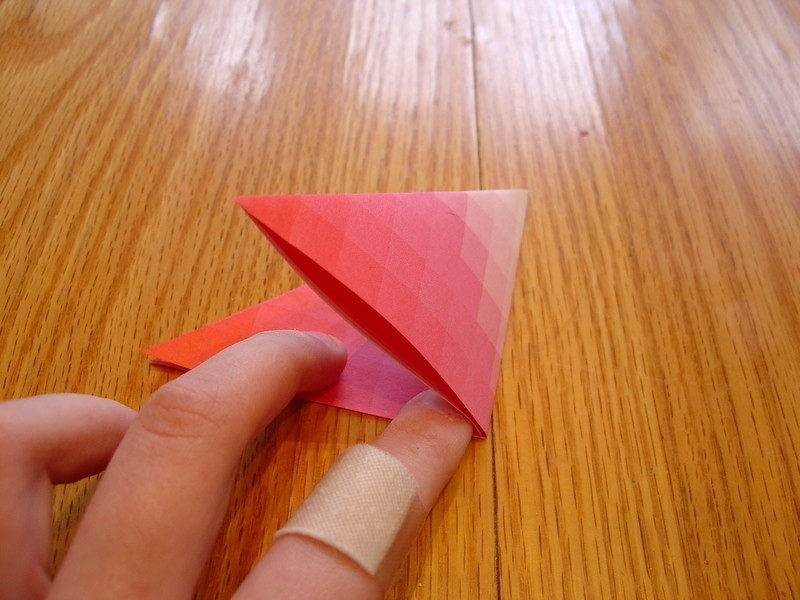
Fold your paper in half diagonally with the color print showing.
-
 Step 2
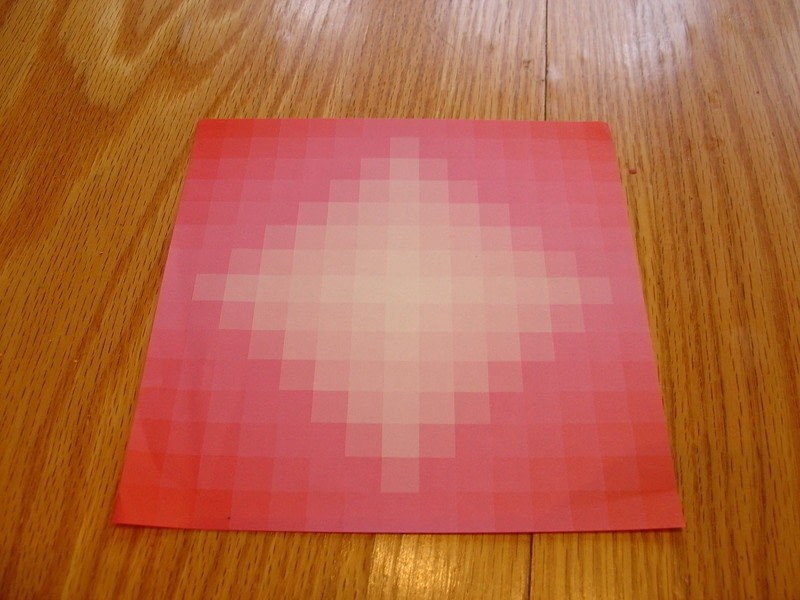
Start with your sheet of origami paper. I'm starting with a 6"x6" sheet.
-
 Step 3
Now fold the sheet again into a smaller triangle and crease.
-
 Step 4
And again, fold the sheet into a smaller triangle and crease.
-
 Step 5
Now open the sheet up, and you have some guidelines to work with.
-
 Step 6
Put you finger on the out triangles and pinch. It might not work at first, so play around with it.
You should end up with a shape like this.
-
 Step 7
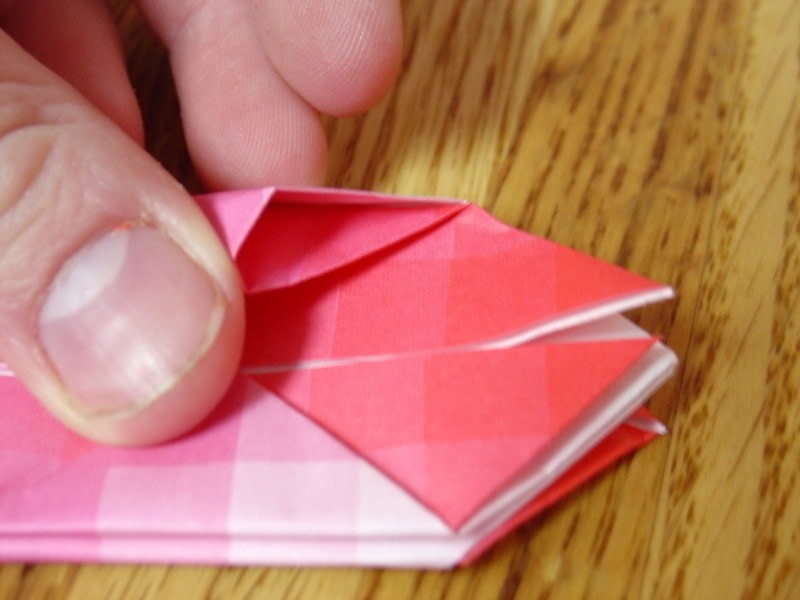
Lay the paper flat, and then crease the edges.
-
 Step 8
Now with the paper creased, take the two corners and pull up to the top to turn the large triangle into a diamond/square shape.
Repeat on the back.
-
 Step 9
It should then look like this.
-
 Step 10
Take the side flaps, and fold the tips into the center so that they touch the small slit in the middle.
-
 Step 11
After repeating this on all sides it should look like this.
-
 Step 12
To familiarizes your self with the next step I want to show you these flaps which you will need tot tuck into...
-
 Step 13
...these pockets...
-
 Step 14
...like so.
-
 Step 15
And repeat this on all side, two on the back and two on the front.
-
 Step 16
Now you want to bend the top and bottom points of the paper to weaken it so when inflated it forms a nice round shape.
-
 Step 17
If all these steps were done correctly, the paper should look like this.
-
 Step 18
Find the small hole at the bottom of the paper. This is where you are going to inflate it.
-
 Step 19
Puff it UP!
-
 Step 20
And you are done! Now make a tone more and admire it's beauty!


:|
but i had fun making it
Great tut!
:>
Nice job!