About
Fun decoration for kid's to make for Halloween paper craft using leaves for texturing and handprints for ghost shapes.
This was inspired by Crafty Lady Abby's Leaf Rubbing Tutorial. The ghosts were inspired by Crafts by Amanda http://www.craftsbyamanda.com/2010/09/halloween-hand-print-ghoul-banner.html
Tags
-
 Step 1
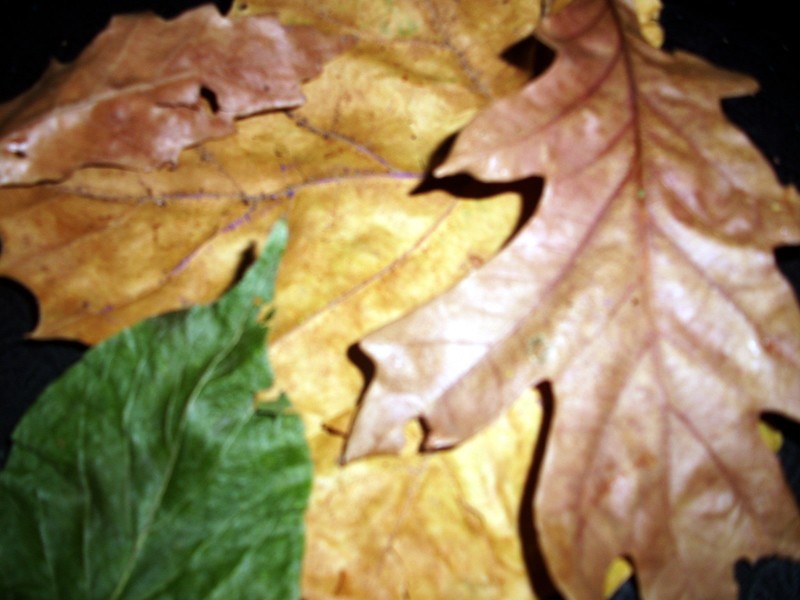
Gather up a few leaves
-
 Step 2
Print off the image that you want to color. Put the leaves underneath and rub the crayon back and forth horizontally to pick up the veins in the leaves to give it a more spooky effect.
-
 Step 3
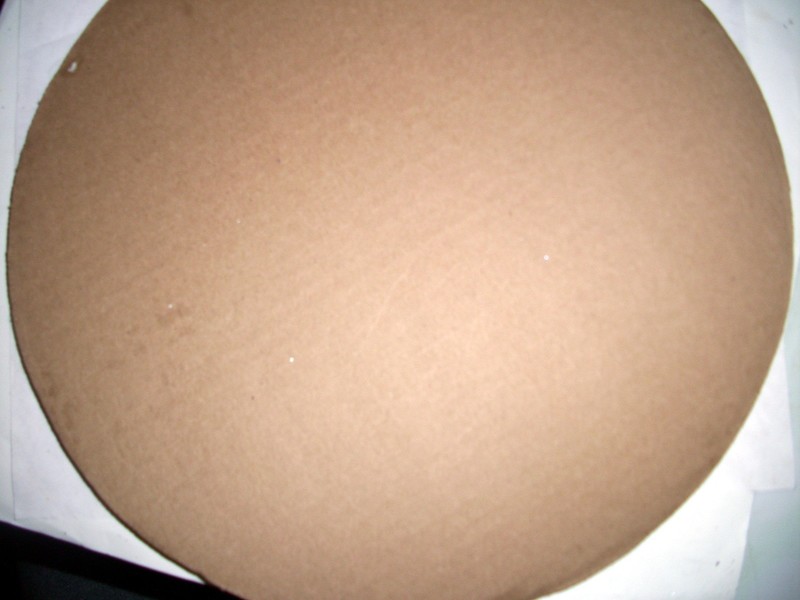
Place the cardboard circle on top of the picture, draw around the edges and cut off the excess. Use glue of a gluestick to glue the picture to the cardboard.
-
 Step 4
Next would be to draw the hand print "ghosts" by drawing around the hand on white paper and cutting it out.
The hand print I used for this project was for template of my son's hand when he was a year old. I used 3 sheets of white paper and got 8 "hand prints" on each page, but how many you need to go around the cardboard circle to make the wreath will vary depending on the size of hand used.
-
 Step 5
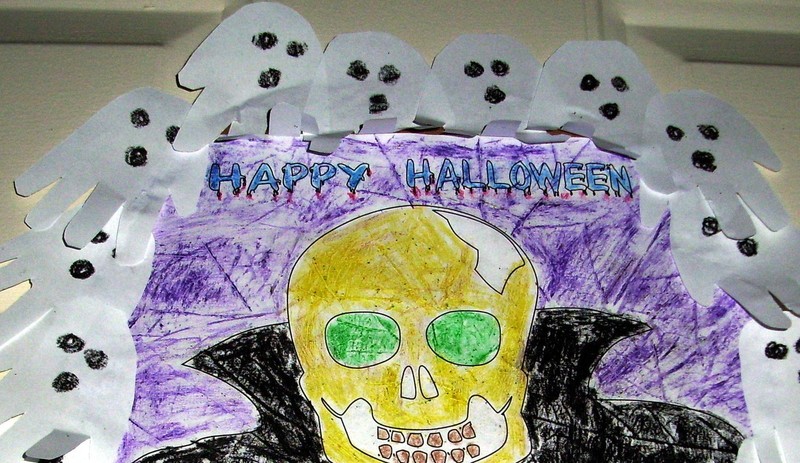
Make faces on the ghosts. For these just two circles for the eyes and one for the mouth were colored with a black crayon.
-
 Step 6
Glue on the ghost; I started at the top and overlapped slightly and bent up a bit to give it more dimension. and so you could see the lettering. On the sides I slid the ghost underneath slightly and and glued down. On the bottom overlapped the ghosts similar to the top.
If you want to hang up on a nail, glue a pop can tab at the top edge in back so the larger hole peaks over teh top, then tape over the bottom part to secure it.