


About
show your love for your kitchen and give it a nice do-over!
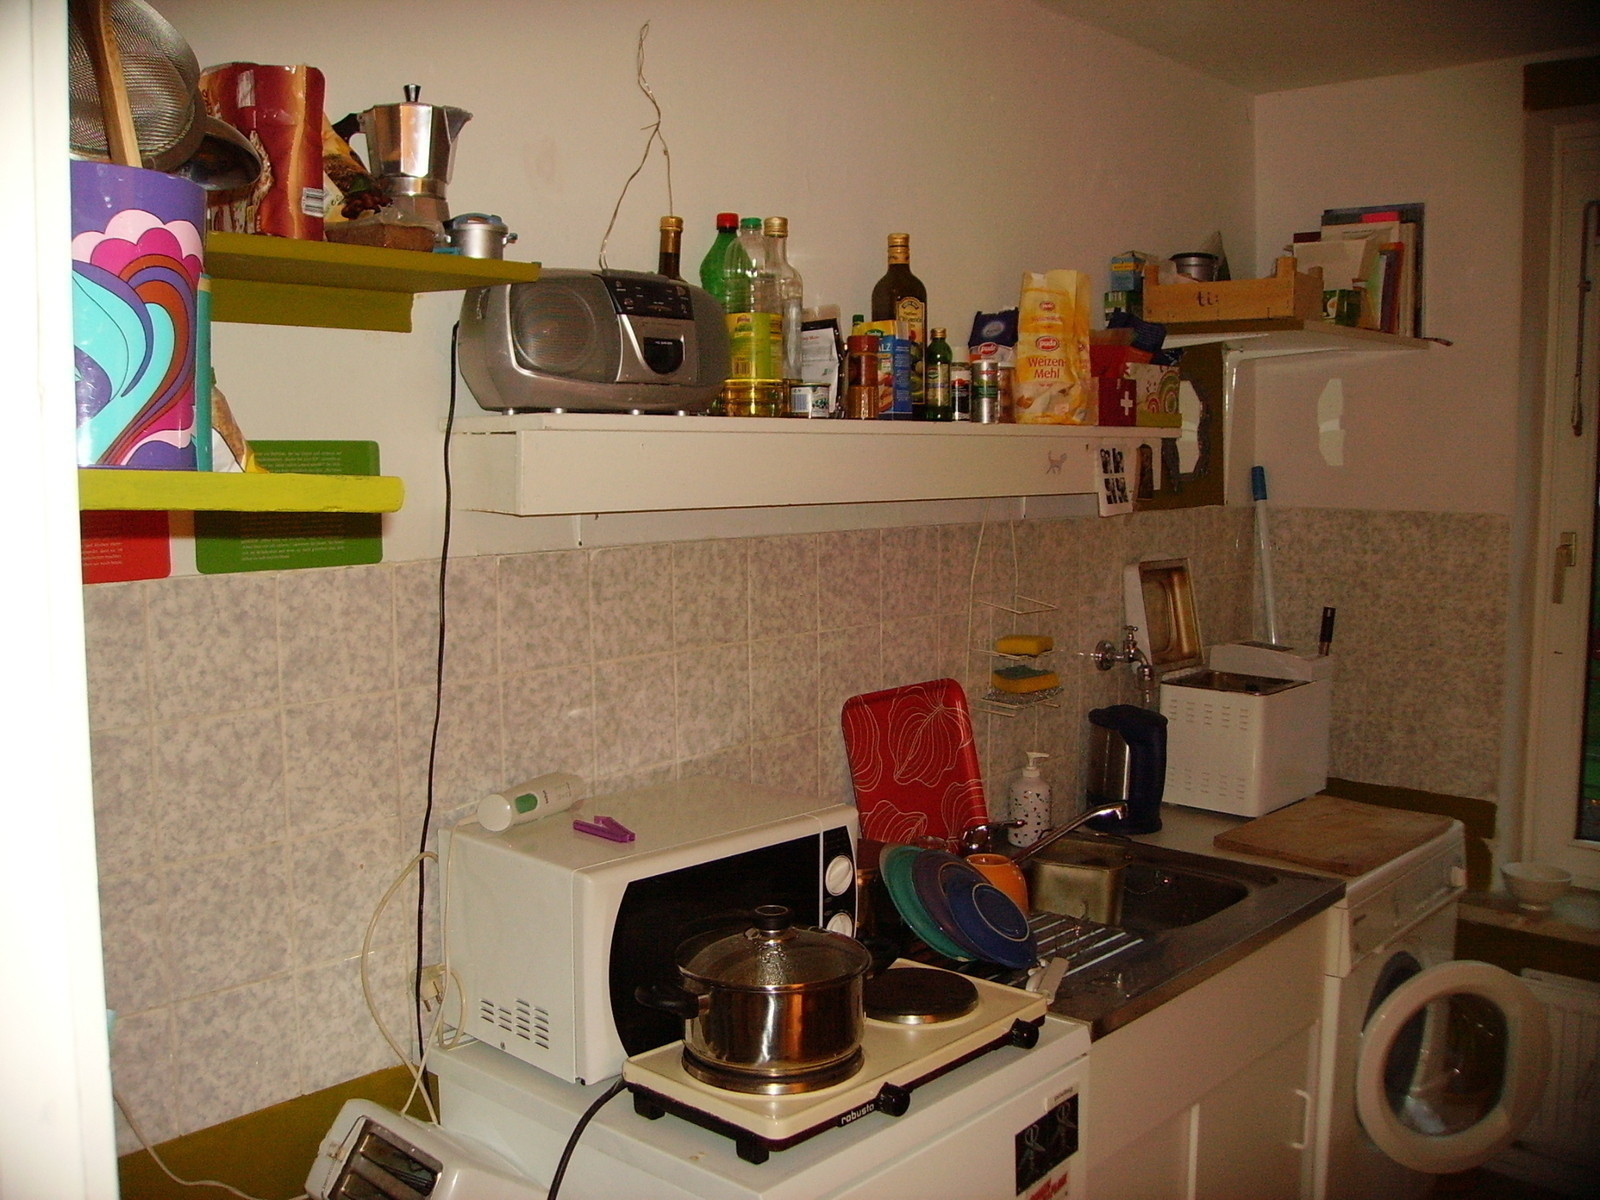
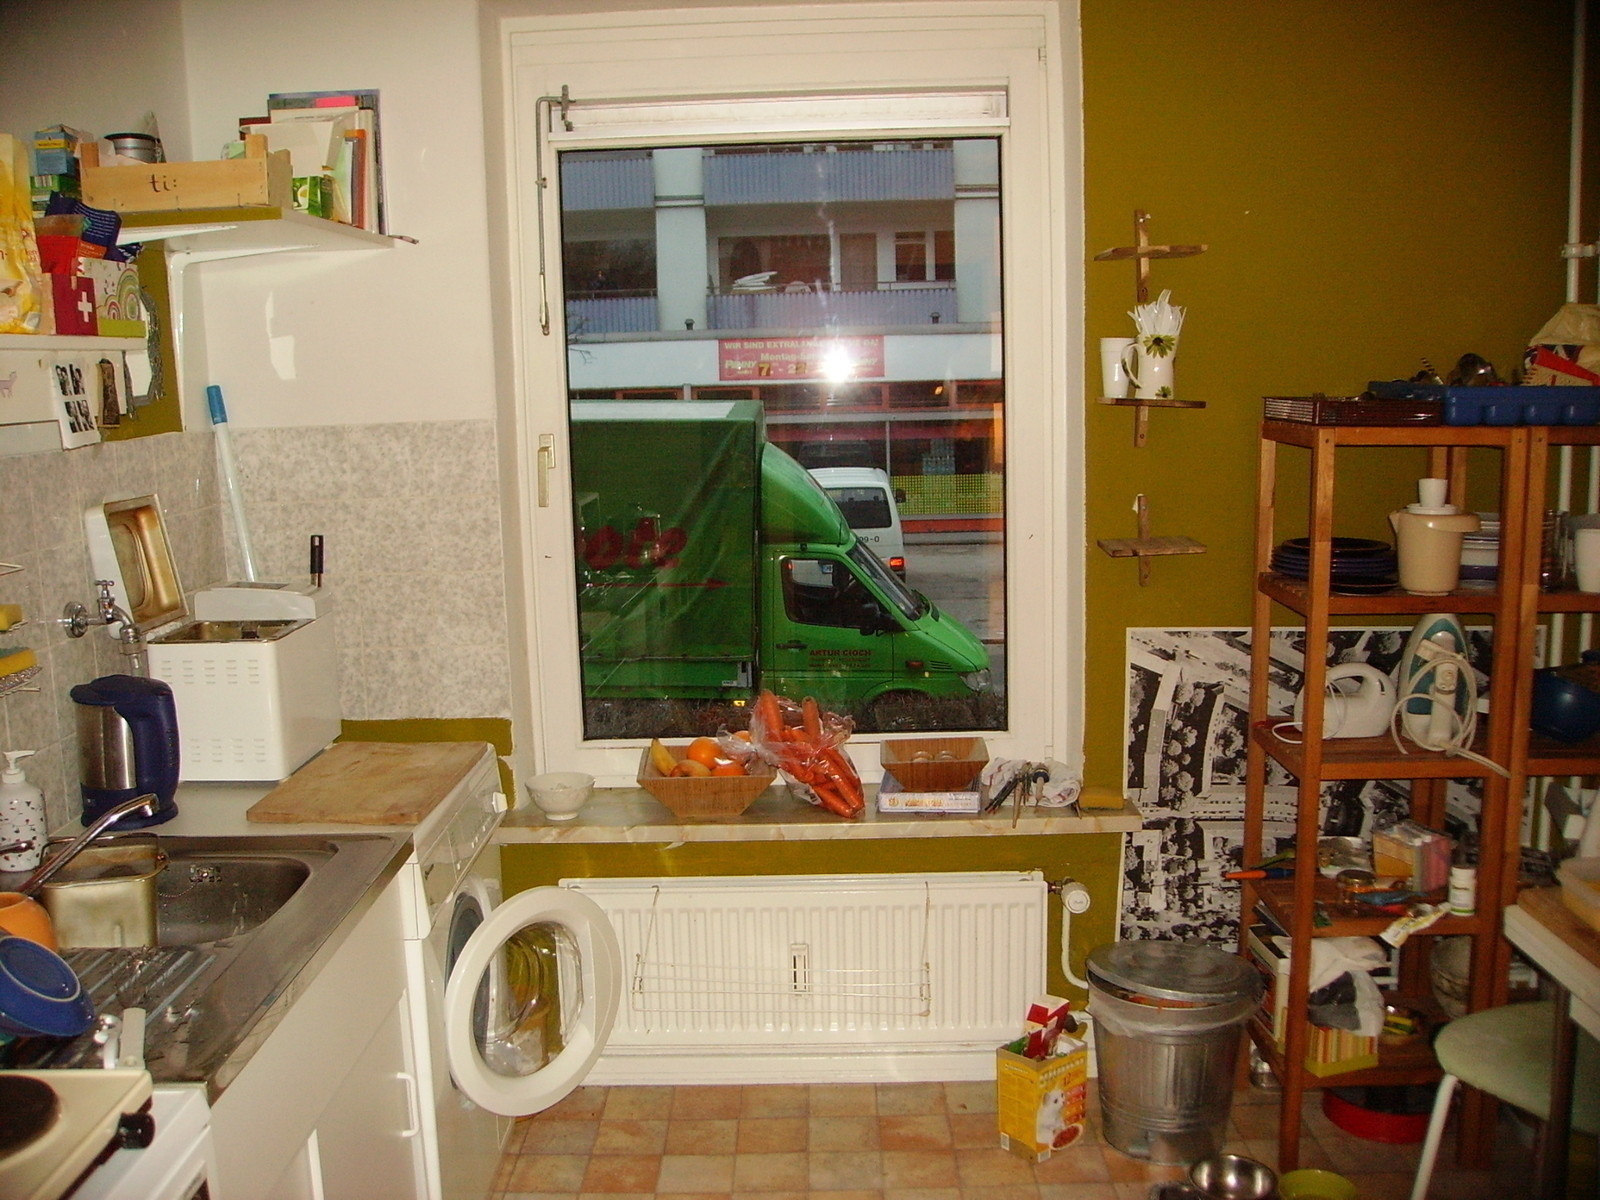
My kitchen had been looking somewhat sickly and not well cared for. So I thought I'd give it some love and attention and make it prettier.
I used only materials that I already had at home, so that's why it says project budget is free.
I uploaded some 'before' pictures which you can see at the top here.
The play dough recipe I used for the magets I took from here:
http://www.easy-child-crafts.com/salt-dough-recipes.html
Tags
-
 fanita1024 favorited Kitchen Make Over
07 Aug 17:01
fanita1024 favorited Kitchen Make Over
07 Aug 17:01
You Will Need
-
 Step 1
Decide a colour scheme. Rooms usually look somewhat prettier when you match the colours a bit.
I went with this light bogey green that I already had on my walls, a brown that I got from my shelves and cutting board and a mustardy yellow.
-
 Step 2
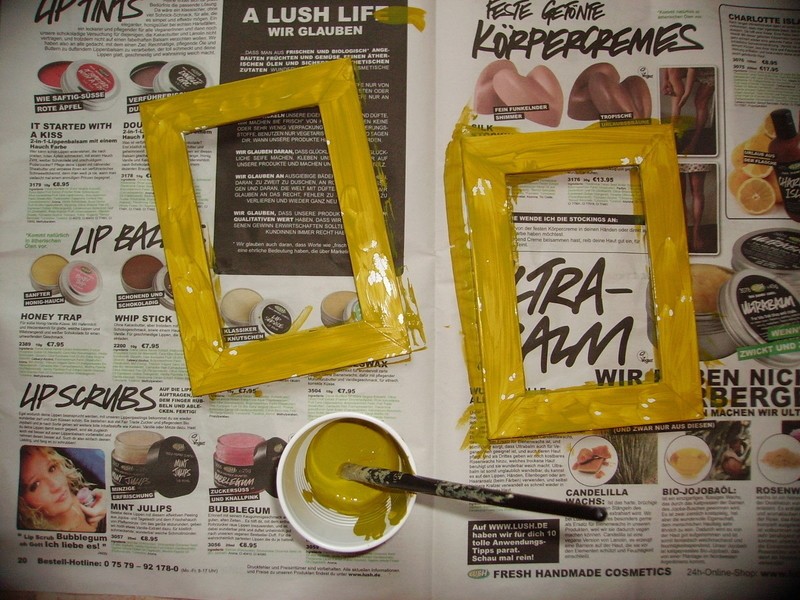
Paint stuff in those colours!
Things that you already have in your kitchen like wood boxes and picture frames and decide where you'll want them after the make-over. Paint them so the colours will complement each other.
-
 Step 3
For making the shelf over the sink a bit more interesting, I thought I'd adorn it with some owls. Cause everything's better with owls on it.
-
 Step 4
I made these by painting cardboards and then cutting the pieces from it. If you need the templates, leave a comment and I'll add them.
-
 Step 5
Make a shopping list ("einkaufen" is German for shopping) with blackboard paint.
-
 Step 6
Revamp your chairs!
Inspired by this Video:
http://www.youtube.com/watch?v=0XM3vWJmpfo
I put a bird on it with fabric paint.
-
 Step 7
Revamp your clock!
If you have a lame IKEA cloack like me, think about doing something to it. I used gold spray paint and bird pictures. I think it looks wonderfully tacky but my boyfriend wasn't too amused!
-
 Step 8
Paint some flower pots and get some leafy life into your kitchen. I sowed some kitchen herbs and made little flags so I could observe thir progress.
-
 Step 9
... and put them in a cool place.
I got these mini-shelves from IKEA and tehy were really cheap.
-
 Step 10
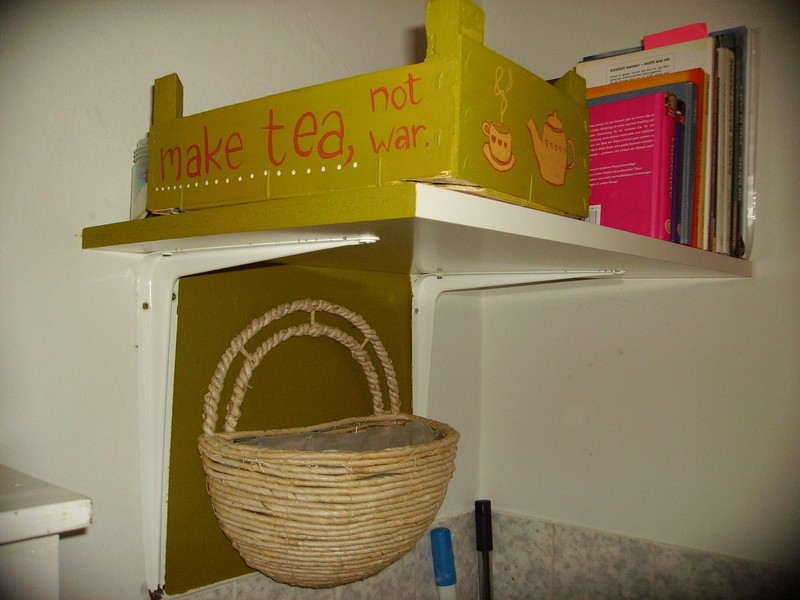
Think about decorating your boxes according to what you put in it.
This, as you can see, is where I keep my tea!
-
 Step 11
Or, just stress the fact that they're boxes :).
-
 Step 12
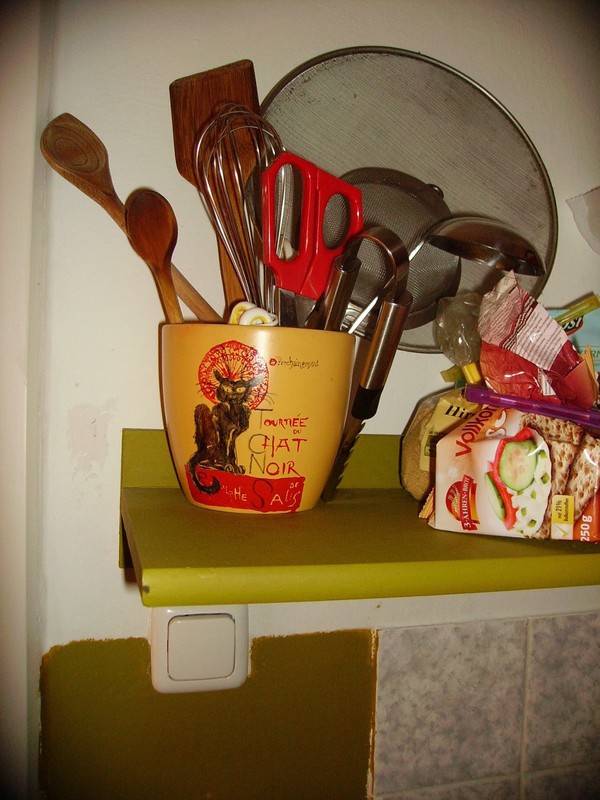
This one I painted a while ago.
I think a pot with your kitchen utensils in it looks ver cute.
-
 Step 13
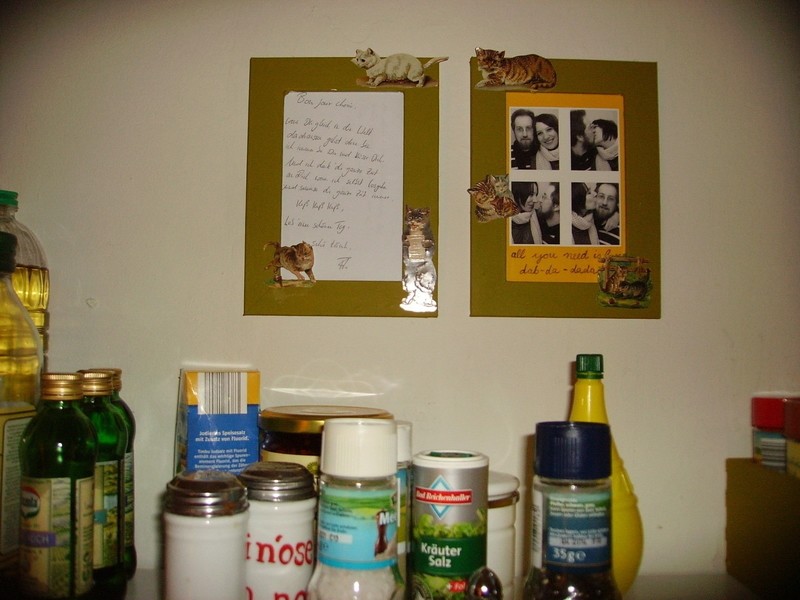
Decorate some pictureframes and out in nice pictures of your family and lived ones.
-
 Step 14
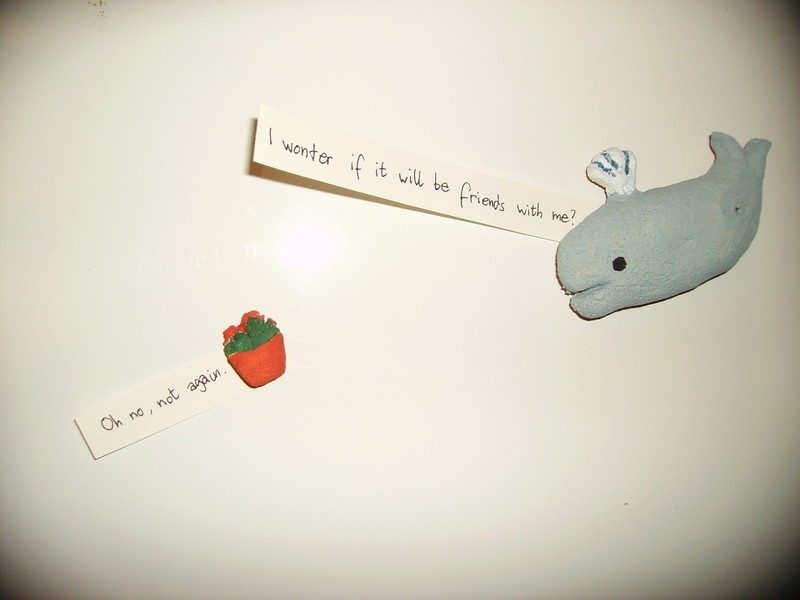
Make some fridge magnets! They're great for holding recipes and they're ever-so-cute!
Basic Salt Dough Recipe
1 cup of fine salt
1 cup of flour
1/2 cup of water (may add more)Mix it all up and start moulding! When you're done, bake your creations for a long time and at a low temperature so they dry and harden.
Afterwards, paint them with any paint you have (I used simple watercolours) and glue a magnet to the back.
-
 Step 15
Rejoice in your beautiful new kitchen!
If anyone wants more detailed instructions to any of the steps, let me know. I didn't really plan this as a how-to cause they are rather personal modifications but I hope I inspired some of you!


I enjoy the simplicity of your kitchen, nice job!
I enjoy the simplicity of your kitchen, nice job!