


About
Protect Your Ideas
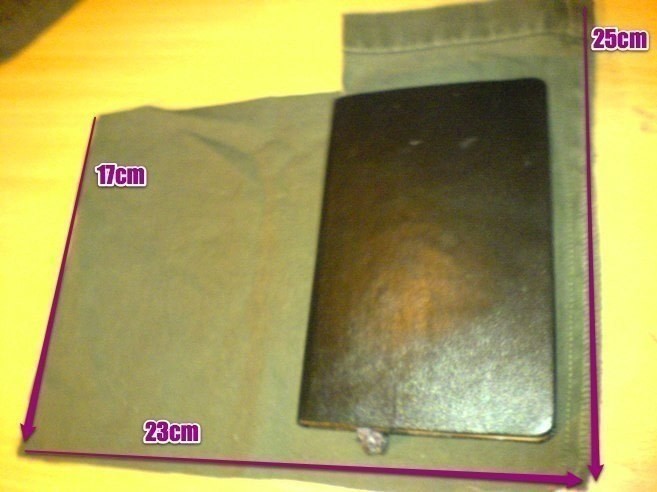
I needed something to protect my notebook from getting wet(from the rain) inside my bag. This is what I came up with :D
-
 Step 1
Take the piece of fabric you are using for your liner and measure out where you are going to cut. I measured out 23cm wide and 17cm high on one side and then 25cmhigh on the right side and top middle for the flap
-
 Step 2
sorry for some reason it wouldn't upload in the box above :)
The top piece is your flap. -
 Step 3
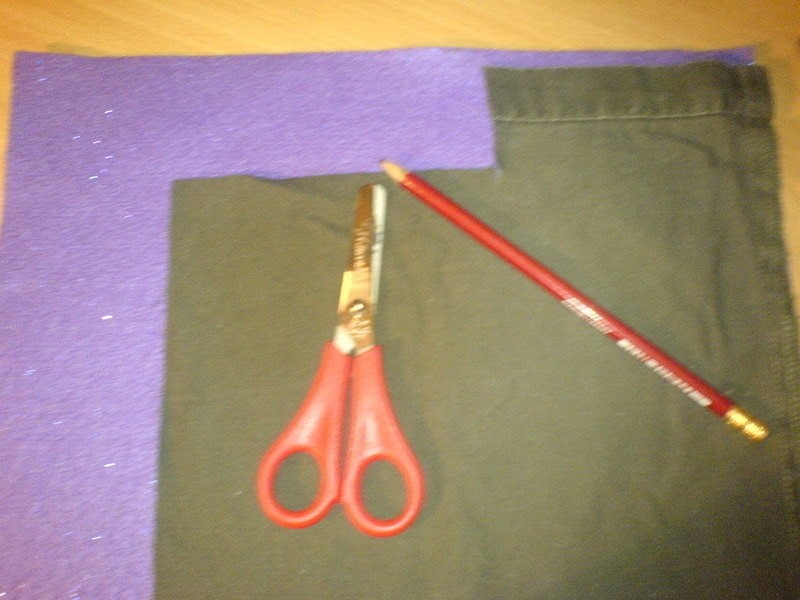
Now place your liner fabric on top of your felt/outer piece.
I marked just a little further out from the edge of the liner about 1-2 cm, for the blanket stitch.Cut out the felt piece and leave aside for later.
-
 Step 4
Fold the liner piece together with wrong sides out and pin in place. Now is when you should sew across the top piece of the opening(I didn't and it was awkward) You can hand sew or machine sew. I did it by hand and I used invisible thread, more as an experiment than a necessity.
-
 Step 5
Sew along the bottom and side seams
-
 Step 6
Trim off excess and uneven edges. Place aside to make up your outer case.
-
 Step 7
Sew along the top entrance to the case, again I used the invisible thread :)
-
 Step 8
Fit your liner inside the felt case before you sew it up(put the notebook in too) so you are alright with your size.
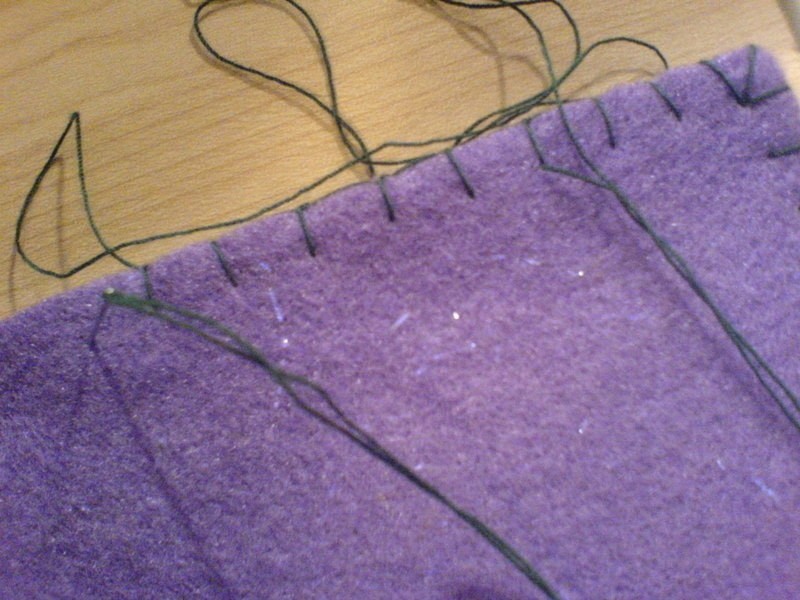
Remove the liner and match up the sides of the felt, wrong sides facing and using your embroidery thread, start your blanket stitch, going around the base and the side seams. I found an amazing tutorial here
http://www.futuregirl.com/craft_blog/2007/09/tutorial-hand-sew-felt.html -
 Step 9
Fit your liner inside your felt case and pin the flaps together. Sew around, I used the invisible thread, but you can machine too.
Make sure the liner is in the right place inside the case and not twisted. -
 Step 10
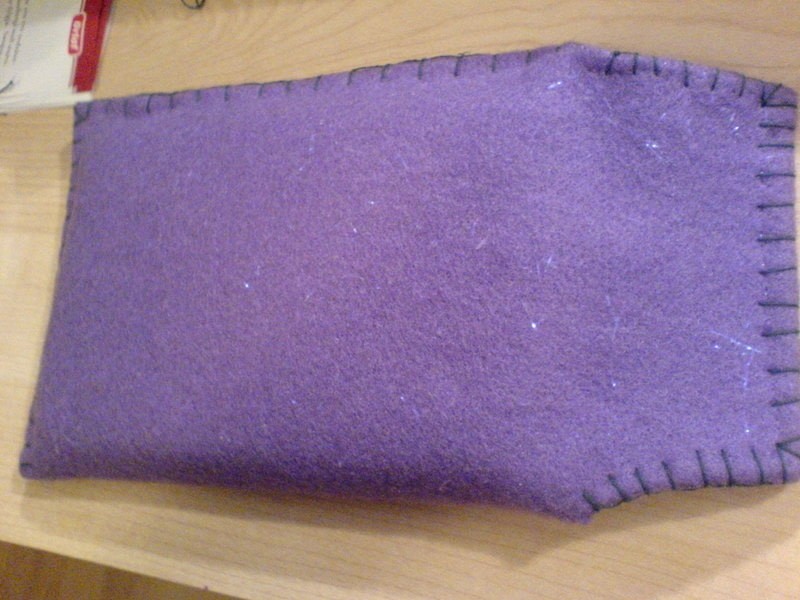
Use the blanket stitch around the flap.
-
 Step 11
Sew any embellishments on.
-
 Step 12
I sewed a button on the front, but didn't want to make a button hole, so I sewed a few strands of the embroidery thread to the inside of the flap and used that to wind around the buttton.
-
 Step 13
Now you are done. There is enough room on the inside to slip a pencil or pen in there too.
Sorry it's sideways, you couldn't view the whole thing when it was rotated :(


Lol Cat I never thought about that
Zualezu, I look forward to see yours
I will show you the result