


About
How to Make Friendship Chips
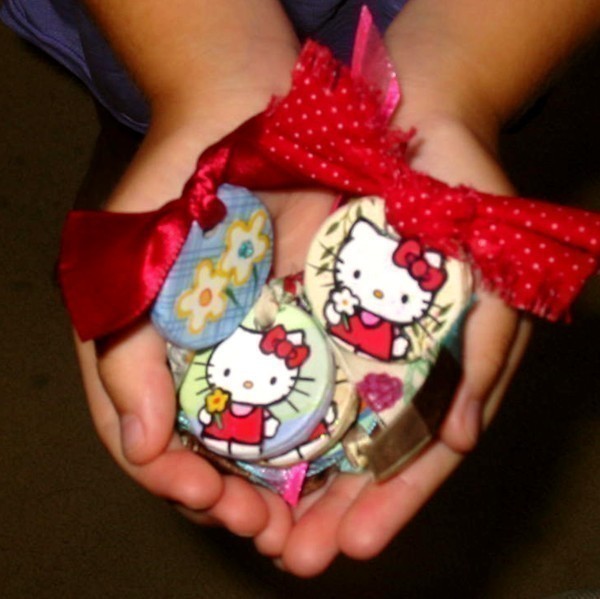
I make these "Friendship Chips" for my children who like to pass them on to friends. It can be hung from a cord and used as a necklace or attached to a keyring. If you have enough people making these chips, your child can collect and trade them with others. It's pretty simple. Lately I've been having trouble finding the chipboards locally but I've gotten some online at craft stores. Have fun!
Use 2 chips to make 1 Friendship Chip.
-
 Handmade Cute entered their project Friendship Chips to PLAY CRAFT: Contest
31 Mar 21:58
Handmade Cute entered their project Friendship Chips to PLAY CRAFT: Contest
31 Mar 21:58
-
Step 1
Place a little glue on one side of the chip and completely cover with paper then glue down the edges in back. (The back of your chip will not be seen).
-
Step 2
Use stickers to decorate your chip (optional).
-
Step 3
Make a hole at top of each chip with an eyelet punch. (Use the first punched chip as a template for the second chip so the hole will be in the same place.)I use a 3/16" punch.
-
Step 4
Glue the back side of chips together, matching holes.
-
Step 5
Cover side seams of chip with a small strip of paper.
-
Step 6
Optional: Glaze. When dry decorate further with gems, ribbons, glitter pens, etc.
Comments


