


About
“I’ll Let You Borrow My Four Leaf Clover”…pattern
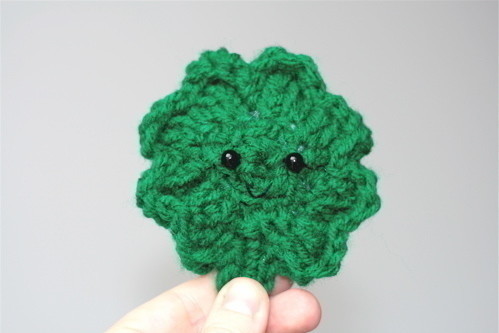
Well, not only will I let you borrow my four leaf clover pattern, I will let you keep it and make as many as you want! Okay, St. Patrick’s Day is approaching, but additionally, most of us are looking for something in that elusive luck department. Wherefore art thou, luck? (The same place your retirement fund and free time are). There’s no room for three leaf clovers this season–only FOUR leaf will do. And smiles make everything better. Behold Four Leaf Clover Buddy.
Tags
-
 Emma H. favorited Four Leaf Clover
11 Mar 21:44
Emma H. favorited Four Leaf Clover
11 Mar 21:44
-
 Tina S. favorited Four Leaf Clover
12 Feb 19:43
Tina S. favorited Four Leaf Clover
12 Feb 19:43
-
Jessie D. added Four Leaf Clover to To Do Yarn Crafts
19 Nov 05:08
-
 Rae favorited Four Leaf Clover
17 Mar 14:37
Rae favorited Four Leaf Clover
17 Mar 14:37
-
ellie j. favorited Four Leaf Clover
16 Mar 06:14
-
 Nancy! favorited Four Leaf Clover
13 Feb 17:33
Nancy! favorited Four Leaf Clover
13 Feb 17:33
-
Carlee S. favorited Four Leaf Clover
14 Sep 21:19
-
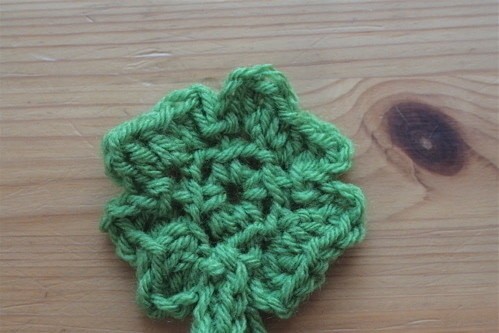
 Step 1
The dark green version is made using a G hook, the lighter green with the J hook. G hook version measures 3 inches across and 3.5 inches tall while the J hook version is just shy of 4 inches across and 4.25 inches tall.
With G or J hook and green yarn, ch 4 and sl st to first ch to form a ring.
Ch 1. *sc into ring, ch 3.*
Repeat between * * 3 more times. Join to beginning sc.
[sl st into the back loop of the first ch of the 3-ch (actually into the back loops, not just the space). Ch 3, 2dc in this space. In 2nd ch of the 3-ch, sc. In 3rd ch of the 3-ch, 2dc, ch 3 and sl in space.] (This forms the first leaf of the clover)(This is me working into the back loop of the ch)
-
 Step 2
Repeat between [ ] three more times in remaining 3-ch’s.
Sl st in beginning ring, ch 5 and sc across. Sl st in ring again. Finish off.Repeat all of the above once more, but don’t finish off. On this second clover, weave the first tail in back over the center hole. I also take extra yarn and sew/gather in the places where there are gaps in the yarn, just so the stuffing doesn’t poke through. (This happens more when using a bigger hook).
-
 Step 3
or the face, embroider two bead eyes on the second clover using the pictures as a guide and sew on mouth.
With wrong sides facing, sc around to join the leaves of the two clovers, making a sl st in both the places where you made a sc (between the sets of dc) and in the spaces between each leaf. Stuff before you hit the stem. Sl st the two stems together.
Now put Four Leaf Clover Buddy in your pocket and get lucky! Er, something like that.


Thanks for sharing