


About
But as some things must be, they were sacrificed in the name of ART!!
I've had a set (4) of these foam place mats since my wedding in 1996. We actually use them every day still! But as some things must be, they were sacrificed in the name of ART!!
You can probably tell that the large jar lid I used is a peanut butter lid. If your image(s) are small, you can use the lid of a liquid bottle such as a water or soda bottle.
You Will Need
-
 Step 1
OK, so as mentioned, trace your lid on the back side of the place mat so you know how much space you have for your design.
Draw an image within your traced area.
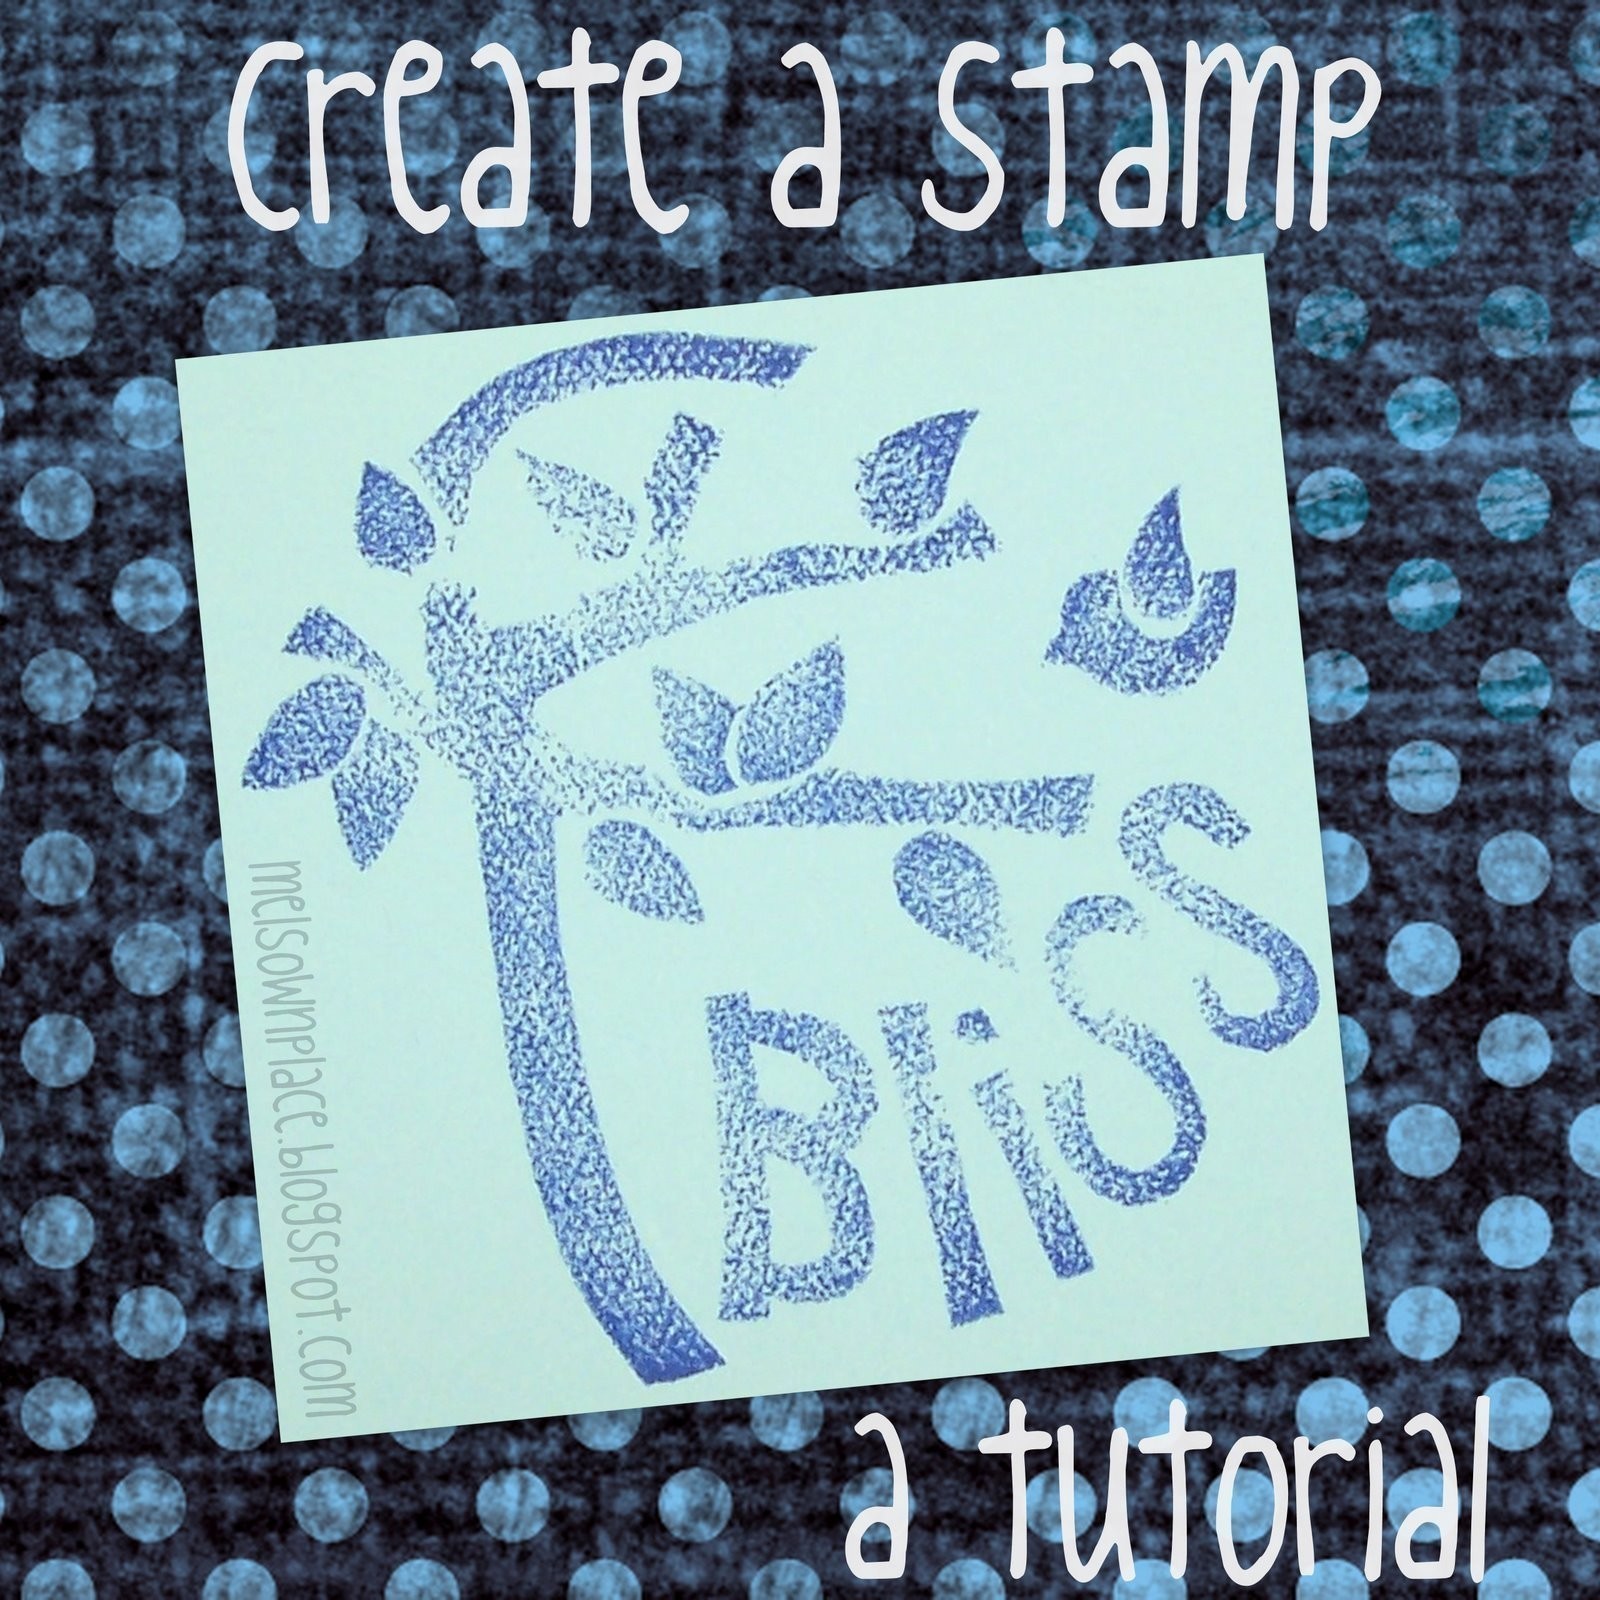
After I got mine drawn and cut I was left with some negative space and I wanted to use it all up so I cut out the word 'Bliss' (a word I find enchanting!).Remember that letters and numbers need to be backward so that when they are stamped, it will read correctly.
-
Step 2
I used industrial strength craft adhesive, E600 glue. I used a small paint brush to apply the transparent glue to the front of the place mat cut out.
Allow the glue to dry.
Mine had about 3 hours to dry while I went out to dinner!
I was so excited to come home and try it out! -
 Step 3
I used a regular stamp ink pad and pounced the ink pad onto my created stamp.
Before you apply the stamp to paper, make sure your ink has covered the entire image.It is best to stamp onto a hard surface such as a table top. I had to press my stamp in several areas to make sure that the ink was transferred evenly.
Hold your breath . . . and . . . STAMP!
I love the texture that the back side of the place mat gives!
-
 Step 4
I of course couldn't stop at just one! I used a smaller milk lid for these petals.
I think this stamp would make fun wrapping paper or a great print for fabric!You can make stamps to make greeting cards, wrapping paper, business cards or to make your own designer fabric! Make sure to use the appropriate ink for your projects such as fabric ink if you plan to stamp on fabric.
I hope you try it!
I can't wait to make some more!! -
Step 5


Comments


