


About
A transforming sushi to fish, fish to sushi plushie.
I'm obsessed with sushi, so I made some fish-friendly sushi!
Here are all of the templates you need for this project. You can download and print out the template here:
Don't worry if you can't print it out, just make up your own templates, it's pretty easy.
Tags
Downloads
- fishtosushitemplates.pdf 196 KB [ Download ]
-
 Rhianna S. favorited Fish To Sushi Plushie
12 Sep 02:42
Rhianna S. favorited Fish To Sushi Plushie
12 Sep 02:42
-
 Key West Witch favorited Fish To Sushi Plushie
26 Jun 03:37
Key West Witch favorited Fish To Sushi Plushie
26 Jun 03:37
-
 Hoverboard Pro favorited Fish To Sushi Plushie
02 Sep 15:53
Hoverboard Pro favorited Fish To Sushi Plushie
02 Sep 15:53
-
 Brittney S. added Fish To Sushi Plushie to Made
07 Jul 05:55
Brittney S. added Fish To Sushi Plushie to Made
07 Jul 05:55
-
 Crystal added Fish To Sushi Plushie to Sewing Projects~
18 May 16:28
Crystal added Fish To Sushi Plushie to Sewing Projects~
18 May 16:28
-
 Joyce C. favorited Fish To Sushi Plushie
10 Mar 17:17
Joyce C. favorited Fish To Sushi Plushie
10 Mar 17:17
-
 Ellis Farmer favorited Fish To Sushi Plushie
11 Jul 06:51
Ellis Farmer favorited Fish To Sushi Plushie
11 Jul 06:51
-
 Curie J. favorited Fish To Sushi Plushie
27 Apr 03:25
Curie J. favorited Fish To Sushi Plushie
27 Apr 03:25
-
Blondell K. favorited Fish To Sushi Plushie
11 Mar 19:15
-
 HylianWriter534 favorited Fish To Sushi Plushie
08 Feb 06:52
HylianWriter534 favorited Fish To Sushi Plushie
08 Feb 06:52
-
 Step 1
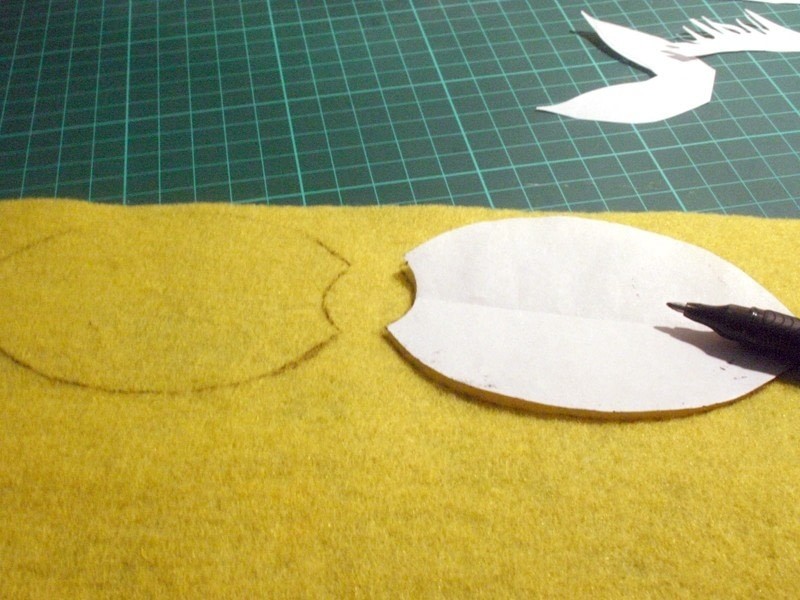
Cut out all of the templates. Notice how the small circle is designed to fit inside the fish's mouth.
-
 Step 2
Take the fish body template and draw around it on the yellow felt, flip it over and draw around it again.
-
 Step 3
Cut these felt shapes out.
-
 Step 4
Draw around the fish tail, fin and flipper templates twice on to orange felt, remembering to flip the template before drawing the second.
-
 Step 5
Cut these out.
-
 Step 6
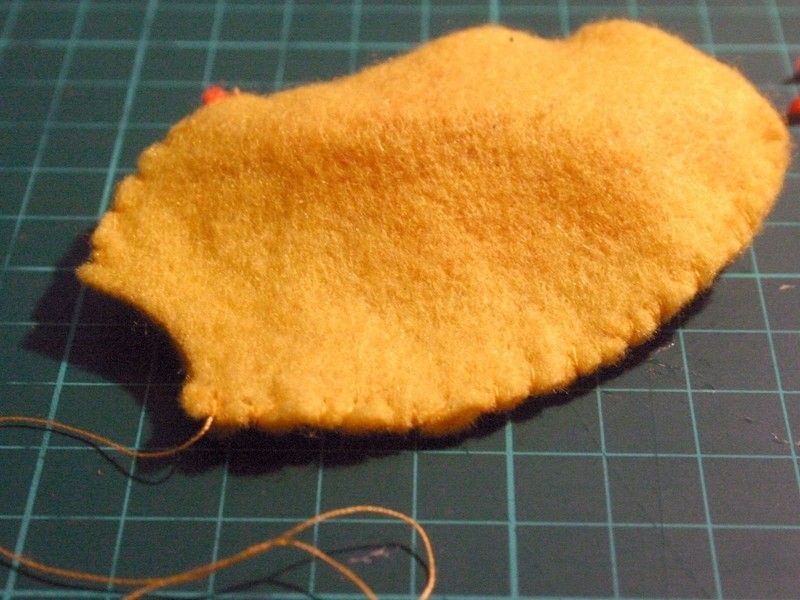
Thread a needle with yellow thread and place the two felt fish bodies together, so that the wrong side (the side that may have a bit of pen around the edges) face out.
Start stitching around the fish with a hemming stitch, working backwards from the mouth.
-
 Step 7
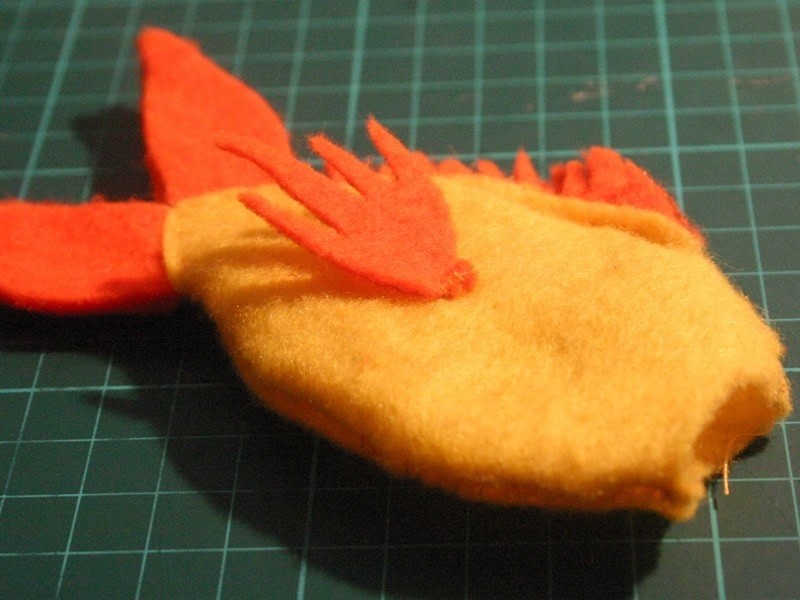
When you get to the places where the back fin and tail should go, flip the fish inside out, place the two pieces of fin or tail (right side facing out) in between the body and stitch in place with a running stitch.
-
 Step 8
Flip the fish inside out again and continue sewing. Stop when you reach the mouth, you want to leave this unstitched and open.
-
 Step 9
Flip it again so that the right side is facing out. Stitch the two flippers on to either side.
-
 Step 10
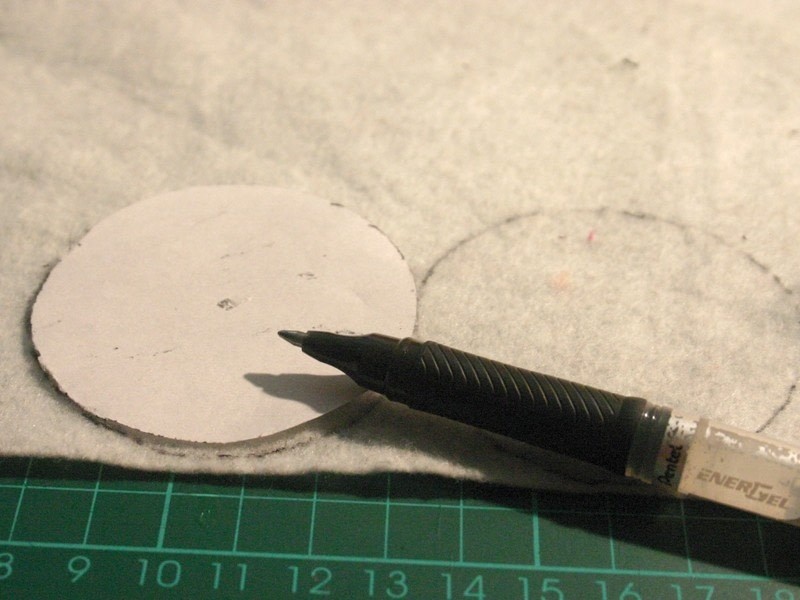
Take the white felt and draw around the large circle template twice.
-
 Step 11
Take the small circle template and draw around it in the center of one, and only one, of the felt circles.
-
 Step 12
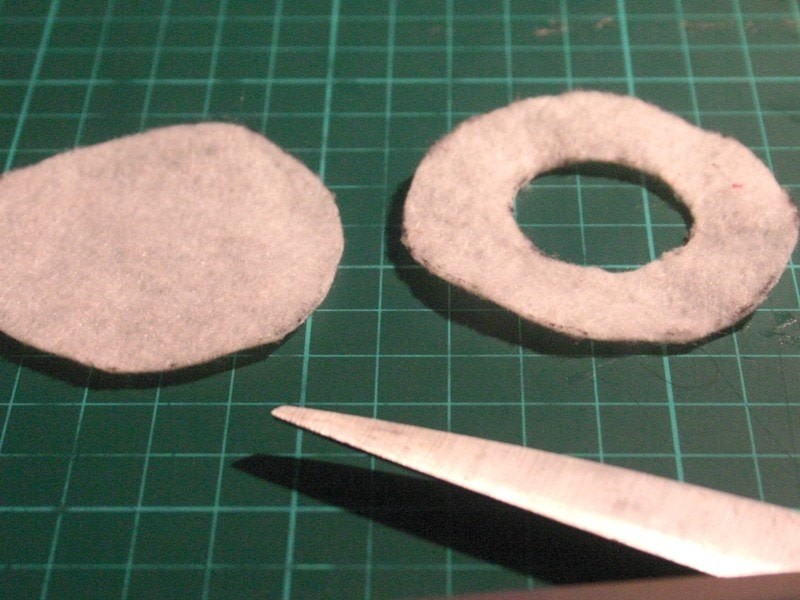
Cut out the two larger circles and cut out the small circle from the center of one of the circles.
-
 Step 13
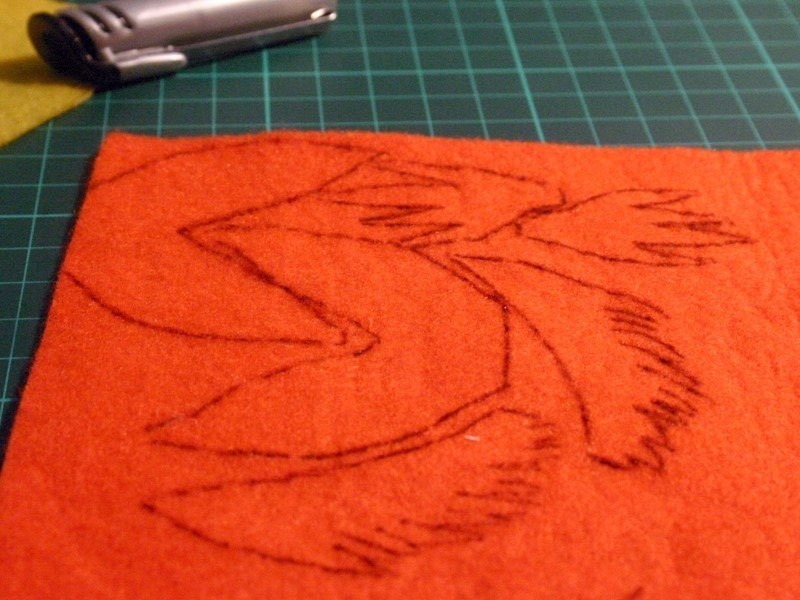
Draw around the sushi seaweed template on to the green felt and cut it out.
-
 Step 14
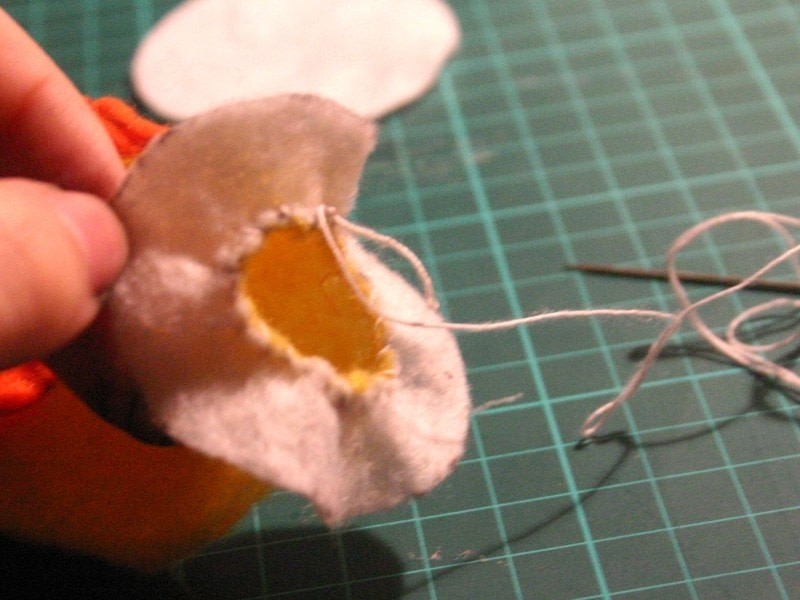
Thread a needle with white thread. I used quite thick thread for this as this part of the fish and sushi will have the most wear and tear. Place the fishes mouth around the inside circle and stitch in to place. Put this to the side for the moment.
-
 Step 15
Take the second circle and the strip of green felt and stitch the green felt around the circle.
-
 Step 16
When you've stitched all the way around the circle, stitch up the open side and cut off any excess green felt.
-
 Step 17
Now take the circle with the fish (wrong side facing out) and stitch around it on to the green felt, leave a tiny unstitched opening so that you can turn it inside out again. Turn inside out (so that the right side is facing out and stitch up the rest of the sushi.
-
 Step 18
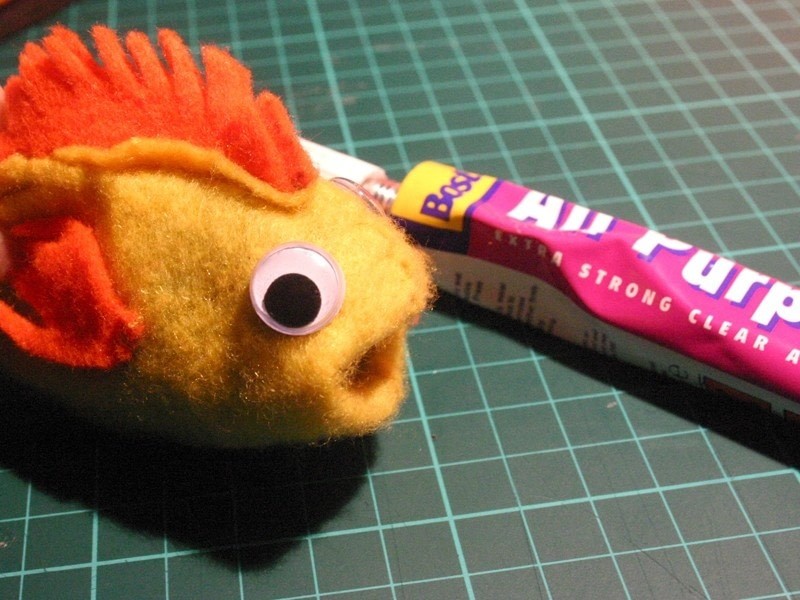
Glue some wiggly eyes on to the fish.
-
 Step 19
Voila! Now have fun turning the fish in to sushi and the sushi in to fish. It's like magic!


Versions
See all 72 »


Comments


