
About
Make your own traditions with DIY Christmas stockings!
I love to decorate for the holidays but the cheesy options in the store just don't cut it. I think the best way to start new traditions for the holidays is to make the decorations yourself. I LOVE our new mustache stockings! I'd love to know your thoughts and see what you come up with!
Tags
-
 Evelyn M. favorited Diy Christmas Stocking
10 Sep 04:09
Evelyn M. favorited Diy Christmas Stocking
10 Sep 04:09
-
 chelsabo favorited Diy Christmas Stocking
27 Dec 04:42
chelsabo favorited Diy Christmas Stocking
27 Dec 04:42
-
 Step 1
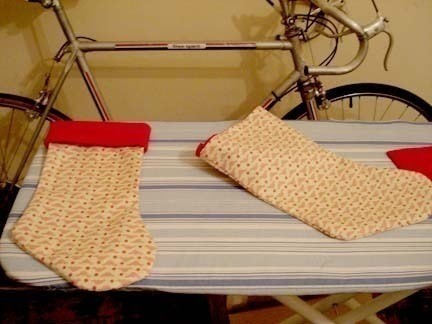
First, pick out the fabric you want to use. I chose a printed canvas that was on sale at Hancock's in the remnants section. I paid $1.99 a yard! They looked like tiny mustaches so I couldn't resist! I also had some scrap red felt that I wanted to use for the stocking cuff.
-
 Step 2
I bought a 50 cent stocking at Garden Ridge to use for a pattern, but you could probably just guess the shape you want to use. I pressed the canvas with the iron before cutting out the pattern. I just placed the Garden Ridge stocking on top of the canvas and cut out the shape of the stocking and then the cuff. It's okay to fudge a little and not be exact. This is all for you, so no need to stress!
-
 Step 3
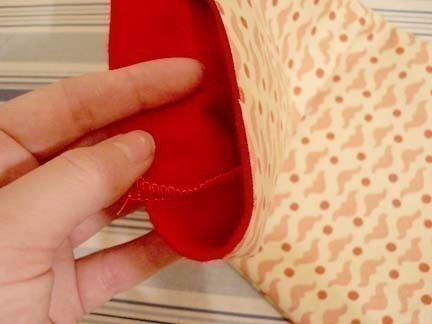
I cut the shape of the cuff following the store-bought stocking and serged the seam. A straight stitch would also suffice, no need to get fancy! I also serged the raw edges of my stocking together and turned it inside out. Then place the felted cuff inside the stocking matching the top edges with the wrong side of the canvas touching the right side of the felt.
-
 Step 4
I then sewed the two raw edges together and turned the felt to the outside for the cuff. The stocking is almost complete. You could leave this as is, since the felt raw edge looks fine. I chose to turn the raw edge under and stitch the hem.
-
 Step 5
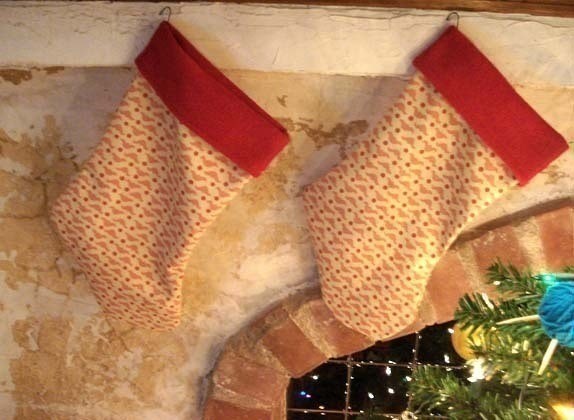
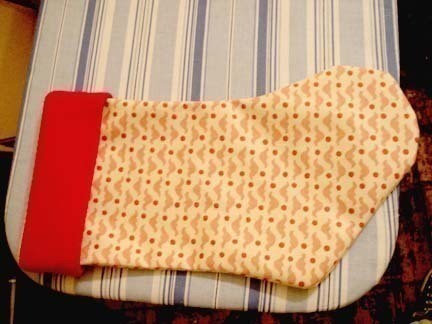
This is the finsihed stocking.
-
 Step 6
Finally, hang and enjoy!