

About
Make a decorative and durable bookmark from scraps
This was inspired by "Cutting Corners" by Anna the Ewok here on CO+K but takes it to the next level.
I didn't take pictures of the process as I was going along as this was more of a trial run, but when I make another one I will add them as my son called dibs on this one in the "Quarantine" theme.
-
 Conner W. added Cutting Corners 2.0 to book crafts
14 Jul 22:23
Conner W. added Cutting Corners 2.0 to book crafts
14 Jul 22:23
-
Conner W. favorited Cutting Corners 2.0
14 Jul 22:23
-
 Ysabella favorited Cutting Corners 2.0
01 Aug 01:57
Ysabella favorited Cutting Corners 2.0
01 Aug 01:57
-
 Step 1
Cut the corners off of the envelope. Prior to cutting, I lined mine up with the edge of the book, folded it up and cut along the fold.
-
Step 2
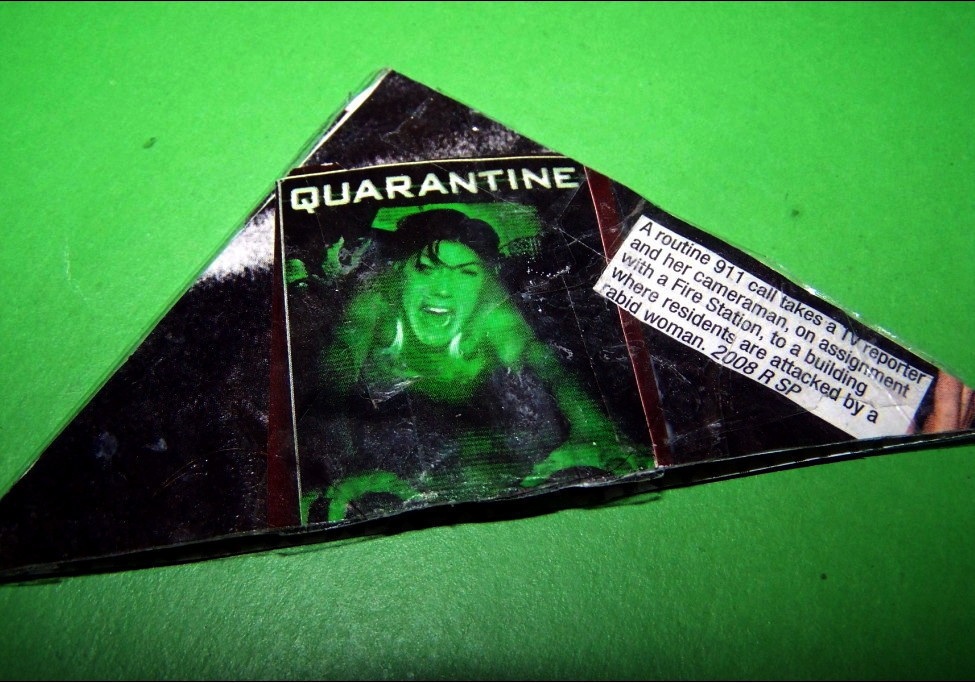
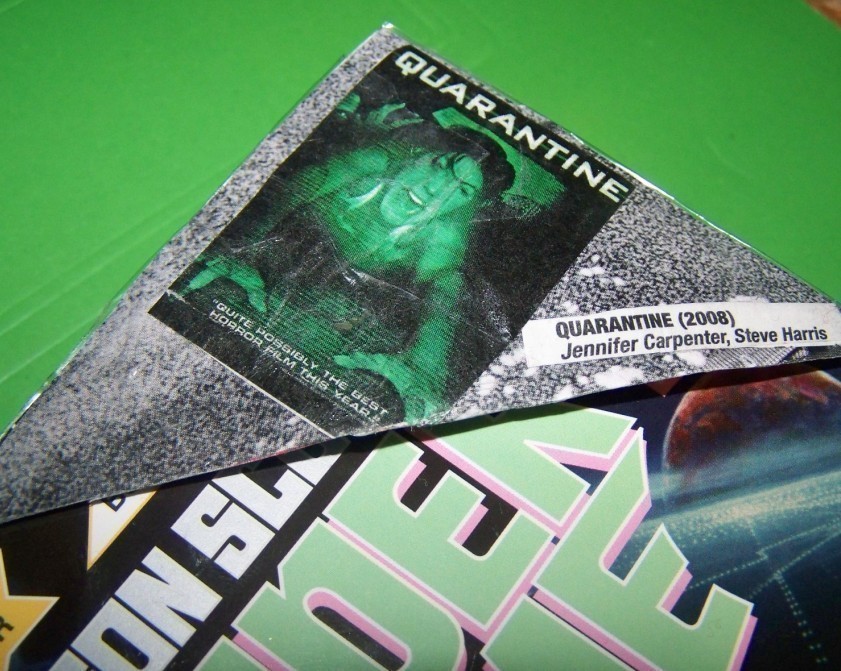
Pick out the images that you want to put on the corner, cut them out and set them aside. I used pictures and description from a sales flier on mine.
-
Step 3
Pick out the background you want for the images. I flipped through a magazine until I found what I wanted then put the cut corner over the edge of the magazine page, then cut along the edge.
Do this twice I you will need a background for each side of the bookmark.
-
Step 4
Glue the background pieces to the envelope corners.
Then glue the images cut out that you selected and glue them on top of the background pieces.
Allow to dry for a few minutes.
-
Step 5
Straighten up any stray edges or uneven edges with the scissors.
-
Step 6
Apply packing tape to the images on both side to protect them for smearing, smudges, wear and tear.
One tape is applied to both side, you are done!


you know what's wierd?
we're reading Ender's Game
in language arts. & i made
a bookmark like this for
the book before i saw this.
o.O L0l. : WiERD.