


About
Crochet Blanket
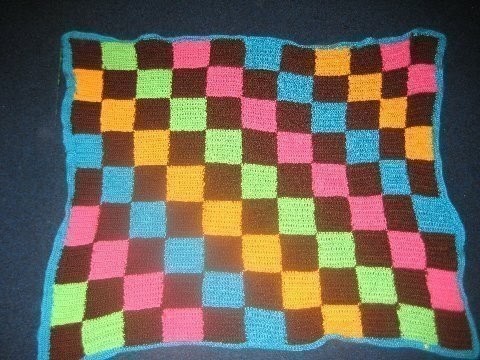
I made this cute checkerboard blanket for my 2 year old daughter to use at naptime at school. It's just the right size for a toddler. I used a pattern from Caron Yarn, and altered it.
-
 Ravenskull favorited Checkerboard Crochet Blankie
01 May 16:54
Ravenskull favorited Checkerboard Crochet Blankie
01 May 16:54
-
 armywife1013 favorited Checkerboard Crochet Blankie
12 Dec 19:04
armywife1013 favorited Checkerboard Crochet Blankie
12 Dec 19:04
-
 alison.stephens.315 favorited Checkerboard Crochet Blankie
24 Jun 20:49
alison.stephens.315 favorited Checkerboard Crochet Blankie
24 Jun 20:49
-
 Krista B. added Checkerboard Crochet Blankie to Make Version
15 May 15:23
Krista B. added Checkerboard Crochet Blankie to Make Version
15 May 15:23
-
 myranda.coone favorited Checkerboard Crochet Blankie
07 Mar 22:32
myranda.coone favorited Checkerboard Crochet Blankie
07 Mar 22:32
-
 Angelica Snow favorited Checkerboard Crochet Blankie
20 Nov 02:44
Angelica Snow favorited Checkerboard Crochet Blankie
20 Nov 02:44
-
 Maemi.Gojo added Checkerboard Crochet Blankie to Crochet
18 Sep 00:47
Maemi.Gojo added Checkerboard Crochet Blankie to Crochet
18 Sep 00:47
-
Step 1
Make a chart of how you want to arrange the colors (if you are doing more than 2 colors)Like so:
X= Chocolate brown O= Mango
B= Blue mint P= Watermelon
G= LimelightROW 1 X B X G X O X P X B X
--------------------------------
ROW 2 B X G X O X P X B X G
--------------------------------
ROW 3 X G X O X P X B X G X
--------------------------------
ROW 4 G X O X P X B X G X O
--------------------------------
ROW 6 X O X P X B X G X O X
--------------------------------
ROW 7 O X P X B X G X O X P
--------------------------------
ROW 8 X P X B X G X O X P X
--------------------------------
ROW 9 P X B X G X O X P X B
--------------------------------
ROW10 X B X G X O X P X B XBlanket is worked in 10 strips, following chart for color placement, then strips are sewn together.
*Leave a 10" tail when changing colors on strips , to be used for sewing strips together. -
 Step 2
Colorblock strips:(make 10)
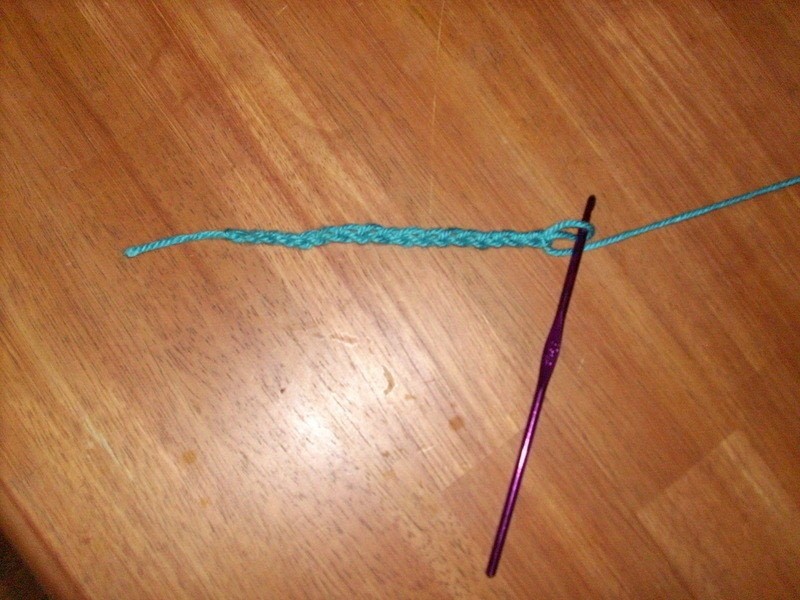
Using first color, chain 17. -
 Step 3
Row 1: Beginning in third chain from the hook, dc in third ch and in each ch across, turn - 15 dc.
-
 Step 4
Rows 2-8: Ch 2, dc in each dc across, turn - 7 rows of 15 dc sts. Fasten off leaving a 10" tail; join next color.
-
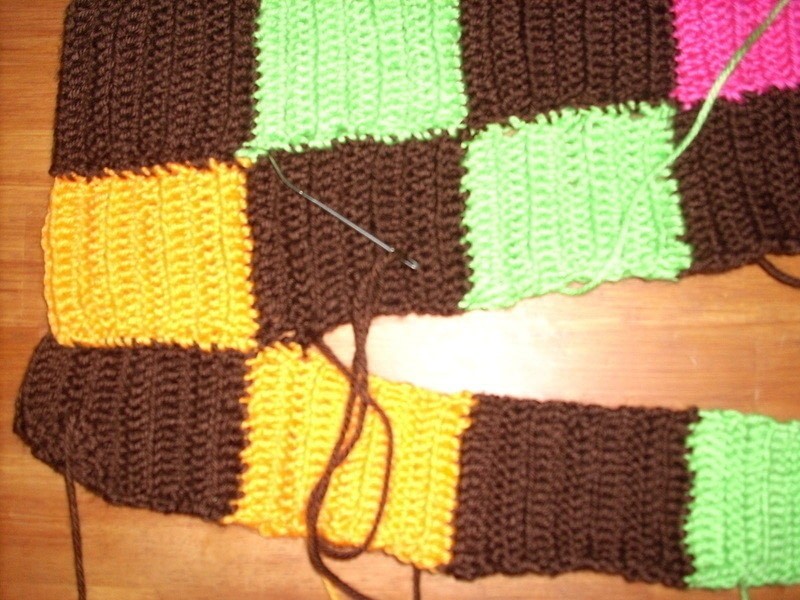
 Step 5
Repeat rows 2-8 eleven times, following chart for color placement. Repeat for remaining strips. Here is what one of the color block strips look like.
-
 Step 6
Using a tapestry needle, sew strips together, and then weave in the ends.
-
Step 7
-
 Step 8
When finished with sewing the strips together, do a dc all the way around the blanket 2-3 times. (do 3 dc in each corner).


Versions


Comments


