
Drawing Exercises In Technique
Extract from Drawing Portraits • By Barrington Barber • Published by Arcturus Publishing

About
Drawing Portraits
The following technical practices should help you to ease your way into drawing in a range of different styles. There are, of course, many more than the ones we show, but these will serve very well as a basis. You will discover all sorts of other methods through your own investigations and adapt them to serve your purpose.
-
 Amanda P. added Drawing Exercises In Technique to Drawing Tutorials
17 Jun 22:31
Amanda P. added Drawing Exercises In Technique to Drawing Tutorials
17 Jun 22:31


You Will Need
-
 Step 1
Pencil shading test
When you are using pencil to add tone to your drawings it soon shows if you are not very expert. The only way you can develop this facility is to practise shading in various ways in order to get used to seeing the different tones achievable. This exercise is quite difficult but good fun and can be repeated many times over a period of weeks, just to help you get your hand and eye in.
You will find the control it gives you over the pencil very valuable.
You will need a very dark pencil (4B), a slightly less dark pencil (2B) and a lighter pencil (such as a B). If you wish, you can always use a harder lighter pencil, such as an H or 2H.Draw out a long line of squares measuring about 1 in (2.5 cm) square. Shade each one, starting with a totally black square. Allow the next square of shading to be slightly lighter, and so on, gradually shading each square as uniformly as possible with a lighter and lighter touch, until you arrive at white paper
-
 Step 2
Building up tones by cross-hatching:
1. Vertical strokes first, close together.
-
 Step 3
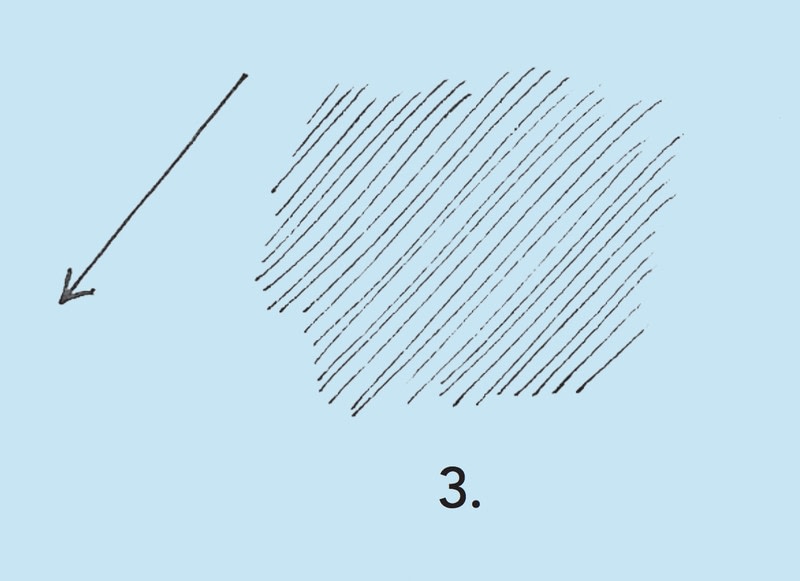
2. Oblique strokes from top right to bottom left over the
strokes shown in 1. -
Step 4
3. Horizontal strokes over the strokes shown in 1 and 2.
-
 Step 5
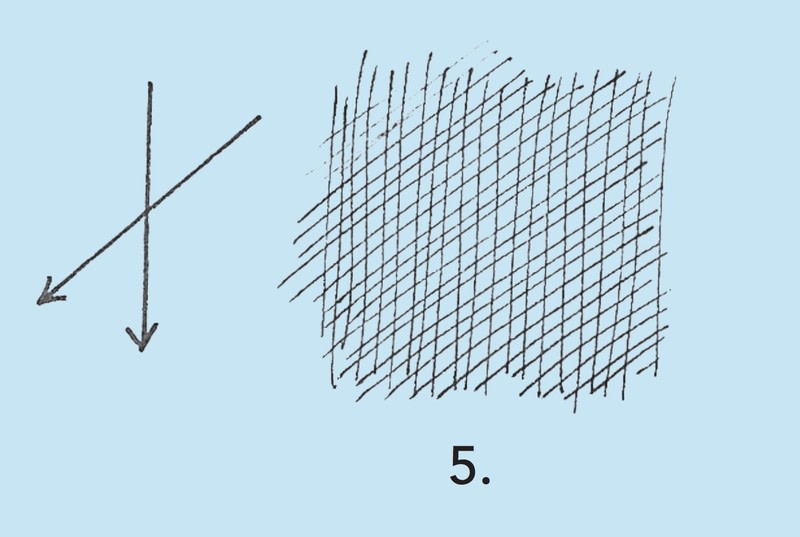
4. Then make oblique strokes from top left to bottom
right over the strokes shown in 1–3. -
 Step 6
5. Smooth and finely graduated tones can be achieved
by working over your marks with a stub. -
 Step 7
Pencil and graphite
A pencil is the easiest and most obvious implement with which to start an exploration of technique. Try the following series of simple warming up exercises, which can be practised every day that you put aside time to draw. This is very useful for improving your technique.
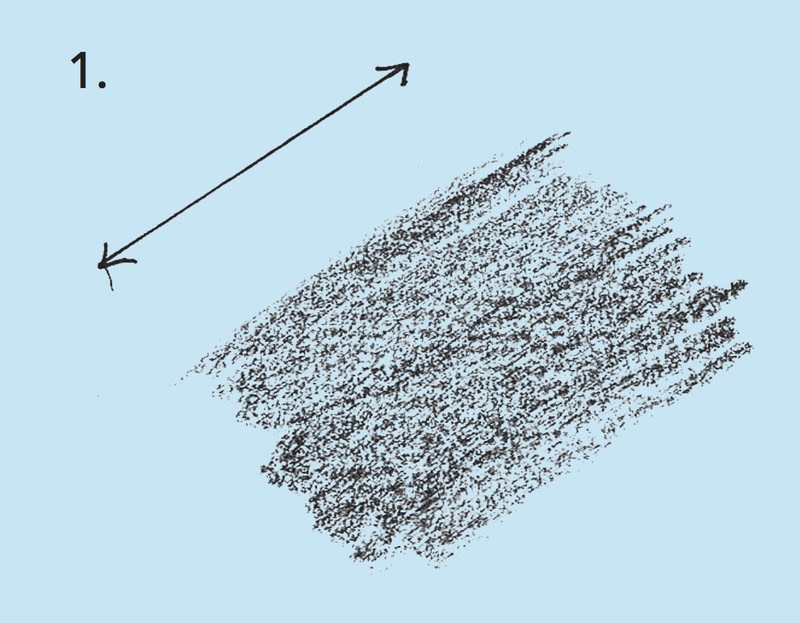
1. A backward and forward motion of the hand, always in an oblique
direction, produces an even tone quickly. -
 Step 8
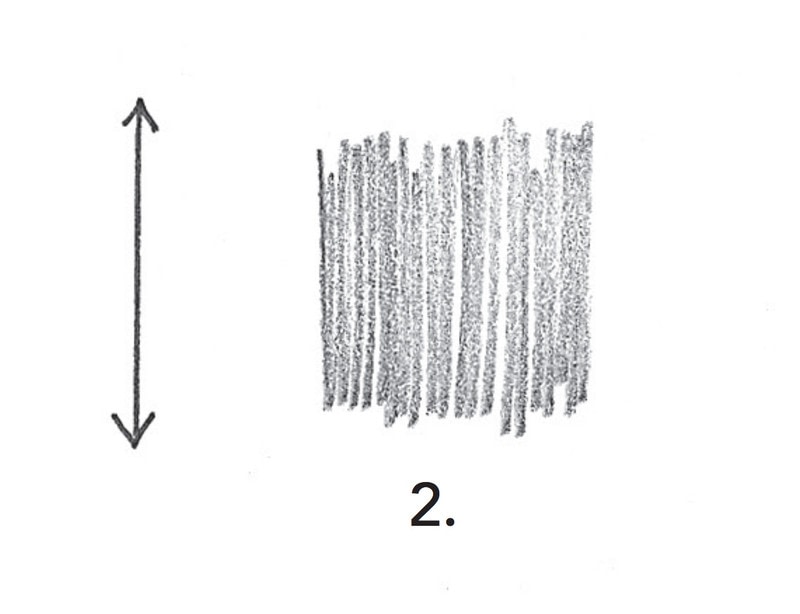
2. The same motion vertically.
-
 Step 9
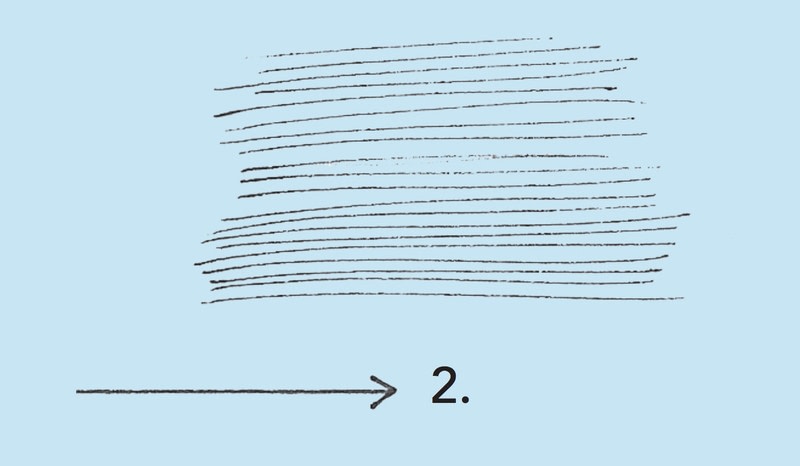
3. The same motion horizontally.
-
 Step 10
1A. 2A. and 3A.
Now try a slightly more careful
method where the hand draws the
lines in one direction only -
 Step 11
Try using a graphite stick for the next two exercises; they can also be done with a well sharpened soft pencil.
1. Lay the side edge of the point of the graphite or pencil onto the paper and make smooth, smudged marks.
-
 Step 12
2. Using the point in random directions also works well.
-
 Step 13
Pen and ink
There is a whole range of exercises for pen work but of course this implement has to be used rather more lightly and carefully than the pencil so that its point doesn’t catch in the paper.1. Vertical lines close together in one direction.
-
 Step 14
2. Horizontal lines close together in one direction.
-
 Step 15
3. Oblique lines close together in one direction. Repeat as above but this time building up the strokes:
-
 Step 16
4. Draw vertical lines.
-
 Step 17
5. Draw oblique lines on top of the verticals.
-
 Step 18
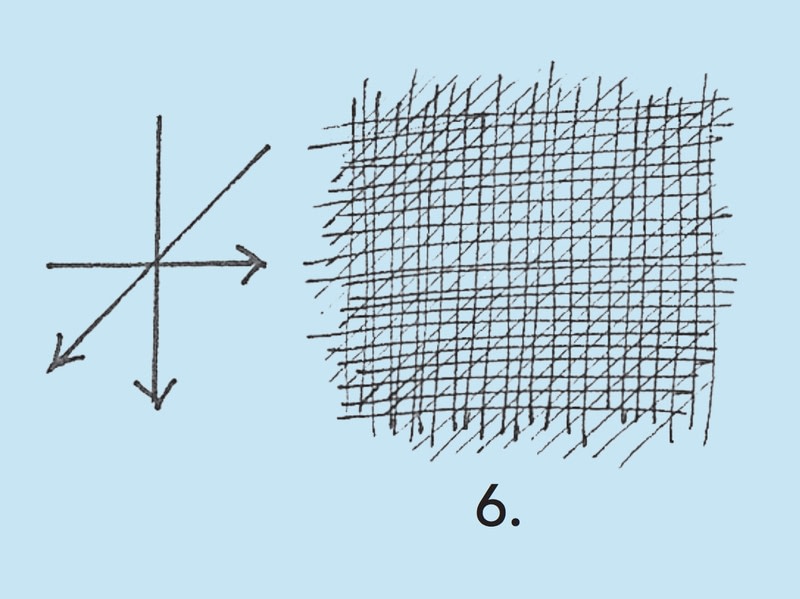
6. Draw horizontal lines on top of the oblique and vertical lines.
-
 Step 19
7. Draw oblique lines at 90 degrees to the last oblique lines on top of the three previous exercises to build up the tone.
-
 Step 20
1. Make patches of short strokes in different directions, each time packing them closer together.
-
 Step 21
2. Draw small overlapping lines in all directions.
-
 Step 22
3. Draw lines that follow the contours of a shape, placing them close together. For an additional variation, draw oblique lines across these contour lines.
-
 Step 23
4. Build up myriad dots to describe tonal areas.
-
 Step 24
Shading with chalk
This next series of exercises is similar to the one you have just done but requires extra care not to smudge your marks as you put them down. The key in this respect is not to use a smooth paper. Choose one with a texture that will provide a surface to which the chalk can adhere.
1. Shading obliquely in two directions.
-
 Step 25
1A. Shading in various directions, heavily.
-
 Step 26
1B. Shading in one direction obliquely
-
 Step 27
2. Shading vertically in two directions.
-
 Step 28
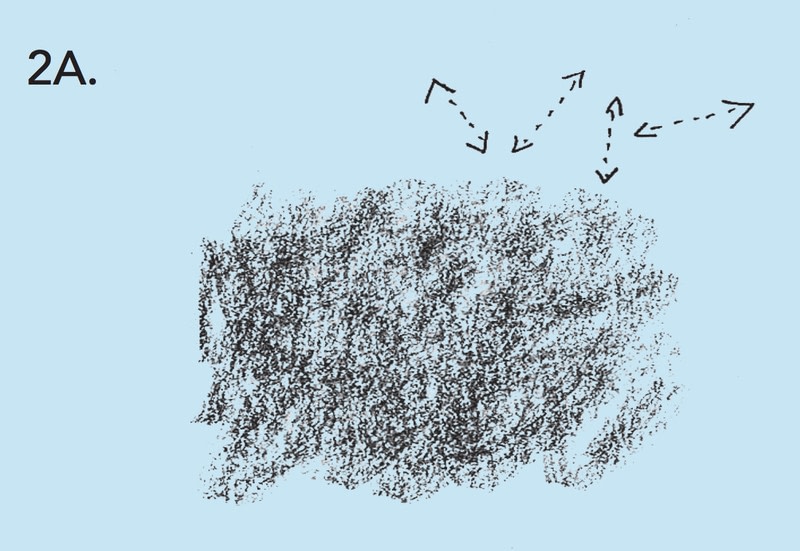
2A. Shading in various directions, more lightly.
-
 Step 29
2B. Shading in one direction horizontally.
-
 Step 30
3. Shading horizontally in two directions.
-
 Step 31
3A. Shading in various directions, very lightly.
-
 Step 32
3B. Shading in one direction vertically.
-
 Step 33
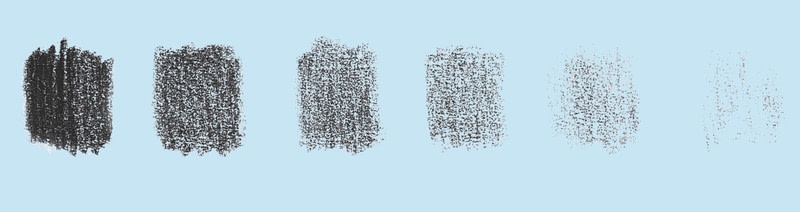
In a series of squares practise shading of various strengths, progressing from the heaviest to the lightest.
-
 Step 34
Brush and wash
The best way to start with brush and wash is to try these simple exercises. Your brush should be fairly full of water and colour, so mix a generous amount on a palette or saucer first, and use paper that won’t buckle.
1. With a brush full of ink or watercolour diluted in water, lay a straightforward wash as evenly as possible on watercolour paper.
-
 Step 35
2. Repeat but this time brushing the wash in all directions.
-
 Step 36
3. Load a lot of colour onto your brush and then gradually add water
so that the tone gets weaker as you work. Keep working with the brush until it finally dries and you wipe out the last bit of colour. -
 Step 37
4. Practise drawing soft lines with a brush and wash.
-
 Step 38
Scraperboard
Take a fine-pointed and a curved-edge scraper and try your hand at
scraperboard. The curved-edge tool produces broader, thicker lines than the pointed tool, as can be seen from the examples shown below. -
 Step 39
1. Oblique fine line
2. Vertical fine line
3. Horizontal fine line
4. Short pecks
5. Short pecks and strokes
1A. Thicker vertical lines
2A. Thicker oblique lines
3A. Draw a ball, then scrape away to reveal
lighter side
4A. Thicker, measured vertical strokes
1B. Scraped wavy lines
2B. Cross-hatching with fine lines
3B. Gradually reducing from thick to fine lines
4B. Draw an eye shape and then scrape out
light areas
1C. Lightly scraped wavy lines
2C. Thickly scraped wavy lines
3C. Criss-cross pattern
4C. Multiple cross-hatching increasing in
complexity from left to right


 1
Snacks & Sides »
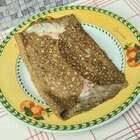
Breton Pancake With Buckwheat Flour
1
Snacks & Sides »
Breton Pancake With Buckwheat Flour
 2
Folders & Binders »
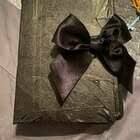
Diy Folder Organizer
2
Folders & Binders »
Diy Folder Organizer
 3
Moussaka »
Moussaka
3
Moussaka »
Moussaka
 4
Home Accessories »
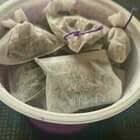
Moth Proof Sachets For Your Wardrobes
4
Home Accessories »
Moth Proof Sachets For Your Wardrobes


