Woodburned Napkin Rings
Extract from The Art of Woodburning • By Daniel Wright • Published by Search Press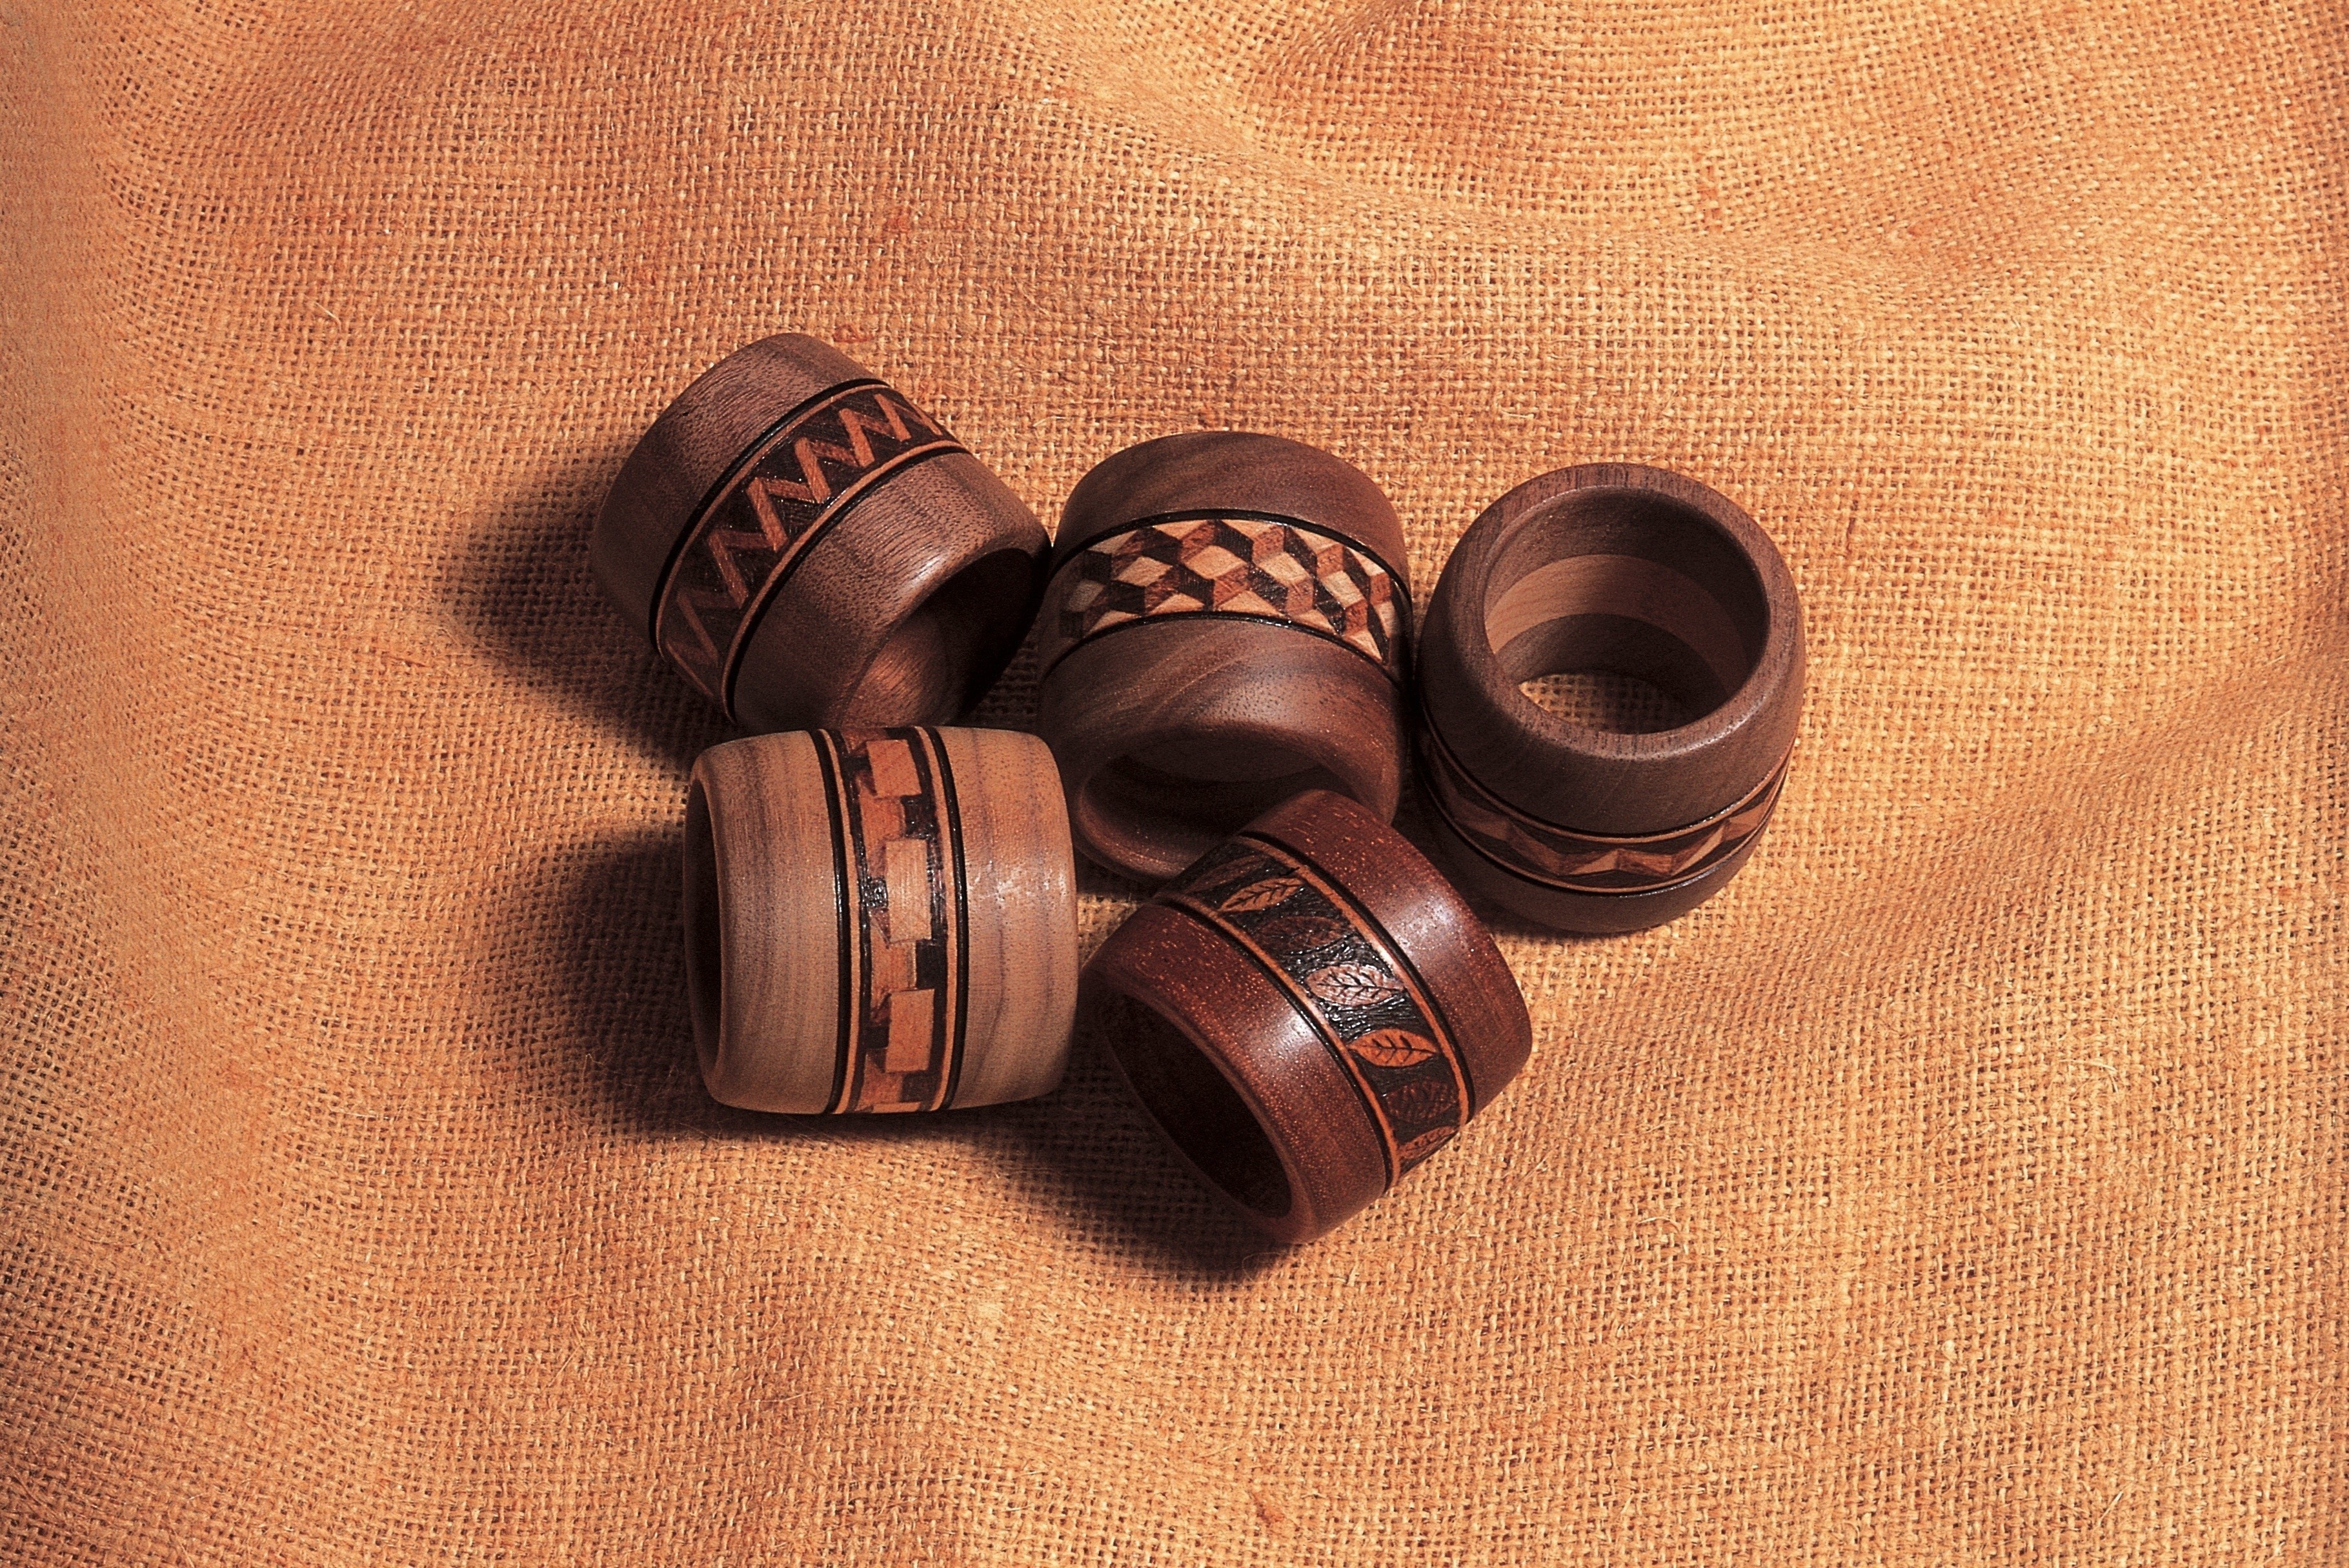

About
Napkin rings
in faux marquetry
These napkin rings are made using faux marquetry. This technique demonstrates the painterly effects that can be achieved with your pyrography tool, as well as the potential for creating the illusion of depth. Emery paper is used to create reverse pyrography, lightening the wooden area to give your work a lift.
The napkin rings I used were made to order by a local wood-turner. The inner, worked ring of maple wood is set off by outer rings of darker African hardwood. It is not essential to use napkin rings for this technique: I have also used these geometric designs as banding around items including boxes and mirrors. Furniture makers over the centuries have used marquetry and parquetry in much the same way to embellish their work. Books on antique furniture are a good source for your designs.
If you use a rounded nib on your pyrography pen, in this case the bowl of a spoon-point, designs can be built up with blocks of colour rather than lines, dots or other mark-making techniques. Pyrography usually has more in common with pen-and-ink techniques, but this method is more like wash painting. The difficulty with this technique is producing uniform tones and eradicating any evidence of stroke marks. It is relatively easy to produce a uniform dark colour with pyrography because wood will only burn so much. To create areas of consistent mid-tone, you must work on a low heat, very slowly. Do not remove the nib between starting and finishing an area; avoid blotching by keeping it moving.
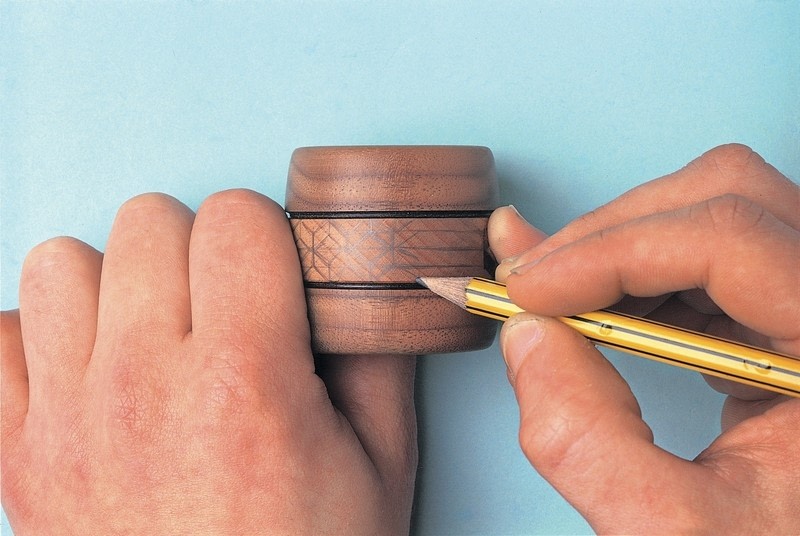
Sketch your design lightly on your work with pencil before you begin. This is fairly challenging and can really only be done by eye, since measuring on something so small is very fiddly. It may take a few attempts, but do not be put off; it becomes easier with practice.
-
 Kimya J. favorited Woodburned Napkin Rings
15 Jun 12:12
Kimya J. favorited Woodburned Napkin Rings
15 Jun 12:12
-
 SamB favorited Woodburned Napkin Rings
13 Jun 22:12
SamB favorited Woodburned Napkin Rings
13 Jun 22:12
-
 Search Press published her project Woodburned Napkin Rings
24 Aug 09:00
Search Press published her project Woodburned Napkin Rings
24 Aug 09:00
-
 Step 1
Pencil three equidistant horizontal lines round the central section of the napkin ring to divide the working area into four equal strips. Using the centre line as a guide, draw in a flattened diamond shape. Repeat this all the way round. Where two diamonds meet, draw a vertical line from the top horizontal to the bottom horizontal. Draw a vertical line to the edge from the upper and lower points of each diamond, draw a vertical to the edge. Join these lines with diagonals.
-
 Step 2
From now on, you should disregard the horizontal pencil lines so remove them if you wish, taking care not to erase your box pattern. Fill in one side of each box, making it as dark as possible, taking care not to go over your pencil lines.
-
 Step 3
The template below shows how the sections of the napkin ring are built up.
-
 Step 4
Turn down the heat on your machine and block in the opposite side of each box carefully in a uniform mid-tone. Note that the box edges are not defined with outlines but are suggested with different coloured planes to give the appearance of marquetry.
-
 Step 5
Fold a small square of emery paper in half to produce a stiff edge. Using the corner of this fold, scrape at the areas of bare wood to lighten them and enliven the tonal contrasts. As the emery paper becomes ineffective, fold it in another place and begin again. In this way, a small piece will last a long time.
-
 Step 6
A selection of napkin rings completed using faux marquetry techniques