


About
Fun vintage animal images on wood pendants
I love vintage graphics, especially those of animals. I had an abundance of left over wood discs from making buttons, and decided they would make super cute pendants once decorated with my favourite images. Project time includes drying time if you use a quick drying varnish.
-
 Patrick Mclaren commented on Into the Woods Pendant
04 Oct 08:26
Patrick Mclaren commented on Into the Woods Pendant
04 Oct 08:26
-
Patrick Mclaren favorited Into the Woods Pendant
04 Oct 08:25
-
 declan o. favorited Into the Woods Pendant
11 Jan 09:15
declan o. favorited Into the Woods Pendant
11 Jan 09:15
-
Laura W. commented on Into the Woods Pendant
23 Aug 15:22
-
Laura W. favorited Into the Woods Pendant
23 Aug 15:22
-
Marisol H. favorited Into the Woods Pendant
15 Jan 16:47
-
 Ajay I. favorited Into the Woods Pendant
11 Jan 10:21
Ajay I. favorited Into the Woods Pendant
11 Jan 10:21
-
 Ruby Autumn favorited Into the Woods Pendant
12 Dec 11:50
Ruby Autumn favorited Into the Woods Pendant
12 Dec 11:50
-
 matthew t. favorited Into the Woods Pendant
12 Dec 03:54
matthew t. favorited Into the Woods Pendant
12 Dec 03:54
-
enzo f. favorited Into the Woods Pendant
06 Dec 16:22
-
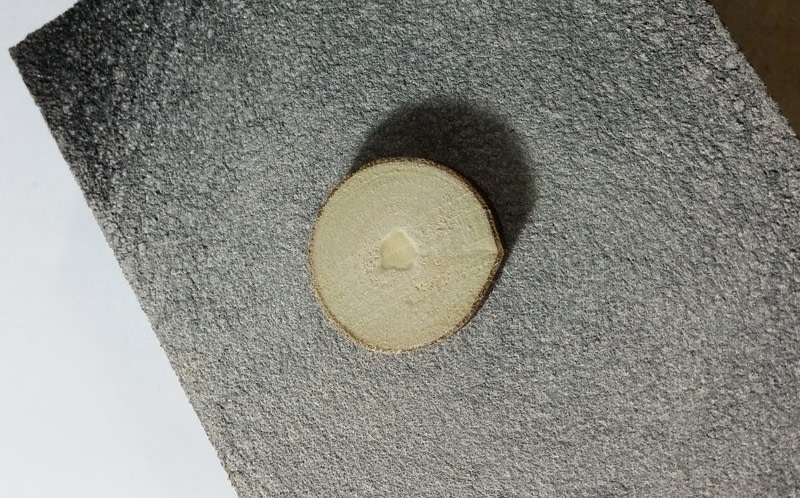
 Step 1
Create the wood discs by cutting slices from a tree branch approximately 1/8" thick using a circular saw. I used arbutus wood because it's easy to work with, has nice smooth bark, and my parents' have an abundance of it on their acreage. Sand both sides (I used 400 grit sandpaper for a nice smooth finish).
-
 Step 2
Select the image you wish to use and print it off using a laser printer or copied on a photocopier (the image needs to be printed with toner ink). I got my images from http://thegraphicsfairy.com/. You can cut the excess paper off from around the image to make it easier to work with
-
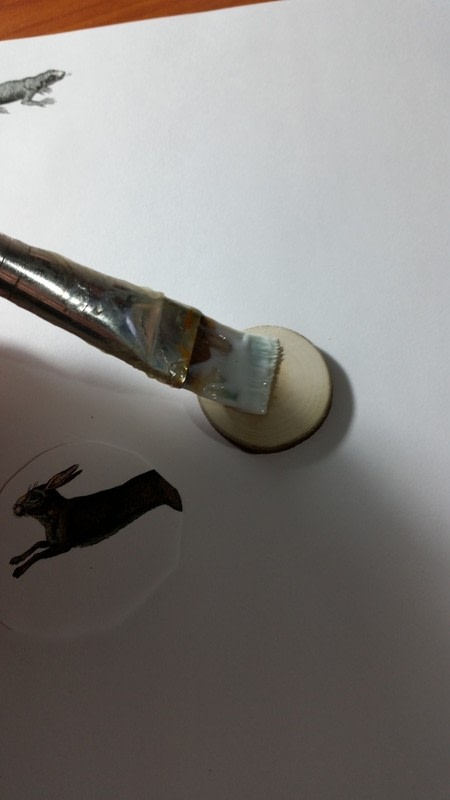
 Step 3
Using a paintbrush, coat one side of the disc with Mod Podge.
-
 Step 4
Place the image face down on the disc and use your fingers to smooth and apply pressure to the back of the image. Paint another layer of Mod Podge to the back of the image.
-
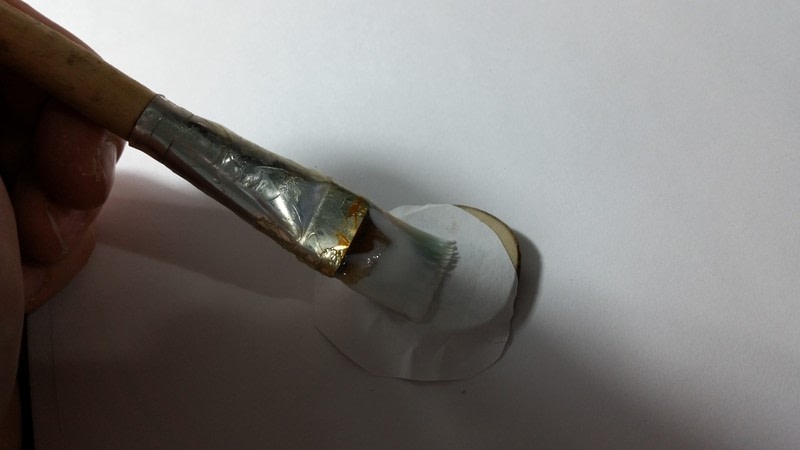
 Step 5
After letting it dry for about 20 minutes, use a wet paintbrush to dampen the back of the paper. Let the water soak in until the paper starts becoming translucent. Then start peeling off the paper. Some will be left behind, stuck to the disc.
-
 Step 6
Wet the remaining paper again and use your fingers to gently rub it off. You may have to do this several times until the surface is smooth and free from paper fibres.
-
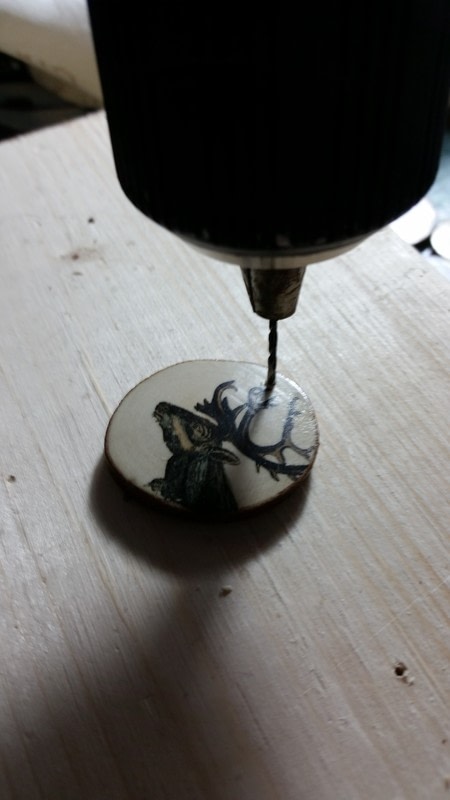
 Step 7
Drill a hole near the top. (I messed up the rabbit one... but the great thing about this project is you can just sand the image off and start over!)
-
 Step 8
Apply clear varnish to both sides and the edges of the discs. I use a quick drying, self leveling kind and do 2 coats on all surfaces. You could also use Mod Podge instead of varnish, but I find the varnish leaves a smoother finish and helps strengthen the wood somewhat.
-
 Step 9
Add jump ring and string onto your choice of cord or chain.


Versions

Comments


