


About
wire wrap it
I hope this translates, cause I'm kinda no good at explaining some things, but ok...here we go
Oh and one note:
Keep in mind, with this tutorial i used a 22 gauge headpin, but you can use any gauge. Though the thinner the wire, the easier for the bends, and the thicker the wire, the harder for it to bend. But I find that 22 and lower are a little stronger. (But then it all depends on what size the hole of the bead is and what you can get through.)
And once you get good at it, the possibilities of what you can do with wire is just insane. Ok, on with the tut:
-
 Cortney B. favorited Wire Wrap It Tutorial
10 Nov 22:35
Cortney B. favorited Wire Wrap It Tutorial
10 Nov 22:35
-
 Bokreeder .. favorited Wire Wrap It Tutorial
22 Oct 01:15
Bokreeder .. favorited Wire Wrap It Tutorial
22 Oct 01:15
-
 Step 1
First get all your supplies
-
 Step 2
Start by straightening and polishing your head pin with a polishing cloth, by pulling on the tail of the headpin.
-
 Step 3
String your bead onto your headpin
-
 Step 4
Take your flat nose pliers....
-
 Step 5
and hold it flush against the bead pushing the bead to the head of the pin.
-
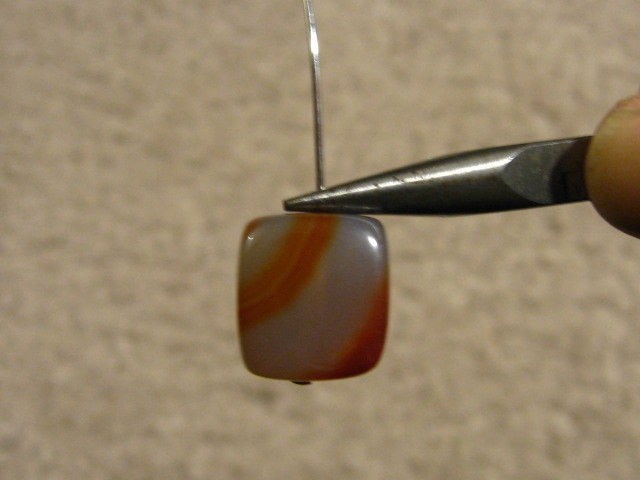
 Step 6
Bend the top/ tail of the wire to a 90º angle, like so.
-
 Step 7
Take your round nose pliers
-
 Step 8
And hold it at that 90º angle you've just made. At the bend of the 90º hold it TIGHTLY!
-
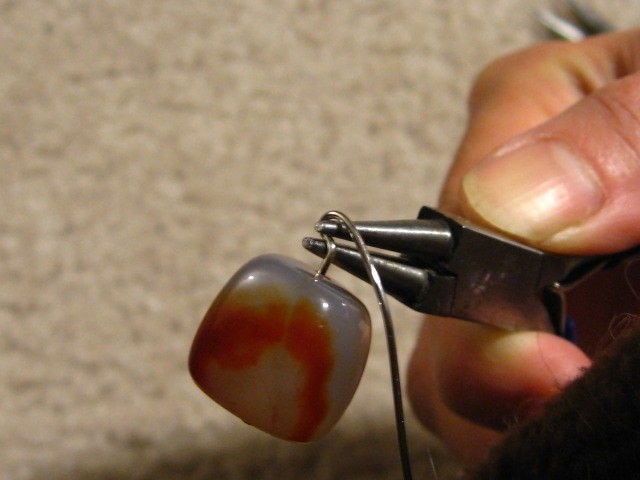
 Step 9
Still holding at the bend, take the tail with your other hand and pull up and over the top rung of the round nose pliers.
-
 Step 10
Keep pulling until you get about here...don't go all the way around!
-
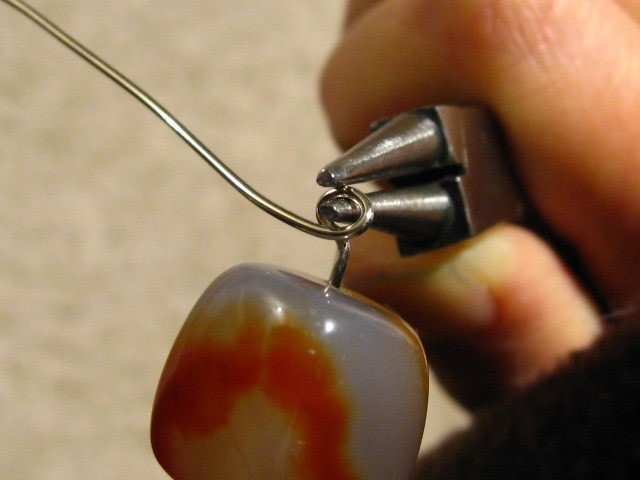
 Step 11
Now move your pliers so that the top rung of the round nose is now on the bottom, and pull the tail around it, forming a loop.
NOTE:
You can take your pliers out of the half loop you've made and put it back in to continue, just make sure that the loop is in the bottom rung of the pliers so you can complete that loop! -
 Step 12
And now you have a loop!
NOTE:
Now if you are attatching this to a closed loop/ring string it on NOW, or forever have a wire wrapped bead attatched to nothing. -
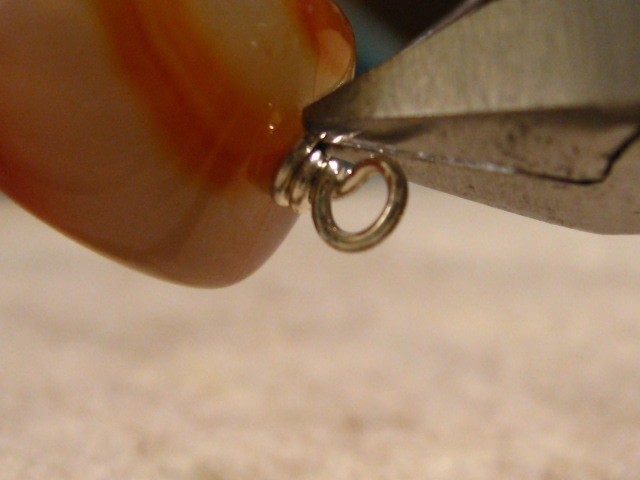
 Step 13
Take your flat nose pliers and hold the loop you've just made, tightly.
-
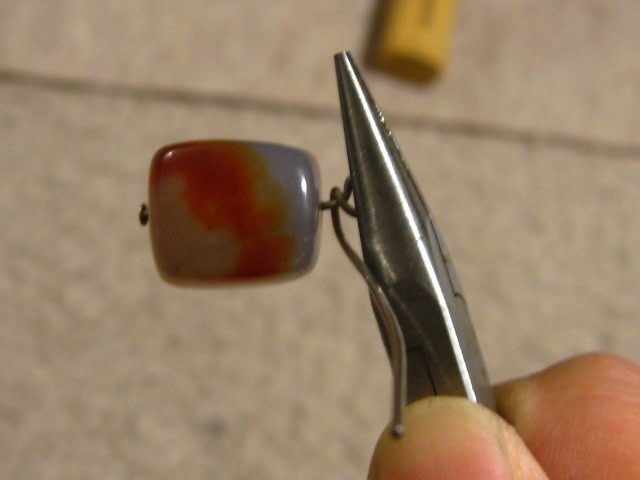
 Step 14
Take the tail of the headpin and start wrapping around the space between your loop and the bead.
-
 Step 15
Keep wrapping tightly around until you get to the bead and can go no further.
(As you're wrapping, keep your wraps one right after another, so that they're even.)
-
 Step 16
And now take your wire cutters and cut as close to your wrap cutting off the remaining tail of the headpin.
I later take my flat nose and squeeze the tail in so it won't stick out and poke anything.
-
 Step 17
And now you have a wrap!
or dangle.
This is good for making pendants, since there's no chance of it falling off 'cause you've just made a closed ring.Now remember, if you're attatching this to another closed ring, from step 13 and on, all that wrapping, you'll be holding onto the loop and whatever else you're attatching it to. It can be tricky trying to get a grip of both, but if you can just hold on to the loop that you've made, and let the other dangle, it should be no problem....again, practice makes perfect.


CO + K User
I'd love to see more how-tos about those basic techniques!