

About
White and gold, or blue and black?
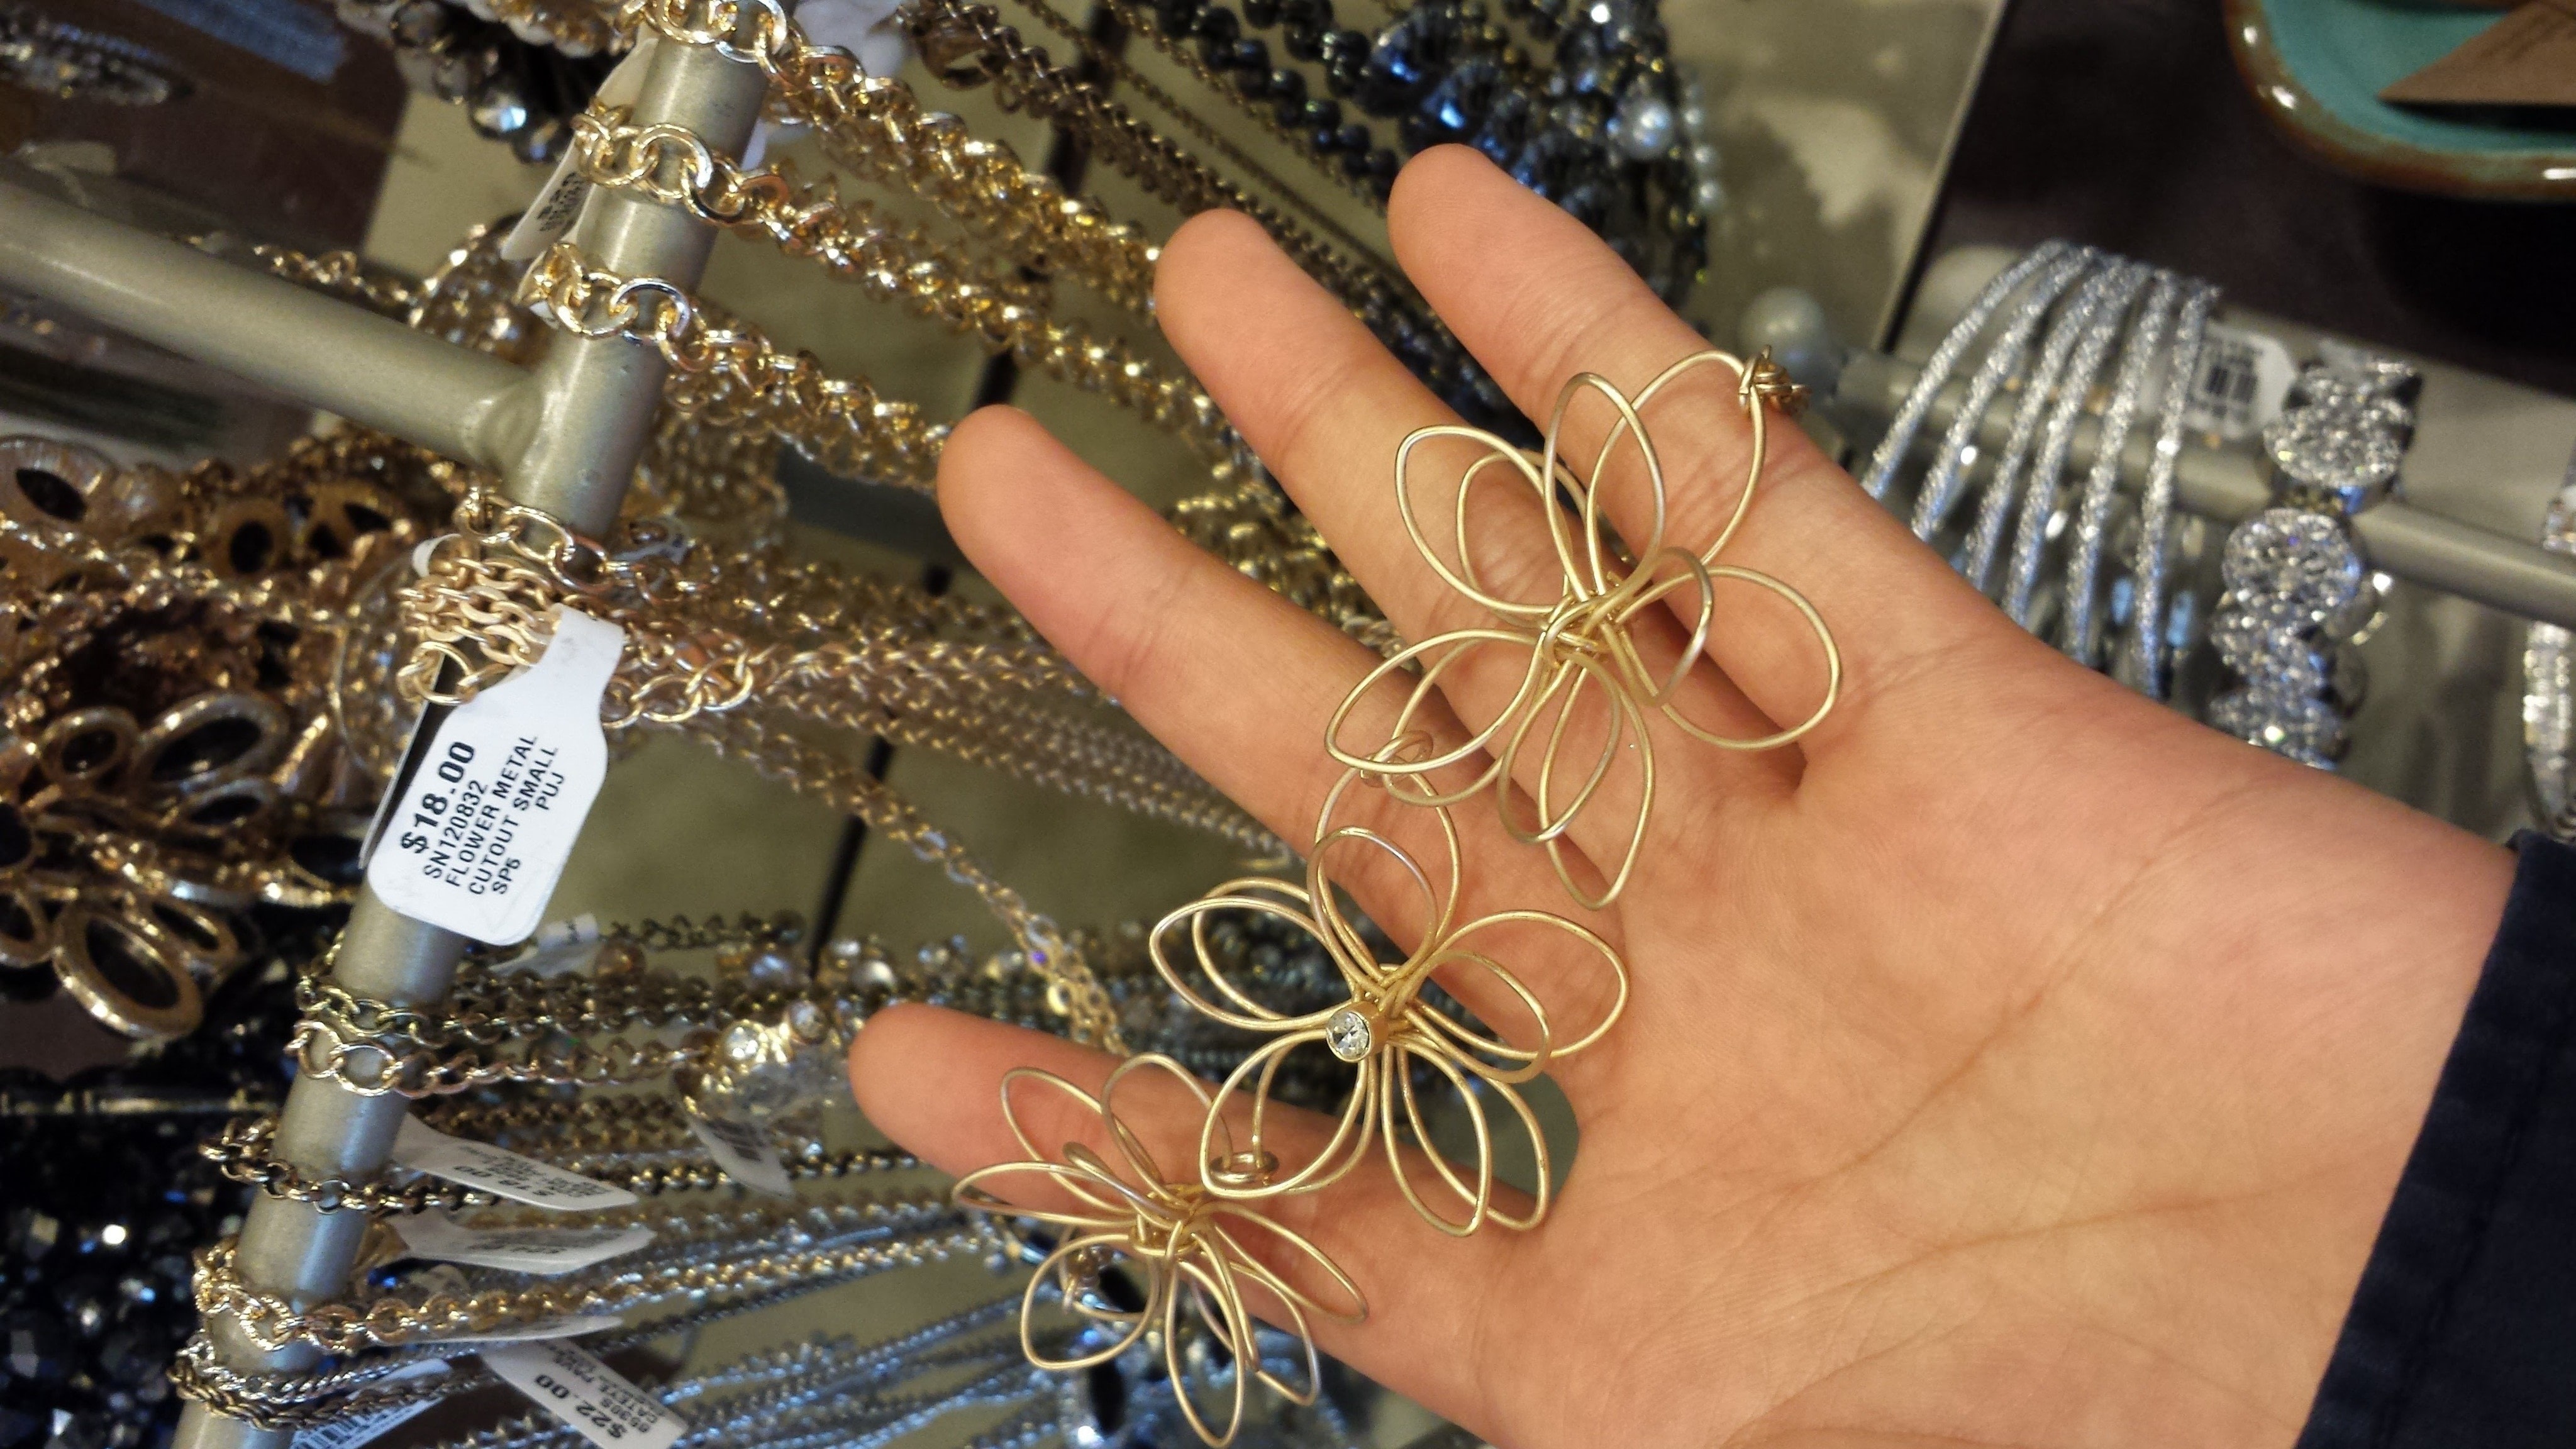
After finals week ended, my roommate and I hit the mall for some therapeutic shopping. For me it was merely window shopping, but my roommate managed to find some jewelry that she liked. One was a pair of cascading earrings that I made in another tutorial (here: http://www.cutoutandkeep.net/projects/cascading-diamond-earrings), but another was a floral necklace from Francesca's (see second image above), and when she asked for my opinion, a quick glance was all it took for me to assure her that I could make as a Christmas gift for her instead, since the design was quite similar to flowers I'd made before.
Progress on the necklace was delayed at first due to lack of proper materials, as my roommate insisted on finding the right tone of golden wire and chain for the project. But once I finally tracked down a suitably colored and priced coil of that golden wire during one of Fusion Beads' 30% off, free shipping sale days, the build process went smoothly to produce the tutorial staring back at you at this moment.
Tags
-
 Key West Witch added Wire Flower Necklace to Jewelry
30 Jun 01:20
Key West Witch added Wire Flower Necklace to Jewelry
30 Jun 01:20
-
 Kaiulani W. favorited Wire Flower Necklace
19 Nov 01:58
Kaiulani W. favorited Wire Flower Necklace
19 Nov 01:58
-
 Alex Z. added Wire Flower Necklace to Интересное
12 May 17:16
Alex Z. added Wire Flower Necklace to Интересное
12 May 17:16
-
 Sara M. favorited Wire Flower Necklace
12 Mar 21:16
Sara M. favorited Wire Flower Necklace
12 Mar 21:16
-
 Deanna T. favorited Wire Flower Necklace
15 Oct 13:36
Deanna T. favorited Wire Flower Necklace
15 Oct 13:36
-
 Sarah Sylvia S. favorited Wire Flower Necklace
18 Jul 05:07
Sarah Sylvia S. favorited Wire Flower Necklace
18 Jul 05:07
-
 RareJewel favorited Wire Flower Necklace
12 Apr 09:23
RareJewel favorited Wire Flower Necklace
12 Apr 09:23
-
 CozyReverie added Wire Flower Necklace to Rapunzel Style
31 Mar 16:40
CozyReverie added Wire Flower Necklace to Rapunzel Style
31 Mar 16:40
-
veronica f. favorited Wire Flower Necklace
10 Feb 17:06
-
 Penny F. added Wire Flower Necklace to Accessories
17 Dec 10:57
Penny F. added Wire Flower Necklace to Accessories
17 Dec 10:57
You Will Need
-
 Step 1
Draw a rough diamond shape on a piece of paper and shape your wire using that guide.
-
 Step 2
Curve the end of the wire into a small curl; this will help secure the wire ends for the wrapping part later.
-
 Step 3
Then make another bend at the diamond's tip. The bend's sharpness depends on how many petals you want for the flower; more petals = sharper angle. I wanted 5 petals so the angle is about 72 degrees (360 degrees per circle divided by 5 petals) but just estimate this and adjust later. Use your guide again to form another adjacent petal; this is petal 2.
-
 Step 4
Continue this until you have completely formed your first layer of petals (for me, this was five in total).
-
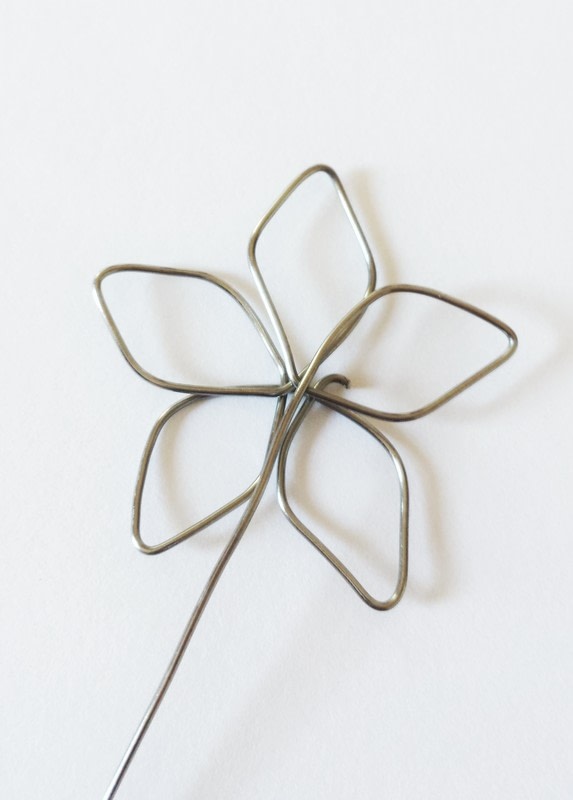
 Step 5
Make a bend at the tip of your final diamond petal, but make this bend so that the wire is positioned in between two petals. Shape the wire into a smaller diamond petal between the two big petals behind.
-
 Step 6
Continue your petals around like before, making sure that the petals lie in between two big ones behind.
-
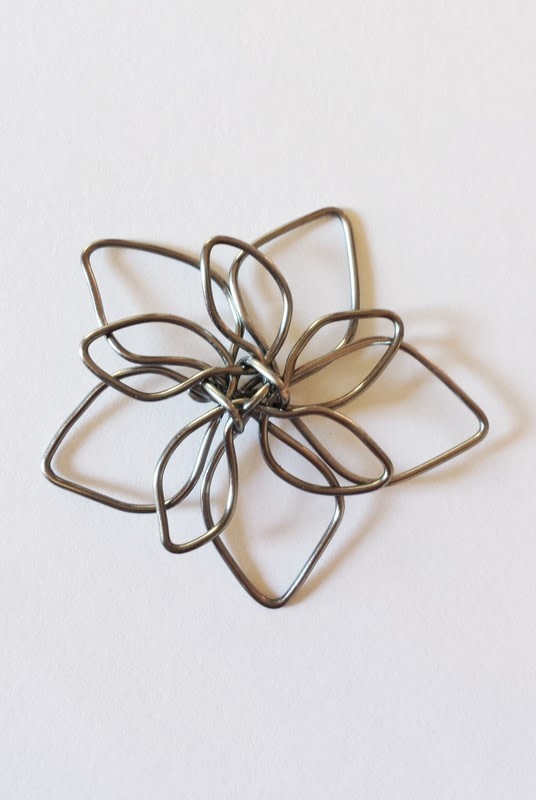
 Step 7
To secure the petals' positions, wrap the wire up and around all layers. See how spread out the petals are? We'll fix this.
-
 Step 8
Wrap as many times as you see fit, but usually I only do two wraps (more and the petals become quite warped).
-
 Step 9
Be sure to firmly pinch the layers as you do this; the petals will want to flex.
-
 Step 10
The petals probably look very warped after the previous step, but fear not! Take the time now to reshape your petals using pliers and fingers.
-
 Step 11
No matter how weird the diamonds look, I'm sure your fingers can pull some magic into them (I know because some of my flowers turned out nicely despite severe warping when I didn't pinch my layers hard enough).
-
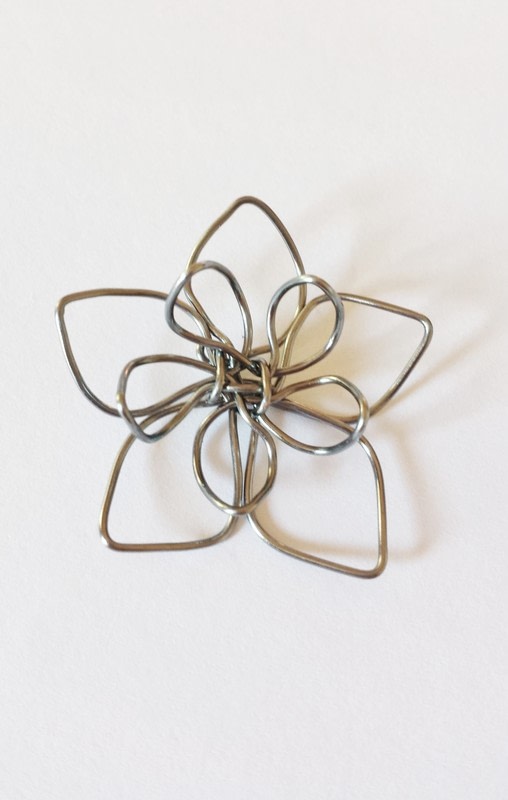
 Step 12
Curl the upper layer of petals upward to create a 3D appearance. Don't curl the bigger petal layer too much, as the flowers will eventually be strung together, and too much curling for the big petals will look weird (trust me on this...).
-
 Step 13
Another view of the 3D version.
Make two more of these flowers. You can vary the sizing to make your necklace more interesting; in my case, I made my two side flowers slightly smaller than the center one.
-
 Step 14
Adding a bauble in the center of the flower is fairly simple. You can simply glue it on, or if the adornment is an earring, poke the post through the middle before bending the post to secure the earring in place.
-
 Step 15
To strengthen the overall flower, I used thin wire (26 gauge) to secure each outer (bigger) petal to its adjacent neighbors, thereby strengthening the flower as a whole. Simply wrap around the spot where two petals touch.
-
 Step 16
Grab/Make 4 jump rings from similarly-colored wire to attach the flowers together at the tips of two petals.
-
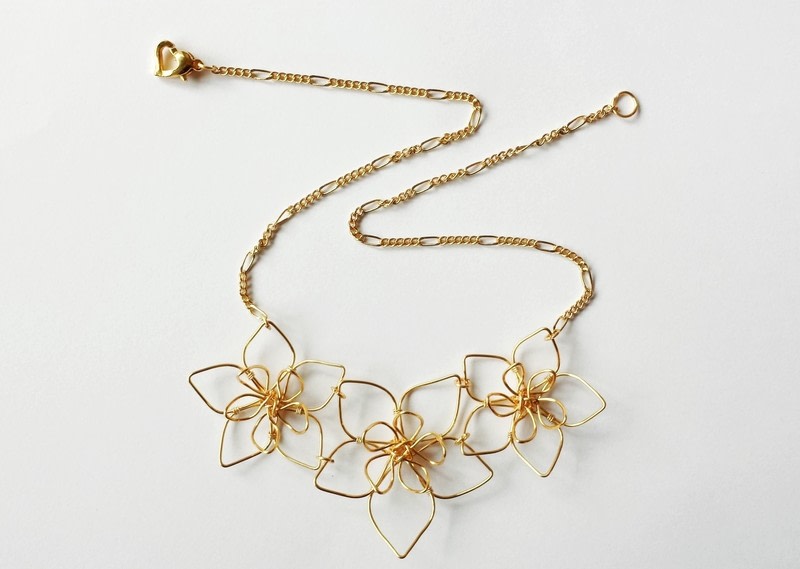
 Step 17
Now, simply add your chain and clasp to either ends of the the chain of flowers to complete the entire necklace! My roommate found an adorable heart lobster clasp (under $1 online) so I used that for the clasp. For the chain, I suggest attaching one end of your chain supply to one end of the chain of flowers before draping the chain around your neck. Position where you want your necklace to sit along your upper chest and pinch where your chain meets the other end of the flower chain. Cut the chain at that spot before cutting that piece in half--now you have your two pieces of chain!
-
 Step 18
Voilà; a beautiful flower necklace to proudly wear or to surprise a significant other. Enjoy!