
About
How To Whittle
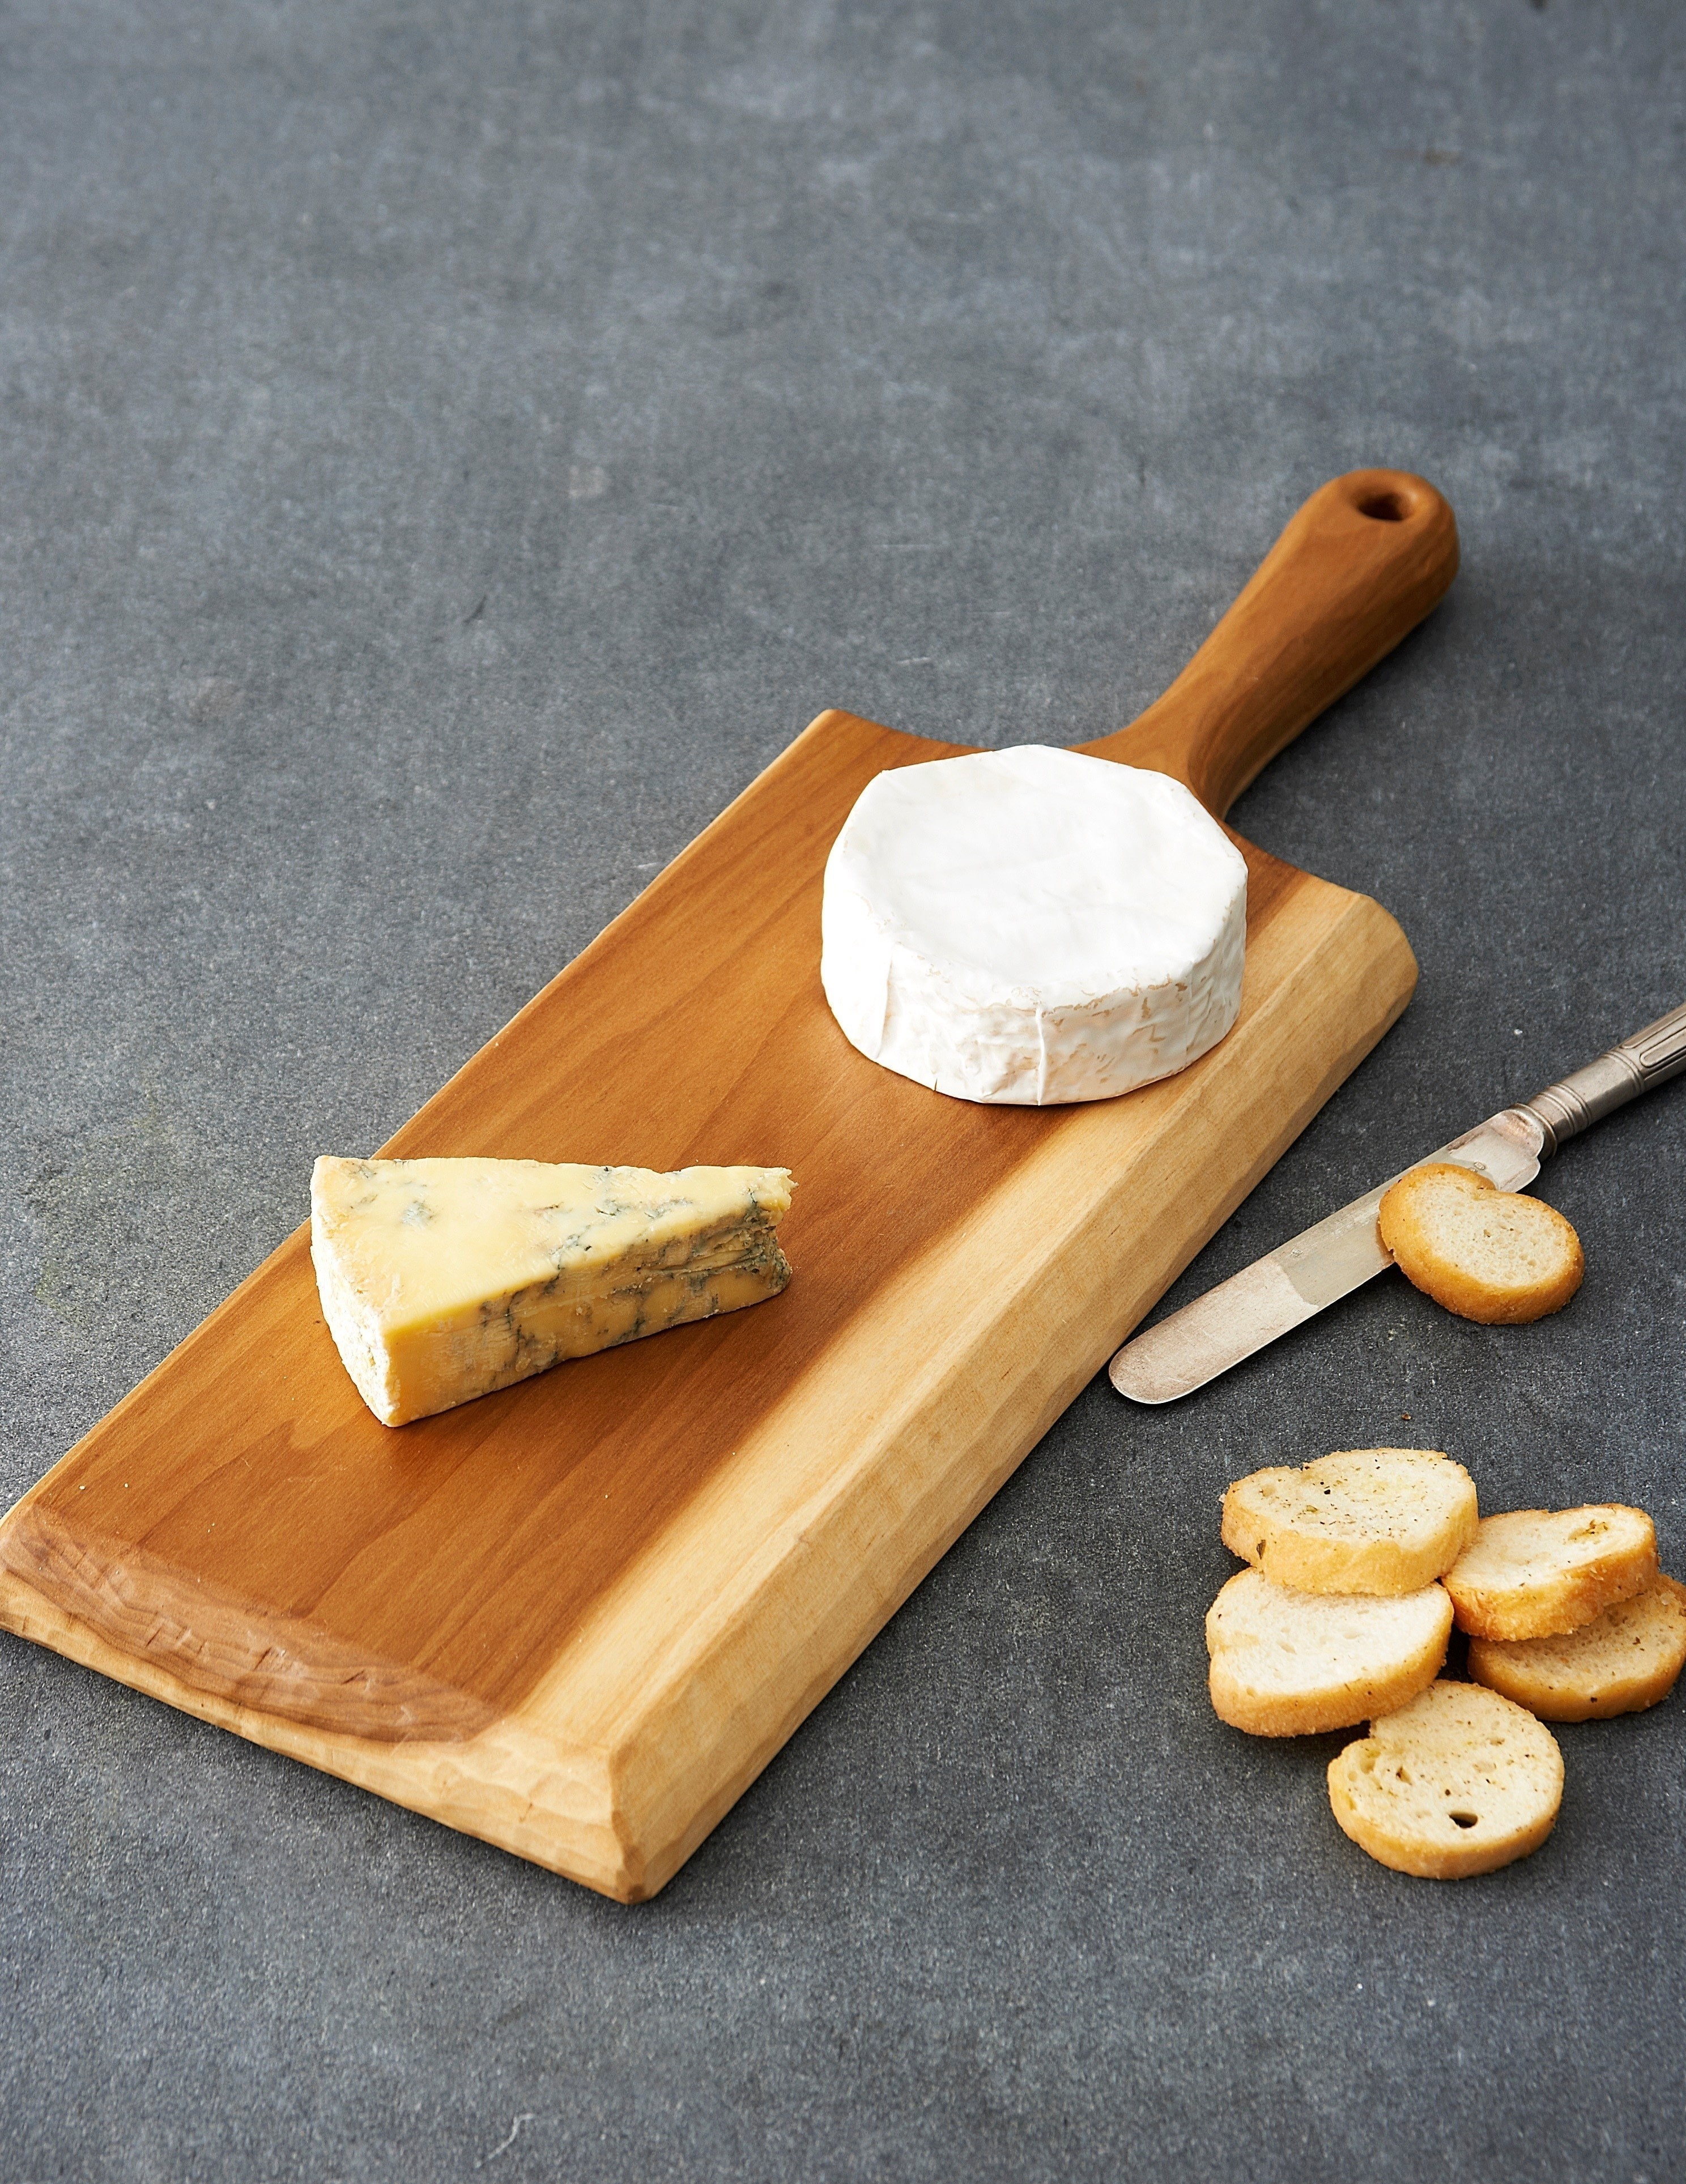
A serving board is a good thing to have on hand when entertaining guests. It can be used to display food or serve drinks. Once you have followed the process here, you will be able to make a serving board of any shape and size to suit your purpose.
-
 Crafterella featured Whittled Serving Board
28 Jul 23:00
Crafterella featured Whittled Serving Board
28 Jul 23:00
-
 C.J. M. added Whittled Serving Board to Wood
27 Jul 14:01
C.J. M. added Whittled Serving Board to Wood
27 Jul 14:01
-
C.J. M. favorited Whittled Serving Board
27 Jul 13:54
-
 Taunton Books published her project Whittled Serving Board
26 Jul 09:00
Taunton Books published her project Whittled Serving Board
26 Jul 09:00
-
 Step 1
Basic shape
Decide on the dimensions of your serving board. I decided to make the overall length three times the width of the board, with the handle being 6 in. (15cm) long and the serving area 12 in. (30cm) long.
-
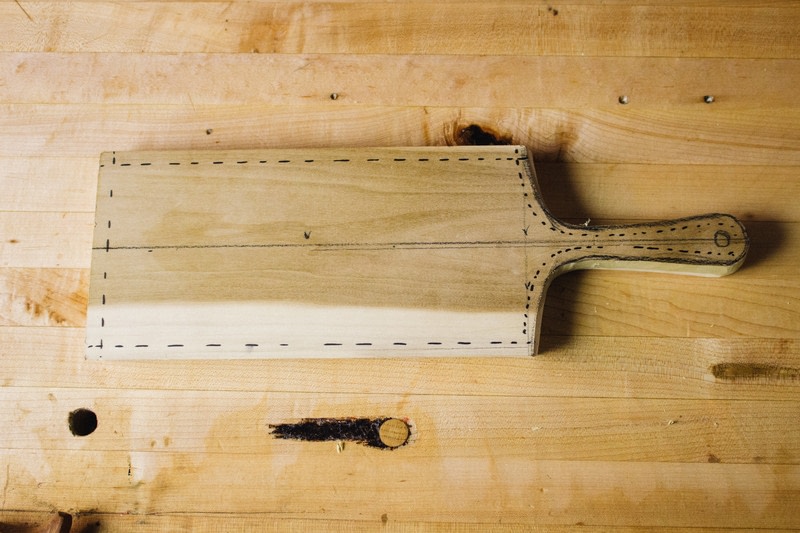
 Step 2
Mark a centerline running down the length of the board. This will help you to keep the serving board symmetrical. Draw the curves of the handle and the placement of the hanging hole.
-
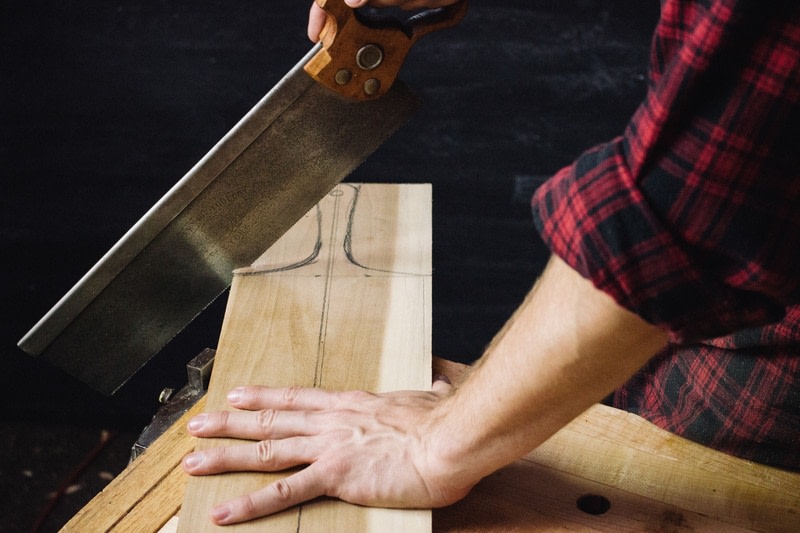
 Step 3
Use a saw to make two relief cuts in the waste wood around the handle, from the side edges in toward the base of the handle where it meets the main board.
-
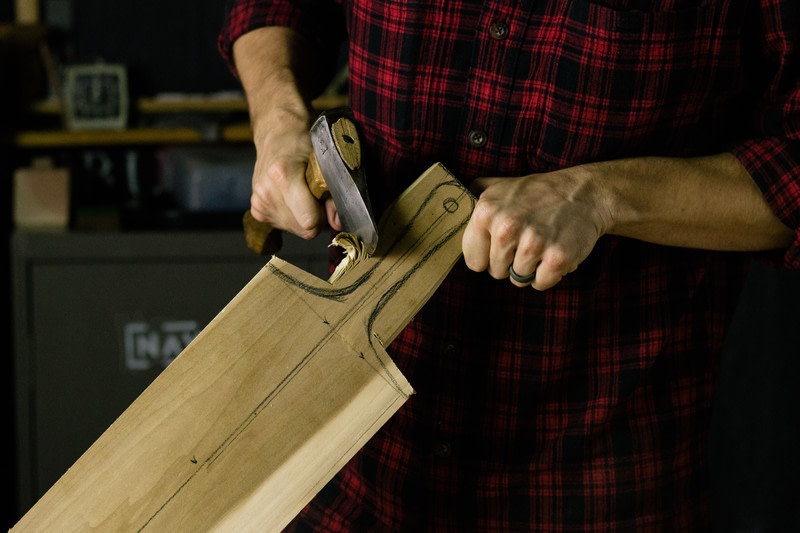
 Step 4
Clamp the board upright on your worktable. Using a hatchet with a mallet to control the force, split away half of the wood between the edge of the board and the side of the handle. Watch the grain of the wood to make sure that the split does not run into the handle. Repeat on the other side
-
 Step 5
With the board properly braced, use the hatchet on its own to take small cuts and work closer to the lines of the handle. Work no more than two-thirds of the way up the handle.
-
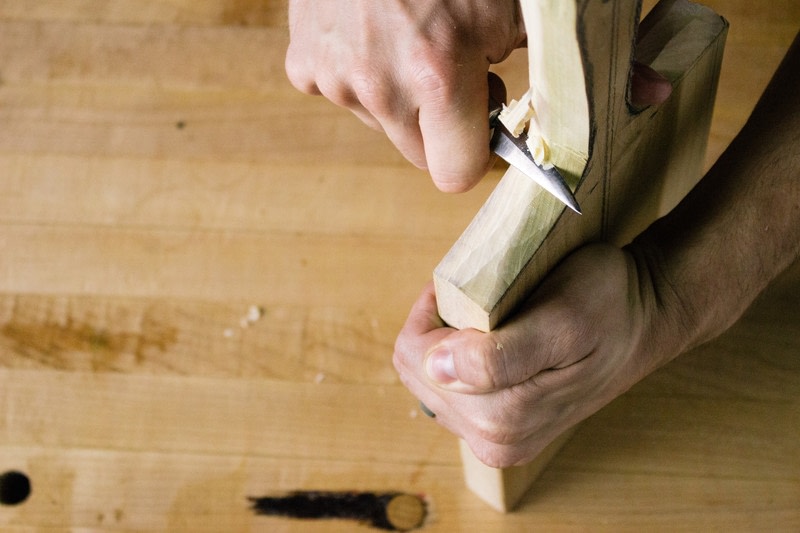
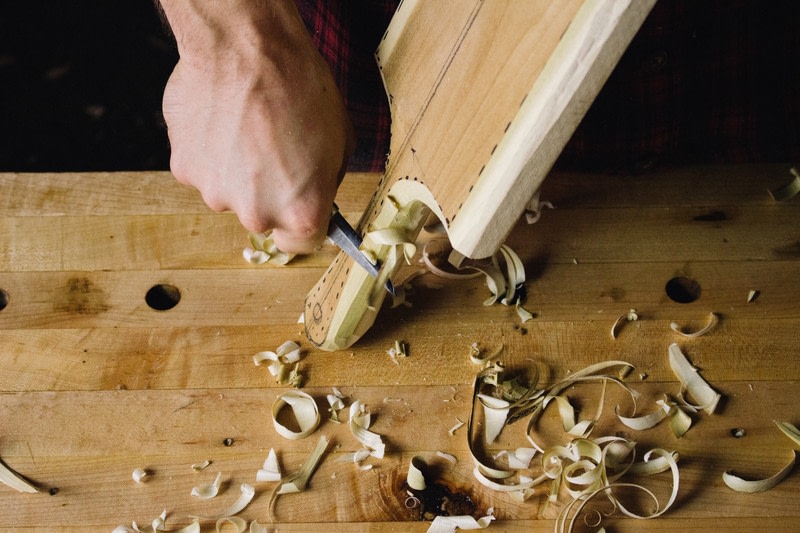
 Step 6
Switch to a straight knife and carve down to the lines of the handle, paying attention to the direction of the grain.
-
 Step 7
Bevels
With the profile established, mark guidelines for the bevels all around the board and handle, about ¼ in. (5mm) in from the edge.
-
 Step 8
Use the straight knife to shave away wood for the bevels, working down to the guidelines. Start with the sides, then move on to the end of the board, and finally the handle
-
 Step 9
If you wish, you can blend the bevel into slightly curved sides by adding a bit of interesting texture. Do this by carving carefully and consistently along the edges.
-
 Step 10
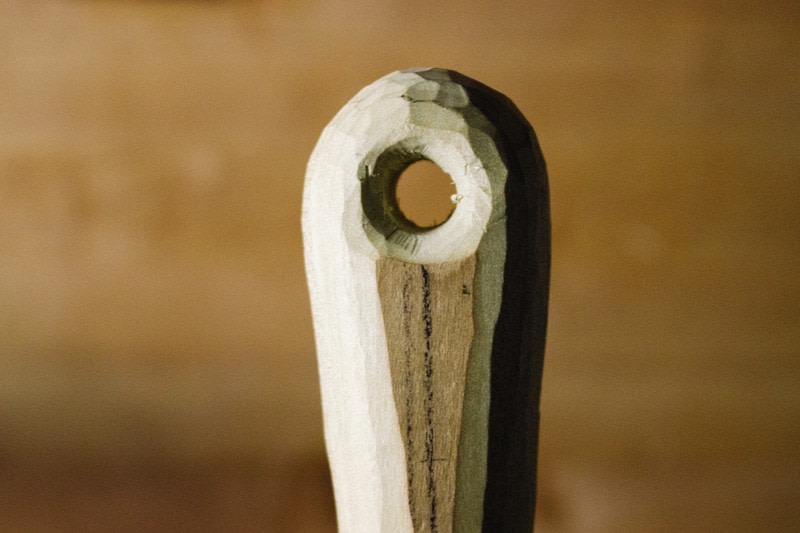
Finishing
With the sides completed, brace the piece and carefully drill the hanging hole, making sure to back the workpiece with scrap wood where the drill exits so as not to split the wood.
-
 Step 11
Sand the board clean on the top and bottom, but leave the sides unsanded to keep the texture intact. Be sure not to round off the edges of the board. Oil as desired.