


About
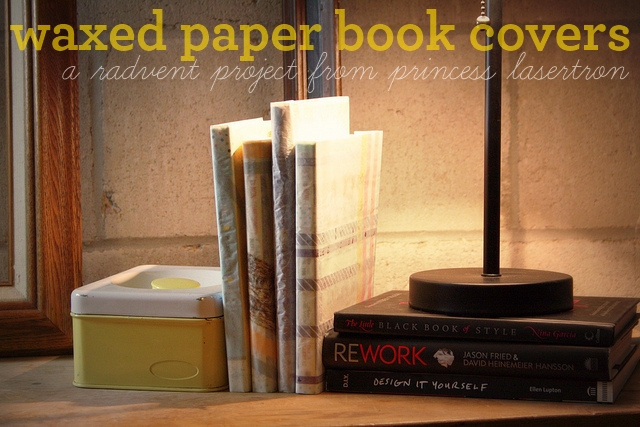
Waxed paper book covers: a radvent tutorial!
I like to take care of my books.
When I think about my school years in the small town where I grew up, I remember one of the things I loved most was the responsibility of having my own little space to take care of. I was so excited in first grade to finally have a school supply list and my own desk to store all my things. I got to make decisions about the objects I wanted to surround myself with–regular crayons, or metallics? A cardboard pencil box, or a pouch I made myself? Book covers. And then I got a locker in third grade, and I got to arrange it, and have magnets. My lockers and desks were always a horrible mess–I had too many things–and my teachers made me stay in from recess a few times to clean it. (Confession: I’m a total lifelong slob.)
This tutorial was inspired by the care and love I remember putting into every cover I made for my books in school–creasing them, decorating them, using unconventional materials…both pretty and practical. You could make book covers like these from many other materials like foil, fabric, old maps, ledger paper. If you’re doing a handmade or secondhand Christmas this year (my grandma calls it “Thoughtful Christmas”), you could dress up a used book with a spiffy cover. You could add a gift label to the front of the cover. I could go on and on, so I’ll just let you continue the list of possibilities in your own mind. On to the goods!
-
 Key West Witch favorited Waxed Paper Book Covers
07 Aug 20:06
Key West Witch favorited Waxed Paper Book Covers
07 Aug 20:06
-
 Xfluffy_unitatoX favorited Waxed Paper Book Covers
17 Nov 17:41
Xfluffy_unitatoX favorited Waxed Paper Book Covers
17 Nov 17:41
-
 Jousie N. added Waxed Paper Book Covers to Misc
28 Jun 11:47
Jousie N. added Waxed Paper Book Covers to Misc
28 Jun 11:47
-
 dippydiscoball added Waxed Paper Book Covers to To-make list
01 Jan 00:41
dippydiscoball added Waxed Paper Book Covers to To-make list
01 Jan 00:41
-
Anett E. favorited Waxed Paper Book Covers
18 May 10:00
-
 shelly.anderson.547 favorited Waxed Paper Book Covers
18 Feb 05:55
shelly.anderson.547 favorited Waxed Paper Book Covers
18 Feb 05:55
-
 joansmithok favorited Waxed Paper Book Covers
04 Feb 04:59
joansmithok favorited Waxed Paper Book Covers
04 Feb 04:59
-
 Bailey W. favorited Waxed Paper Book Covers
20 Jan 21:24
Bailey W. favorited Waxed Paper Book Covers
20 Jan 21:24
-
Kimberley K. added Waxed Paper Book Covers to What I Like
21 Sep 01:45
-
 Elle added Waxed Paper Book Covers to New
10 Sep 06:14
Elle added Waxed Paper Book Covers to New
10 Sep 06:14
-
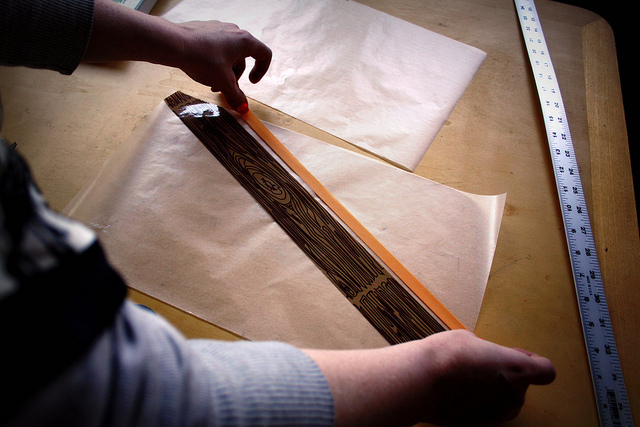
 Step 1
Open your book on the waxed paper and mark measurements two inches above the top of the book and four inches out from the side.
-
 Step 2
Use a straight edge to cut out two rectangles.
-
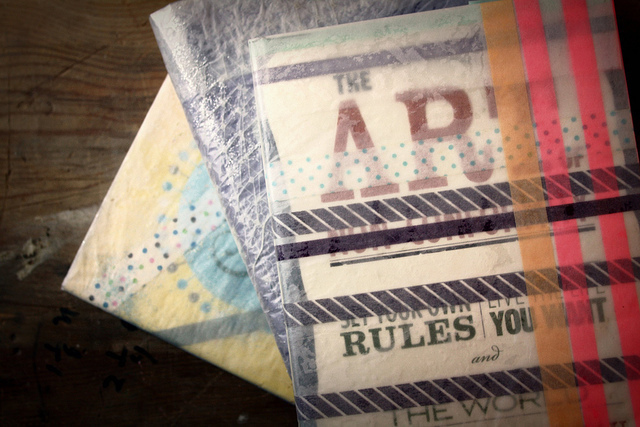
 Step 3
Note which side of the waxed paper is waxy, and which one is paper. You want the waxy sides in the middle of the waxed paper-tape and glitter-waxed paper sandwich you’re about to make.
-
 Step 4
Lay out one of your paper rectangles and use strips of decorative tape to make lines and patterns on the paper. B
-
 Step 5
e aware that you have to leave enough of the paper peeking through to fuse the whole thing together by melting the wax with your iron, so leave some holes showing.
-
 Step 6
Throw some glitter on top of it all, if you want. You could sprinkle some crayon shavings (they melt nicely!) on there too. Postage stamps? Fortunes? “Hi, My Name Is” stickers? Whatever strikes your fancy, just add it. In these photos, my cover is simple, but I made some more fun ones later.
-
 Step 7
Layer the second sheet of waxed paper on top of your lovely creation, waxy side down.
-
 Step 8
Iron it all together on the lowest setting. If you want to protect your surface and your iron (I didn’t, this is my crappy art project iron), put a towel down first.
-
 Step 9
The iron will melt the wax a bit and seal it all together between the pages!
-
 Step 10
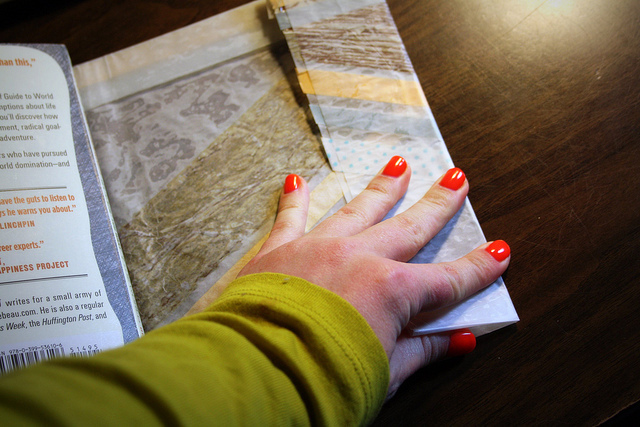
Center your book, closed, on the paper, and mark the top and bottom edges with your pencil.
-
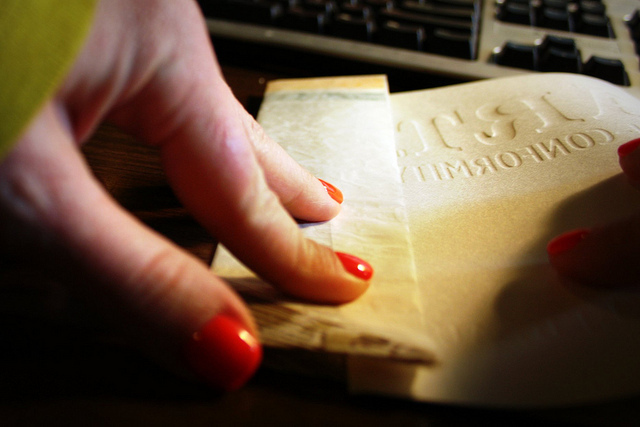
 Step 11
Fold the edges over to create nice, even edges.
-
 Step 12
Fold in the sides of the waxed paper two inches on each side. These will be the pockets for the front and back covers.
-
 Step 13
As you fold them, it helps to use the book as a measure to make sure you aren’t folding in so much that the book won’t be able to close.
-
 Step 14
Stick the front and back covers into the folded side pockets and gently close the book!