
About
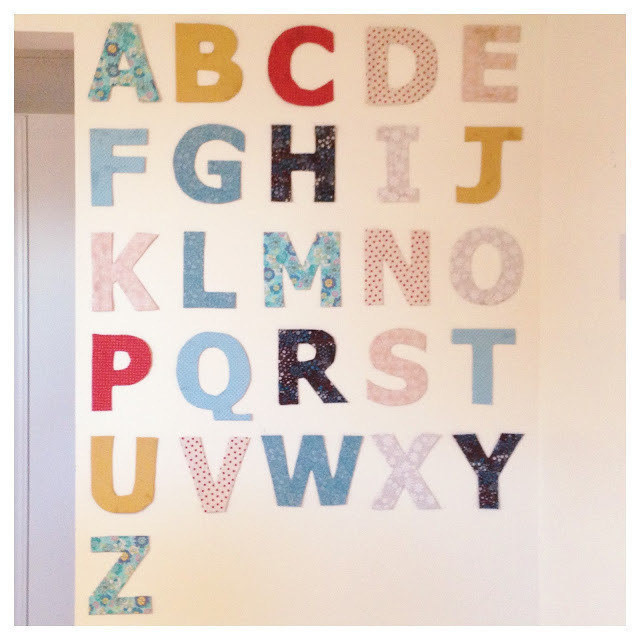
You're never too old for a colorful alphabet
-
 PuddyTat favorited Typography Wall
01 Jan 17:41
PuddyTat favorited Typography Wall
01 Jan 17:41
-
 Ruby C favorited Typography Wall
27 Dec 20:11
Ruby C favorited Typography Wall
27 Dec 20:11
-
 Misfit Isle published her project Typography Wall
04 Sep 02:02
Misfit Isle published her project Typography Wall
04 Sep 02:02
You Will Need
-
 Step 1
Open a word program and find a font you like. I chose Tahoma because it’s a nice strong font and would be easy to cut. I printed out one letter per page using Tahoma Bold font at 300 point size and embossed it so it would only print the outline and not waste ink. Then I cut out each letter.
-
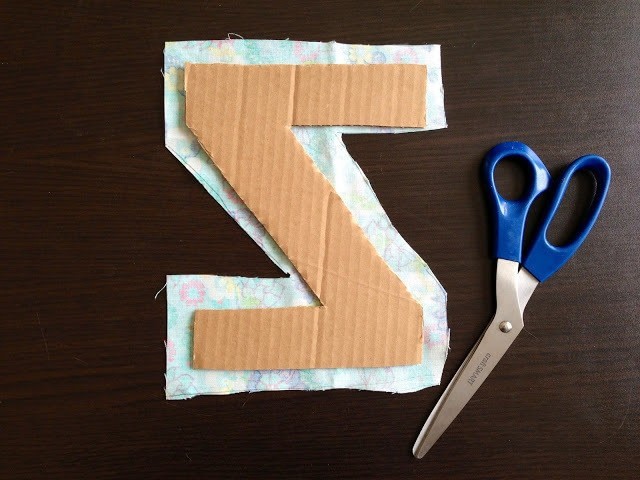
 Step 2
Using your paper letter templates, trace them onto a piece of cardboard.
-
 Step 3
Cut out all the letters.
Disclosure: I feel I need to let you know that cutting out 26 letters from cardboard is a little difficult and time consuming
-
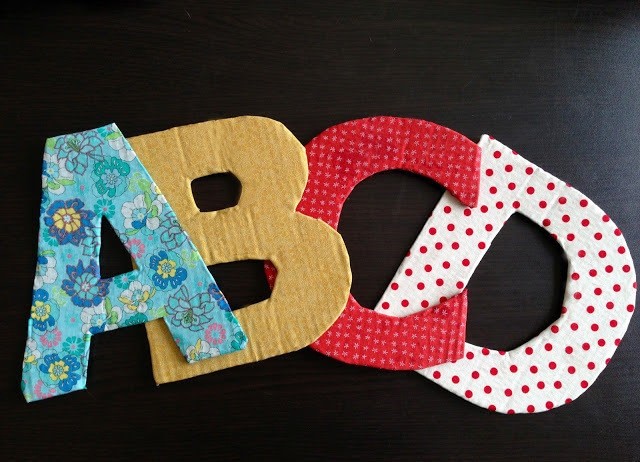
 Step 4
To continue on the cutting trend you’ll now need to trace each letter onto a piece of fabric and cut it out. Make sure you leave about a half inch extra around the letter so you can fold it around the sides of the letter. I had about 7 or 8 different pieces of scrap fabric that I used; I tried to keep them in the same color family of reds and blues.
-
 Step 5
Using your foam paint brush coat the front side of your letter and place of the back of the fabric. Then coat the back edge of the cardboard letter and fold up the edges of the fabric. Allow to dry.
Hang up using a little painter's tape as to not destroy your walls.