
About
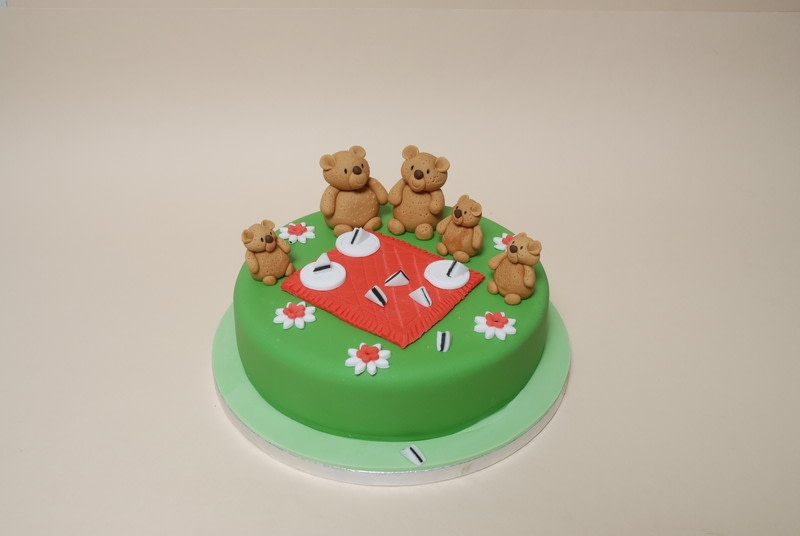
A cute cake for a christening or toddler birthday or anyone who loves teddybears!
Once you know how to make the little teddy bears, you can create this cute picnic cake. It's quite a simple design but looks eye-catching. Using very few tools.
Tags
-
 Ann P. published her project Teddy Bears Picnic Cake
21 Mar 09:00
Ann P. published her project Teddy Bears Picnic Cake
21 Mar 09:00
You Will Need
-
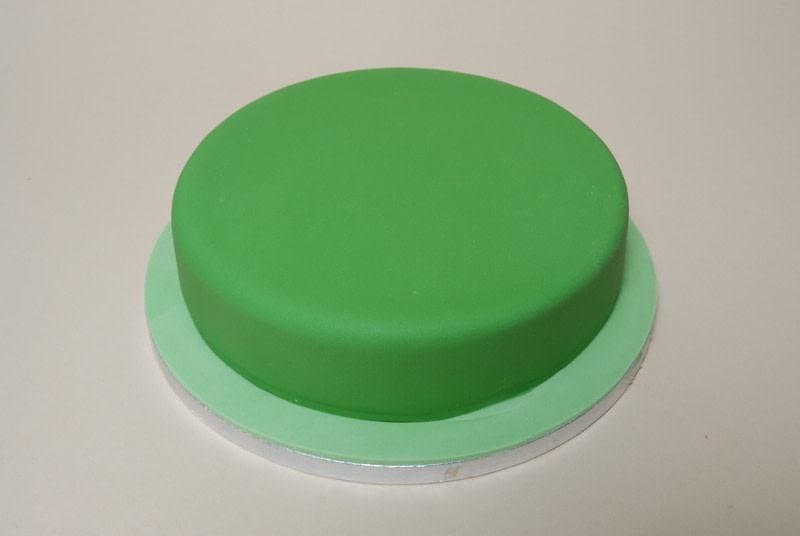
 Step 1
Cover a 20cm (8in) round sponge cake with 900g (2lb) of Lincoln green sugarpaste, on a 25cm (10in) cake drum. Cover the board with a strip of light green sugarpaste 150g (5oz).
-
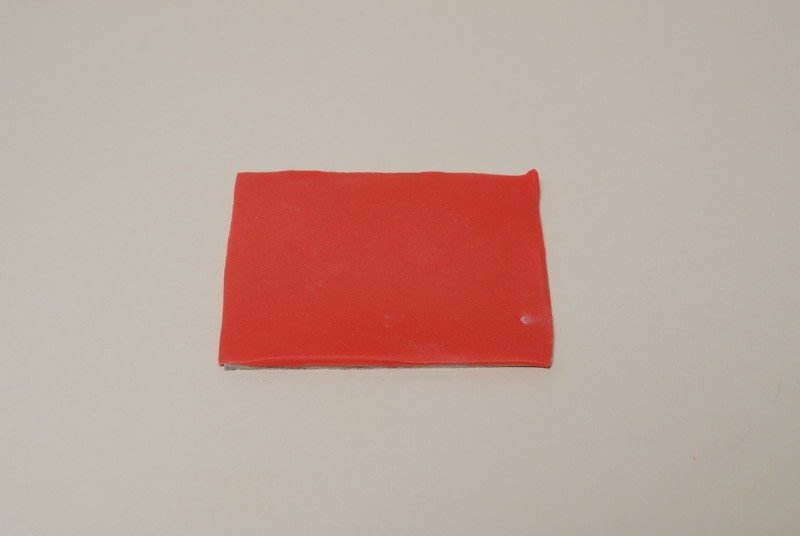
 Step 2
Roll out a piece of red sugarpaste and cut quite a thick rectangle approx. 10cm by 7.5cm (4in by 3in).
-
 Step 3
Use a cocktail stick to mark lines all around the edges of the blanket, impress the lines deeply.
-
 Step 4
Use a quilting tool to make a pattern across the blanket, then repeat at right angles to complete the effect.
-
 Step 5
Roll out white flower and modelling paste and cut 4 or 5 plates with a 2.5cm (1in) round cutter
-
 Step 6
Roll out white flower and modelling paste and cut 5 or 6 flower shapes using a daisy plunger cutter. Roll out a little red sugarpaste, cut the same number of blossom shapes and stick them on top of the white flowers using a little sugar glue. Mark a black dot in the centre.
-
 Step 7
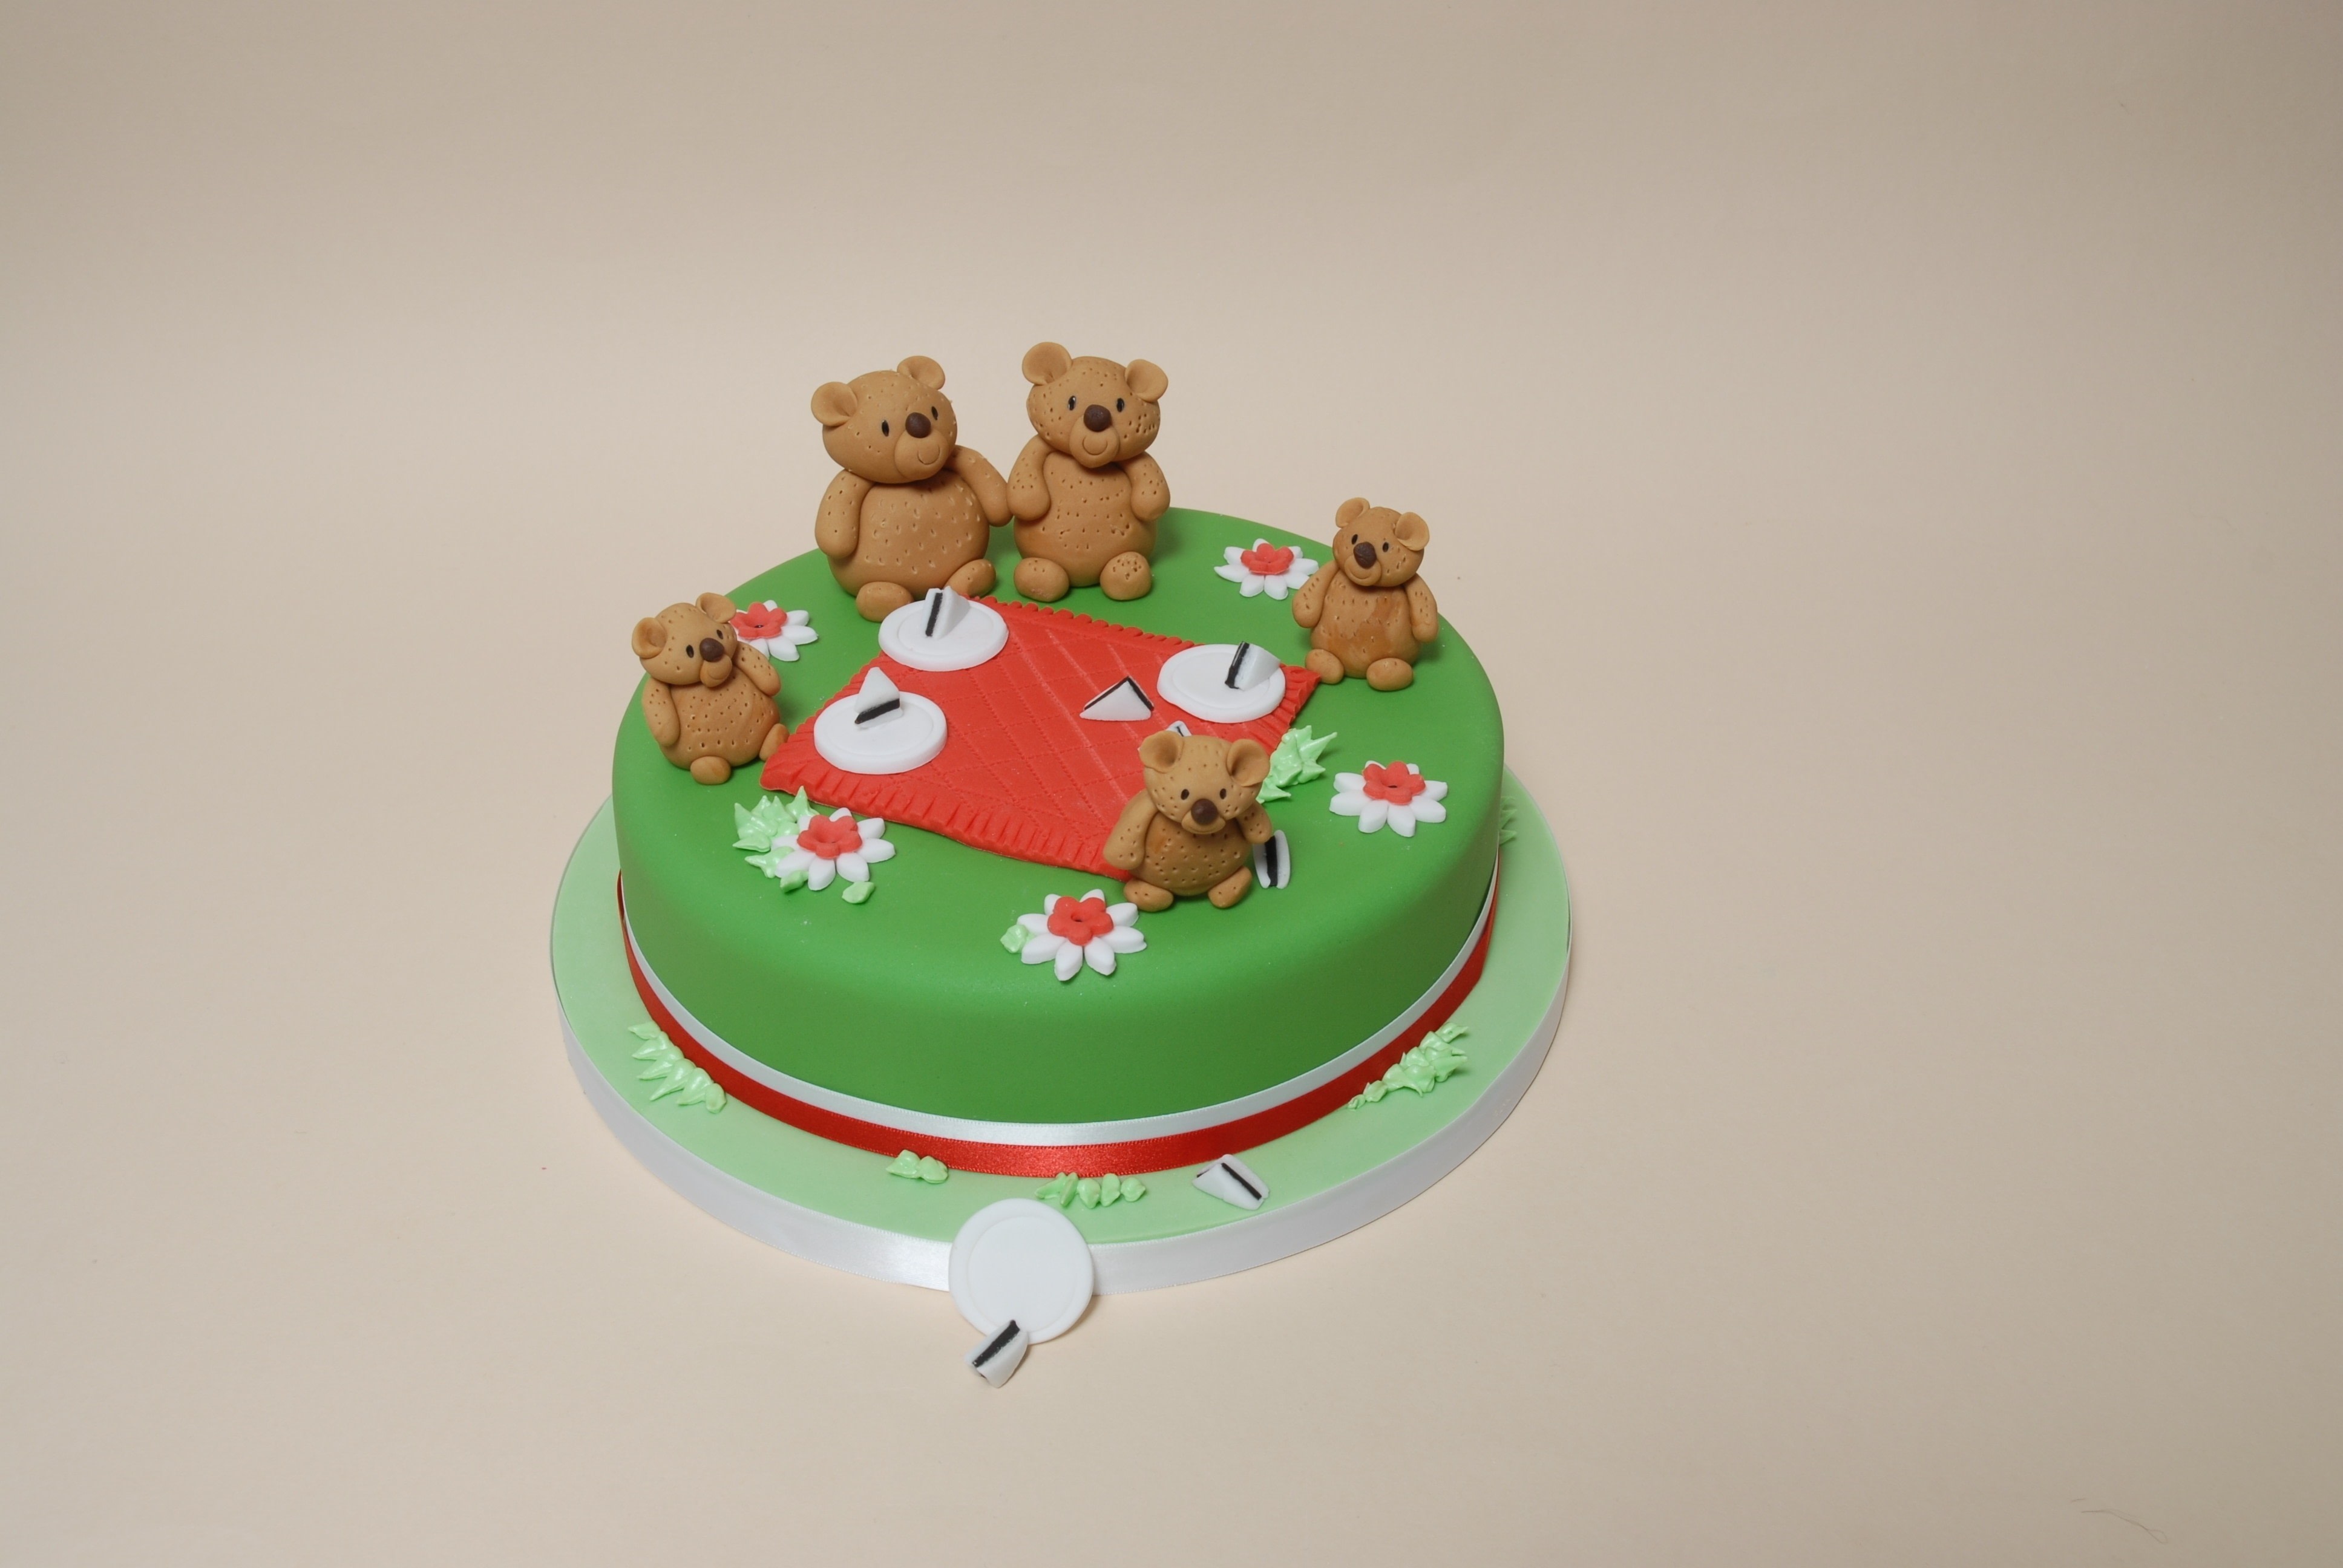
Place your picnic blanket in the centre of the cake using royal icing to secure in place. Add your teddy bears, plates, sandwiches and flowers.
-
 Step 8
Cut 2 lengths of ribbon, one wide white strip and a narrow strip of red. Stick the white ribbon around the cake and stick the red ribbon on top.
-
 Step 9
Half fill a small piping bag with light green royal icing, cut the end with 2 cuts meeting at a point (see diagram below). Squeeze the bag and pipe little spikes of grass.
-
 Step 10
Cut your silicon paper piping bag at this angle to pipe grass.