About
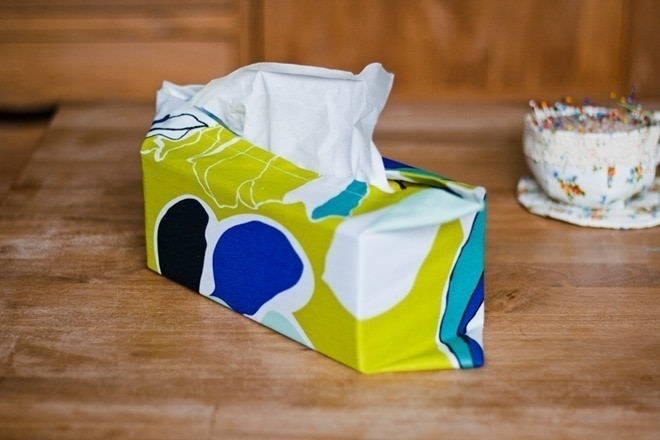
Tissue cosy
Very easy project for a tissue cosy.
-
 Shawn C. favorited Tissue Cosy
28 Mar 10:13
Shawn C. favorited Tissue Cosy
28 Mar 10:13
-
 Marysia T. published her project Tissue Cosy
22 Nov 06:00
Marysia T. published her project Tissue Cosy
22 Nov 06:00
You Will Need
-
 Step 1
Start with cutting a piece of fabric long enough to cover all sides of the box and of high being equal to the he length of the box and its width (do not forget about seam allowances!). Then roll up and staple the fabric along the long edge (only one edge).
-
 Step 2
Turn the fabric to the wrong side, wrap it around the box and mark where to sew. Be sure, not to stretch the fabric too hard. Otherwise, it will be difficult to put the box in and out the cosy. Of course, the fabric should not be too loose fitting either.
-
 Step 3
Sew two edges as indicated on the picture below. Remember that the longer edge should be stitched in the distance to the upper edge equal to the height + width of the box.
-
 Step 4
Cut the corners in the lower part of the cosy.
-
 Step 5
Turn the cosy to the right side and insert the box. Align the side seam to the the middle of the short wall of the box.
-
 Step 6
Fit the fabric well and straighten any irregularities. Bundle corners with pin. The cosy is almost ready. Now you need to figure out how to connect the corners. You should not stitch them together because then you won’t be able to replace the box after it will run empty.
I've used ribbons to connect the corners; attached one lace for each corner, and voila! You can also sew a button to one and one loop to another corner or add snap fasteners.