About
A new spin on an old toy!
Tinplate, which is what tin cans are made of (tin-plated steel) is a great material for making all sorts of cool things. You'll first need to flatten out the can to get some useable tinplate for your project. Check out the videos on our website (http://tinplategirl.com) for instructions on how to do this, as well as information about the tools and techniques we use.
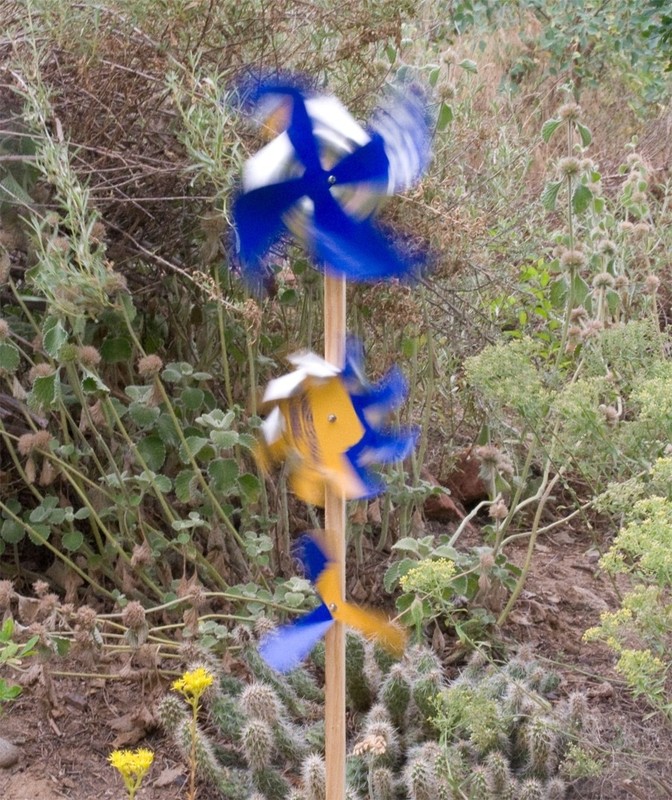
Wind toys go way back. These little cuties can go in the garden or a window box, on top of your car antennae, or just about anywhere you can picture them. Strategically using the printing on a can or painting them after construction can add additional zing.
If you bend the pinwheel or propeller in the opposite direction from the one in the instructions, it will rotate in the opposite direction. If you do this, try mounting several together, spinning in different directions!
Downloads
- WindToysPlans.pdf 120 KB [ Download ]
-
 Key West Witch added Tinplate Wind Toys to Garden
29 Jun 16:20
Key West Witch added Tinplate Wind Toys to Garden
29 Jun 16:20
-
 bigrthanlasagna favorited Tinplate Wind Toys
10 Jan 12:30
bigrthanlasagna favorited Tinplate Wind Toys
10 Jan 12:30
-
 Sarah-Jayne S. favorited Tinplate Wind Toys
01 May 23:21
Sarah-Jayne S. favorited Tinplate Wind Toys
01 May 23:21
-
 Step 1
Print out the plan sheets for the project. There’s a 1" test square on each sheet. Measure this to make sure you have printed out the sheet at 100%. Of course, you can reduce or enlarge the plan to whatever scale you choose.
-
 Step 2
Spray the back of the sheet with spray adhesive. I like to use Krylon #7010 All Purpose Spray Adhesive. It has enough stickum to hold the pattern pieces in place but not so much that you can’t get them off afterwards. Cut out the pattern pieces and stick them to your tinplate.
-
 Step 3
The following pinwheel instructions are written for a four-sided pinwheel, but I’ve included some eight-sided patterns as well, just to shake things up a bit. Don’t worry though, the instructions are exactly the same for both shapes. Each square makes one whole pinwheel, so I’ve included a couple different sizes to choose from.
On the piece marked “Pinwheel,” mark the hole with your awl and drill the hole in the center with a 3/32" bit.
-
 Step 4
Cut out the piece (or pieces).
-
 Step 5
Don’t forget to cut along the solid lines from the corners inward.
-
 Step 6
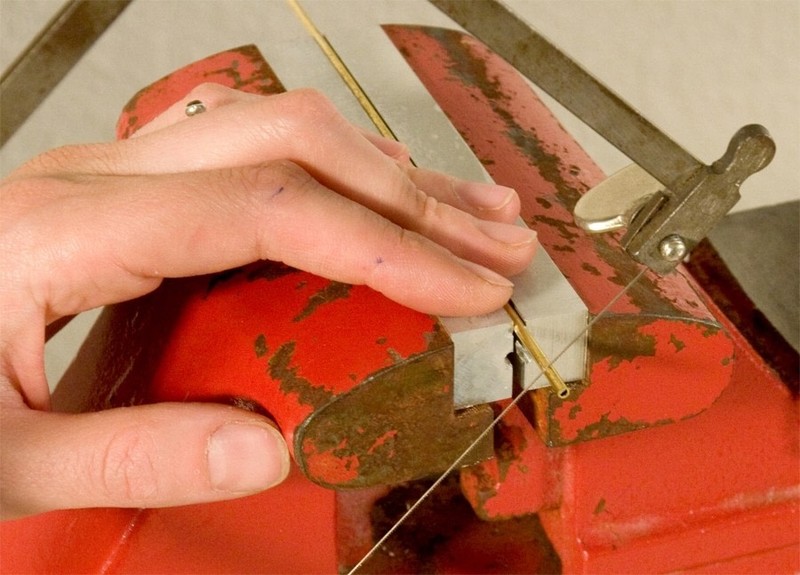
Clamp a 1/2"-diameter dowel or rod in your vise and lay the cut-out pinwheel over the rod. Line up a dotted line parallel with the rod below it. (You may need a smaller rod for the little pinwheels or a larger rod for the bigger ones.) This dotted line is your guide for where to begin the curl of each blade.
-
 Step 7
Now simply roll the point over the rod with your fingers. You may work the piece around the rod as much as you like, but make sure the points don’t block the center hole too much to push a small piece of tubing into. Repeat this step with the remaining three (or seven, if you’re making an eight-sided pinwheel) points. Peel off the paper pattern now.
-
 Step 8
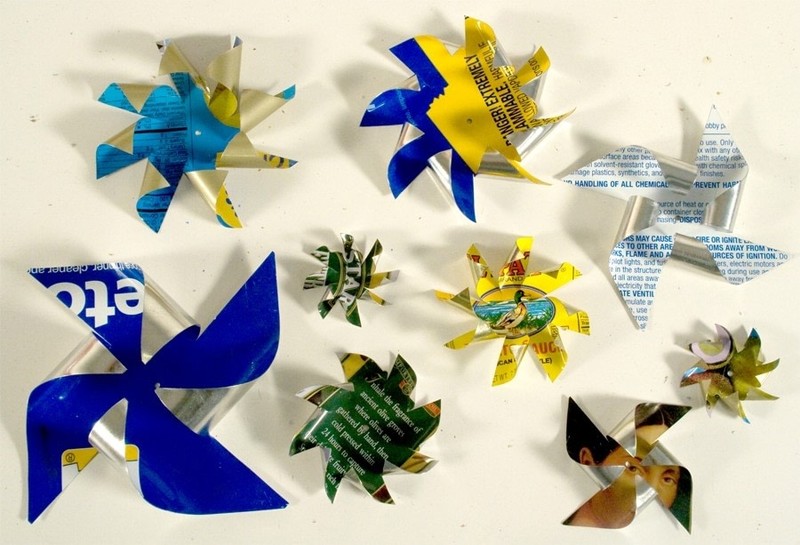
Here’s how the pinwheel should look now.
-
 Step 9
And here’s one with eight points.
-
 Step 10
Scrape off any plastic coating or paint from around the hole on both sides of the piece.
-
 Step 11
Next we’re going to make the bearing. This will keep your pinwheel from wobbling, therefore maximizing its spinnability (yes, that’s a real word).
Drill a shallow 1/16"-diameter hole in a wood block or your work surface and place a 1/2"-long piece of 1/16" rod in it, sticking straight up. -
 Step 12
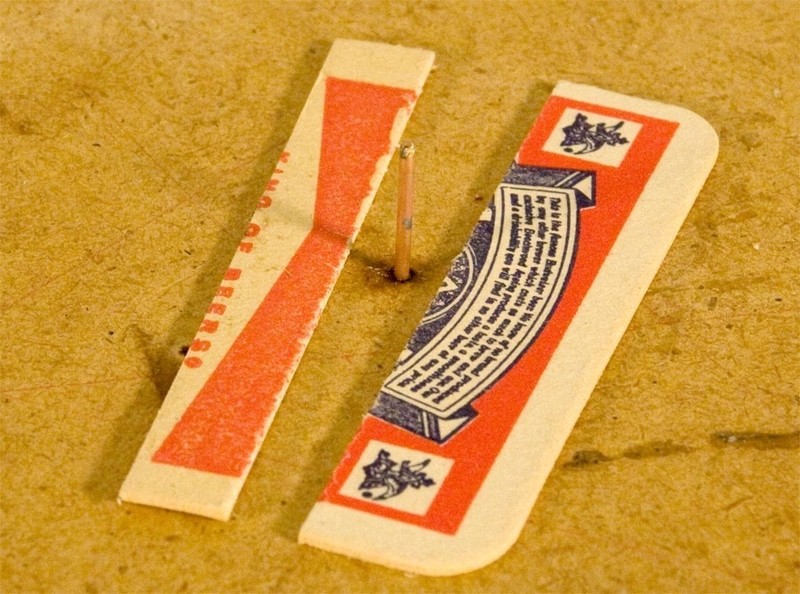
Now cut a 1/4"-long piece of 3/32"-OD tubing. This tubing will be your bearing. (If you want to run multiple pinwheels against each other on the same axle, make the bearings long enough to separate the pinwheels.)
-
 Step 13
Your cut piece of tubing should look like this.
-
 Step 14
Place a couple pieces of cardboard, one on either side of the vertical rod to support the pinwheel while you’re soldering it and allow the bearing to protrude through the back a little.
-
 Step 15
Place your bearing on the rod and your pinwheel on the bearing. Flux the hole in the pinwheel and the outside of the bearing. Then hold the soldering iron against the joint between the bearing and the pinwheel. Feed the solder into the joint when the pieces are hot enough.
-
 Step 16
Yay, you’re done! Now make some more.
See the next steps for propellers!
-
 Step 17
As with the pinwheels, each piece makes one propeller. There are three- and four-bladed propellers in these plans and the instructions for each are exactly the same.
Mark and drill the center hole in the piece or pieces marked “Propeller” with a 3/32" bit.
-
 Step 18
Cut out the propeller(s).
-
 Step 19
Place the propeller in the vise by clamping it on the dotted line with the mass of the propeller above the vise.
-
 Step 20
Fold the propeller over about 45° with your hands. Do the same with the remaining two blades (or three blades, if you’re making the four-bladed propeller). You can take the paper off now.
-
 Step 21
Here’s what the propeller should look like now.
-
 Step 22
Now you need to make a bearing. See steps 10-15 above to see how that's done. The instructions are exactly the same for the pinwheels and propellers.
-
 Step 23
Hooray, propellers!
See the next steps to see how to mount them.
-
 Step 24
Your wind toys can be mounted in any number of different ways. You can put several on one stick. You can even put two or three on the same axle if you’ve made the bearings long enough. However, each unit must have a 1/16" axle to rotate on. Here’s one way of mounting them.
Cut a suitable piece of wood. Mine are 3/8" square. You could also use a wood dowel.
-
 Step 25
Drill a 1/16" hole near the top, all the way through. If you’re going to mount more than one on your stick, just make sure that you drill the holes far enough apart so that there’s clearance.
-
 Step 26
Cut a piece of 1/16" rod, 3/4" long (or
3/8" + the length of the bearing(s) + 1/8"). -
 Step 27
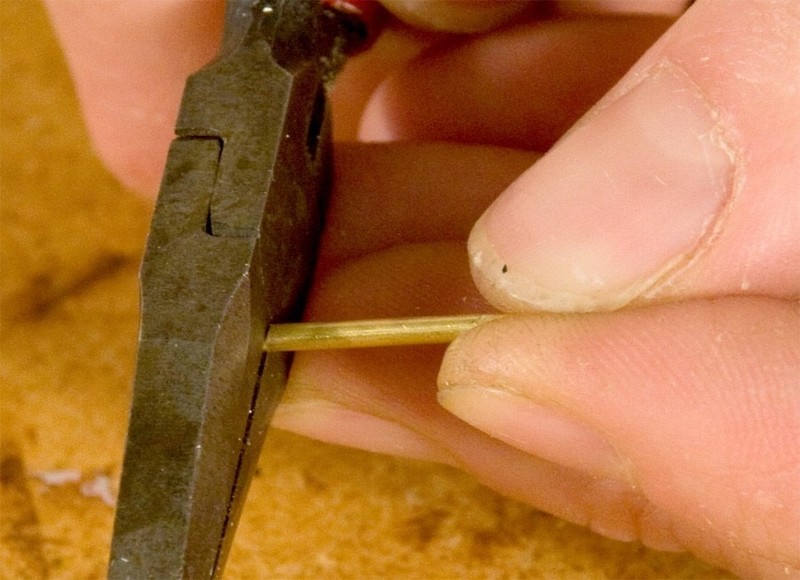
With a good pair of pliers, flatten 1/16" of the end of the rod. If your vise has steel jaws, you could use that, too. The flattened part will prevent the bearing(s) from slipping off.
-
 Step 28
The rod with the end crimped.
-
 Step 29
Slip the rod through the bearing and push it into the hole in the stick with your pliers. It should be a tight enough fit to stay all by itself. If it isn’t, secure the rod in the hole by running a little low-viscosity CA cement into the hole from the back side.
-
 Step 30
Put a small drop of oil between the bearing and the axle. Sewing-machine or 3-in-1 oil is good. This will get your toy spinning really well.
-
 Step 31
Go out and find some wind!