


About
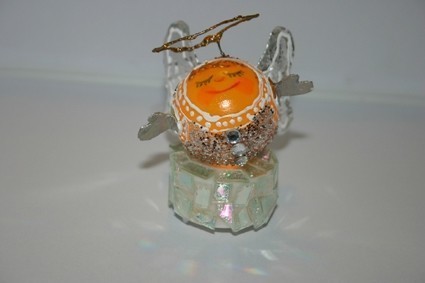
an angellicht made of a pingpongbal on an eleckric thealight and scraps
i thought i must cheer a dear friend of mine up, to give her some bright light.
i had saw something like this of Aint she Crazy Link:
I love the idea and thought i can make this for my friend, i found some old pinpong balls and thought i can make this much more kitshy of it and later on why not a angel.
so that was the starting idea.
Because of my big move i must clean a lot of materials up so i didn't bought anything for this project at all.
the "glass mirrow pieces" are old cds that weren't working any more and that i had cut in tiny pieces.
Hope you llike it too it was fun to made this.;-D
NOTE:
the time is without drying time.
There are much steps but in real it's less, i have took so much picts to let you see the proces much better, like some other members, it's still hard to write all the steps in english. And of couse you're free to make a rendier or santa claus too.LOL
Be creative and have a great fun crafting time;-D
feel free to ask me your questions and i love faves and comments.LOL
thank you for hopping by, much crafting fun with this tiny project;-D
Tags
-
Step 1
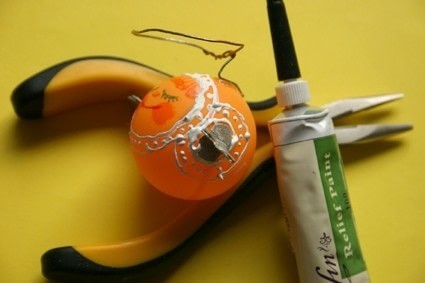
Gather all your crafting materials togehter.
-
 Step 2
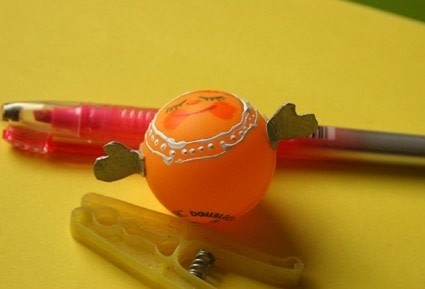
i've you have a pingpong ball with some brand on it, be sure that it will be on the downside.
i've you have a pingpong ball with some brand on it, be sure that it will be on the downside.
-
 Step 3
draw your own patterns for the face , hands and wings, or use mine
cut the patterns out of the paper
-
 Step 4
and draw the circle of the face pattern on the front top of the pingpong ball with a pencil around .
make marks for the hands besides of the head. -
 Step 5
draw the face on the head with a pencil then you can erase it when you aren't satiffied.;-D
-
 Step 6
colouring the face with scarpies and markers.
let it dry and varnish the face, (mayby it's not nesessary , but i had only water base sharpies) -
 Step 7
around of the head make some lines with your 3d paint.
-
 Step 8
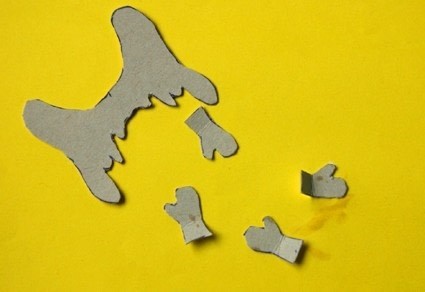
draw the patterns for the wings and hand on the scraps of cartonbox. Pay attention that you draw the hand in the oposite side to, so you become two hands for right and two for left.
-
 Step 9
cut it out and fold on the dot lines the hands, Watch the picture.;-D
-
 Step 10
glue them like the picture show you together.
-
 Step 11
glue the wings on a piece of tin foil or wraps of choclate candy.
Paint both sides of the hands and the other side of the still bold side of the wings.with silver paint and let it dry. -
 Step 12
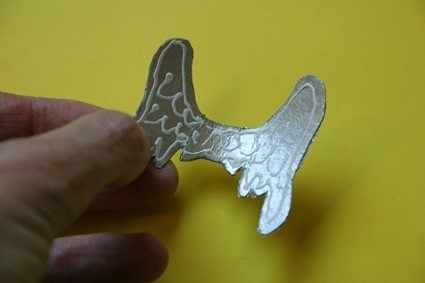
cut the wings out of the foil.
draw with the 3d paint some lines on it like feather on both sides. I used white paint because the lines came better out that way. -
 Step 13
cut the folded pieces of the glue hands a little bit smaller and round off.
glue them next to the face. -
 Step 14
mark with a pencil where the wings must come
and make an other mark for the halo (aura, nimbus. aureole) -
 Step 15
making the halo:
measuring a piece of flower iron wire of 10 cm or 4 inches and cut it off. -
 Step 16
make a circle like the picture is showing you.
-
 Step 17
twist the one of the end on the circle and fold the other part like a Z shape
watch the picture -
 Step 18
with your hot glue gun glue the halo on his mark.
paint it with gold and with golden glitter glue -
 Step 19
draw with the 3d paint some lines around the hands, like they are sleeves;-D
-
 Step 20
glue on the whole side were you didn't have make marks or drawing the glitter.
Cover the ball with a thick layer of white glue or wood glue and dip this in the silver glitter.
let it dry.
i used some hairspray to fix the glitter.
Do this not in your livingroom or bedroom i've you have asthma.
LOL i did, not good and sooo smart.LOL okay i think you all are much smarter then i'm .LOL
do it outside or in a very very well ventilated room;-D -
 Step 21
unwrap the elektric thealites, and install the batteries. Follow the instructions of your product.
(keep the this safe so you can buy when you like a new batterie;-D) Try it out if the battery is working well. -
 Step 22
glue with clear hobby glue the small cut pieces of the cd on the top and around the side. It will makes the angel more kitschy and shining the light like glimmeries.
i love that. -
 Step 23
Now you must make the whole of the X cut on the bottom of the ball a little roomier.
pull a ballpoint carefully inside
make the whole not to roomy because it's importend that the hole will fit tinghtly on the fake flame!!!
so try it step by step out -
 Step 24
push the ball on the flame do this gentle and carefully;-D , now you're almost finished.:_D Jipieeeee!!!LOL
-
 Step 25
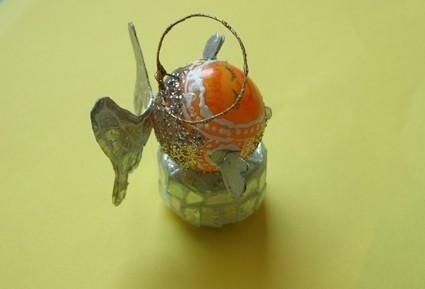
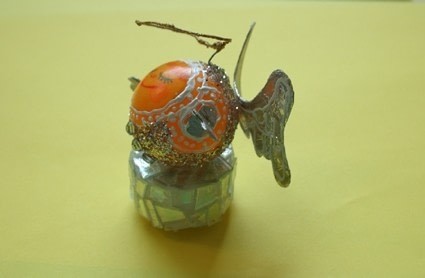
almost finished;-D
Your last step to make and......then you can drink your cup of thea. (or something else enjoy the pretty view of your project.)
pick up the wings and bend them in the middle so they look like the picture is showing you. -
 Step 26
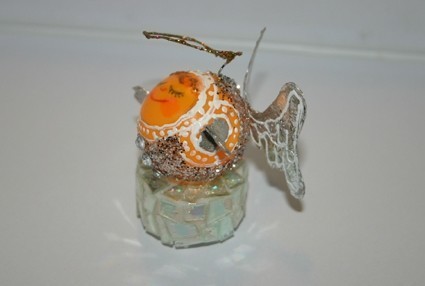
Your last step to make and......then you can drink your cup of thea. (or something else enjoy the pretty view of your project.)
glue with some hot glue the wings on the backside and..... enjoy your glowing angle.;-D


a great gift for someone whos feeling down
gonna make some as xmas pressies