


About
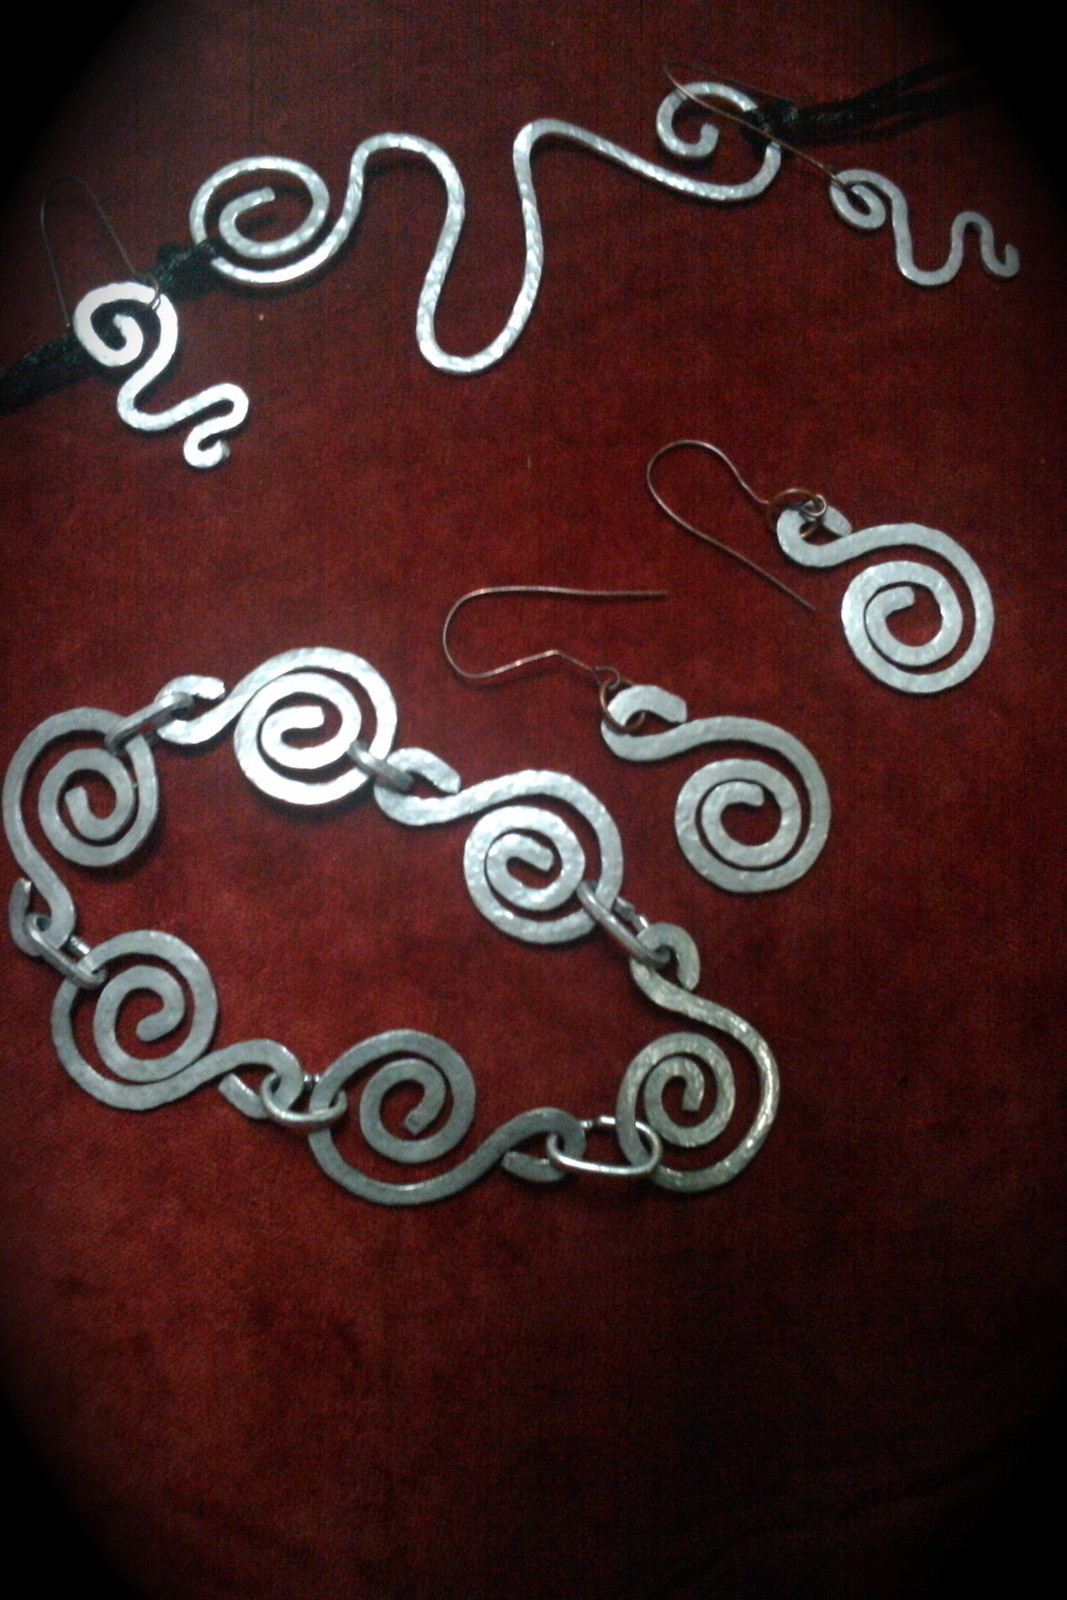
Hammered aluminium bracelet, earrings and neck adornments
I fancied making a swirly wire bracelet but the links, when hammered, turned out to be rather larger than expected, leaving me with enough links to add a pair of earrings and a corded choker!!!
Aluminium wire turned out to be very easy to work with being quite soft.
I cut 11 lengths of wire and made the classic swirl with each using the round-nose pliers. As the gauge of the wire was quite thick (2.0mm) and it was quite dull looking, I thought I'd add a bit of interest by hammering it slightly with my brand new hammer and dinky jewellery anvil (I use an ordinary hammer, with one side flat and the side ball shaped - I bought it from an outdoor market for a quid! Before I bought the anvil, i just used a hard surface. It was a bit hit and miss, but it sufficed!!). As this was my first attempt using these tools things got slightly out of hand and I hammered more than intended - but then I thought, what the hey, so carried on until it was as flat and as thin I dared. The change in shape and texture AND SIZE was fascinating to watch but my relatively small swirls ended up being absolutely huge.
TEXTURING was added with the ball end of the hammer. This worked beautifully, but if you want it on both sides I'd recommend hammering as lightly as possible and keep turning the piece over as you in order to monitor your progress AND so as not to flatten out the other side too much. Give the edges more attention to avoid a square edge.
The hammering and the texturing took absolutely ages and turned out to be the most time-consuming aspect. I didn't realise until I had finished that it had taken me almost 2 hours to do all the pieces!!!
FINDINGS: I used antique copper findings for the earrings as they kinda almost disappear against my skintone giving the impression of the earrings hanging in mid-air - fab :). The bracelet is claspless being just the right size to slip on without it slipping off.
SECOND PROJECT: The other swirly pattern can be worn as either a pendant or as a choker - The metal is flexible enough that you can bend it to shape to wear it as a close fitting choker, and straighten it again to wear as a pendant. The earrings alas were made out of the left over wire from the two projects - the originals which more closely reflected the shape of the pendant, I unfortunately lost because I hadn't closed the earwire loop tight enough! There's a lesson for me - it's so not cool walking around unawares with only one dangly earring!!! :) (I lost the second one somewhere in my house)
Tags
-
 Danielle M. added Swirly Aluminium Set to Wire bracelets and other bracelets
13 May 07:36
Danielle M. added Swirly Aluminium Set to Wire bracelets and other bracelets
13 May 07:36
-
 Vallie H. commented on Swirly Aluminium Set
01 Apr 16:50
Vallie H. commented on Swirly Aluminium Set
01 Apr 16:50
-
 Yvonne C. favorited Swirly Aluminium Set
26 Nov 15:27
Yvonne C. favorited Swirly Aluminium Set
26 Nov 15:27
-
 Keri Plezia (aka;Miss Holley King) commented on Swirly Aluminium Set
25 Nov 22:53
Keri Plezia (aka;Miss Holley King) commented on Swirly Aluminium Set
25 Nov 22:53
Jassie '. posted this project as a creation without steps
Here are some similar tutorials to help you make this one!


Comments

