

About
A gift for my mumma on Mothers Day :D
This can be a quick gift or even a little self indulgence that has that 'home-made' feel to it!!! gotta make 'em feel special ;)
This also includes the instructions for the label...if your interested
To use:
-1st make sure your hands are clean
-Then get about a lump the size of a large table spoon in the middle of your palm
-Scrub this through your fingers like it's soap for about a min
-Wash off and towel dry
Don't they feel soft!?! :)
-
 Alecia B. favorited Sugar Hand Scrub
20 Jun 12:28
Alecia B. favorited Sugar Hand Scrub
20 Jun 12:28
-
Maxine M. added Sugar Hand Scrub to To-make list
04 Apr 22:43
-
 stephanie.goodsell.54 added Sugar Hand Scrub to Clothing
04 Feb 17:26
stephanie.goodsell.54 added Sugar Hand Scrub to Clothing
04 Feb 17:26
-
 keely.mikulenka added Sugar Hand Scrub to Homemade Beauty Products
12 Jan 11:29
keely.mikulenka added Sugar Hand Scrub to Homemade Beauty Products
12 Jan 11:29
-
Svetlana C. favorited Sugar Hand Scrub
11 Jan 18:20
-
 J.N. Cahill added Sugar Hand Scrub to Home Remedies
25 Jul 02:54
J.N. Cahill added Sugar Hand Scrub to Home Remedies
25 Jul 02:54
-
 Hannah A. added Sugar Hand Scrub to beauty
17 Jul 18:16
Hannah A. added Sugar Hand Scrub to beauty
17 Jul 18:16
-
 Valerie R. favorited Sugar Hand Scrub
25 Jun 15:56
Valerie R. favorited Sugar Hand Scrub
25 Jun 15:56
-
 tiffany.robinson.900 favorited Sugar Hand Scrub
27 May 23:06
tiffany.robinson.900 favorited Sugar Hand Scrub
27 May 23:06
-
Diana R. favorited Sugar Hand Scrub
25 May 12:37
-
Step 1
The amount of sugar and oil you use depend on how much of it you want. I made about a cup and a half's worth.
Mix equal parts brown and white sugar until combined in a small bowl.
I did this in quarter cup increments until I got the right amout to just fill my glass jar. -
Step 2
Add olive oil until you achieve the consistantcy you want. Mix until combined. Also add a few drops of your (or the recipients) favourtive essential oil to give the scrub, and your hands, a nice smell :)
-
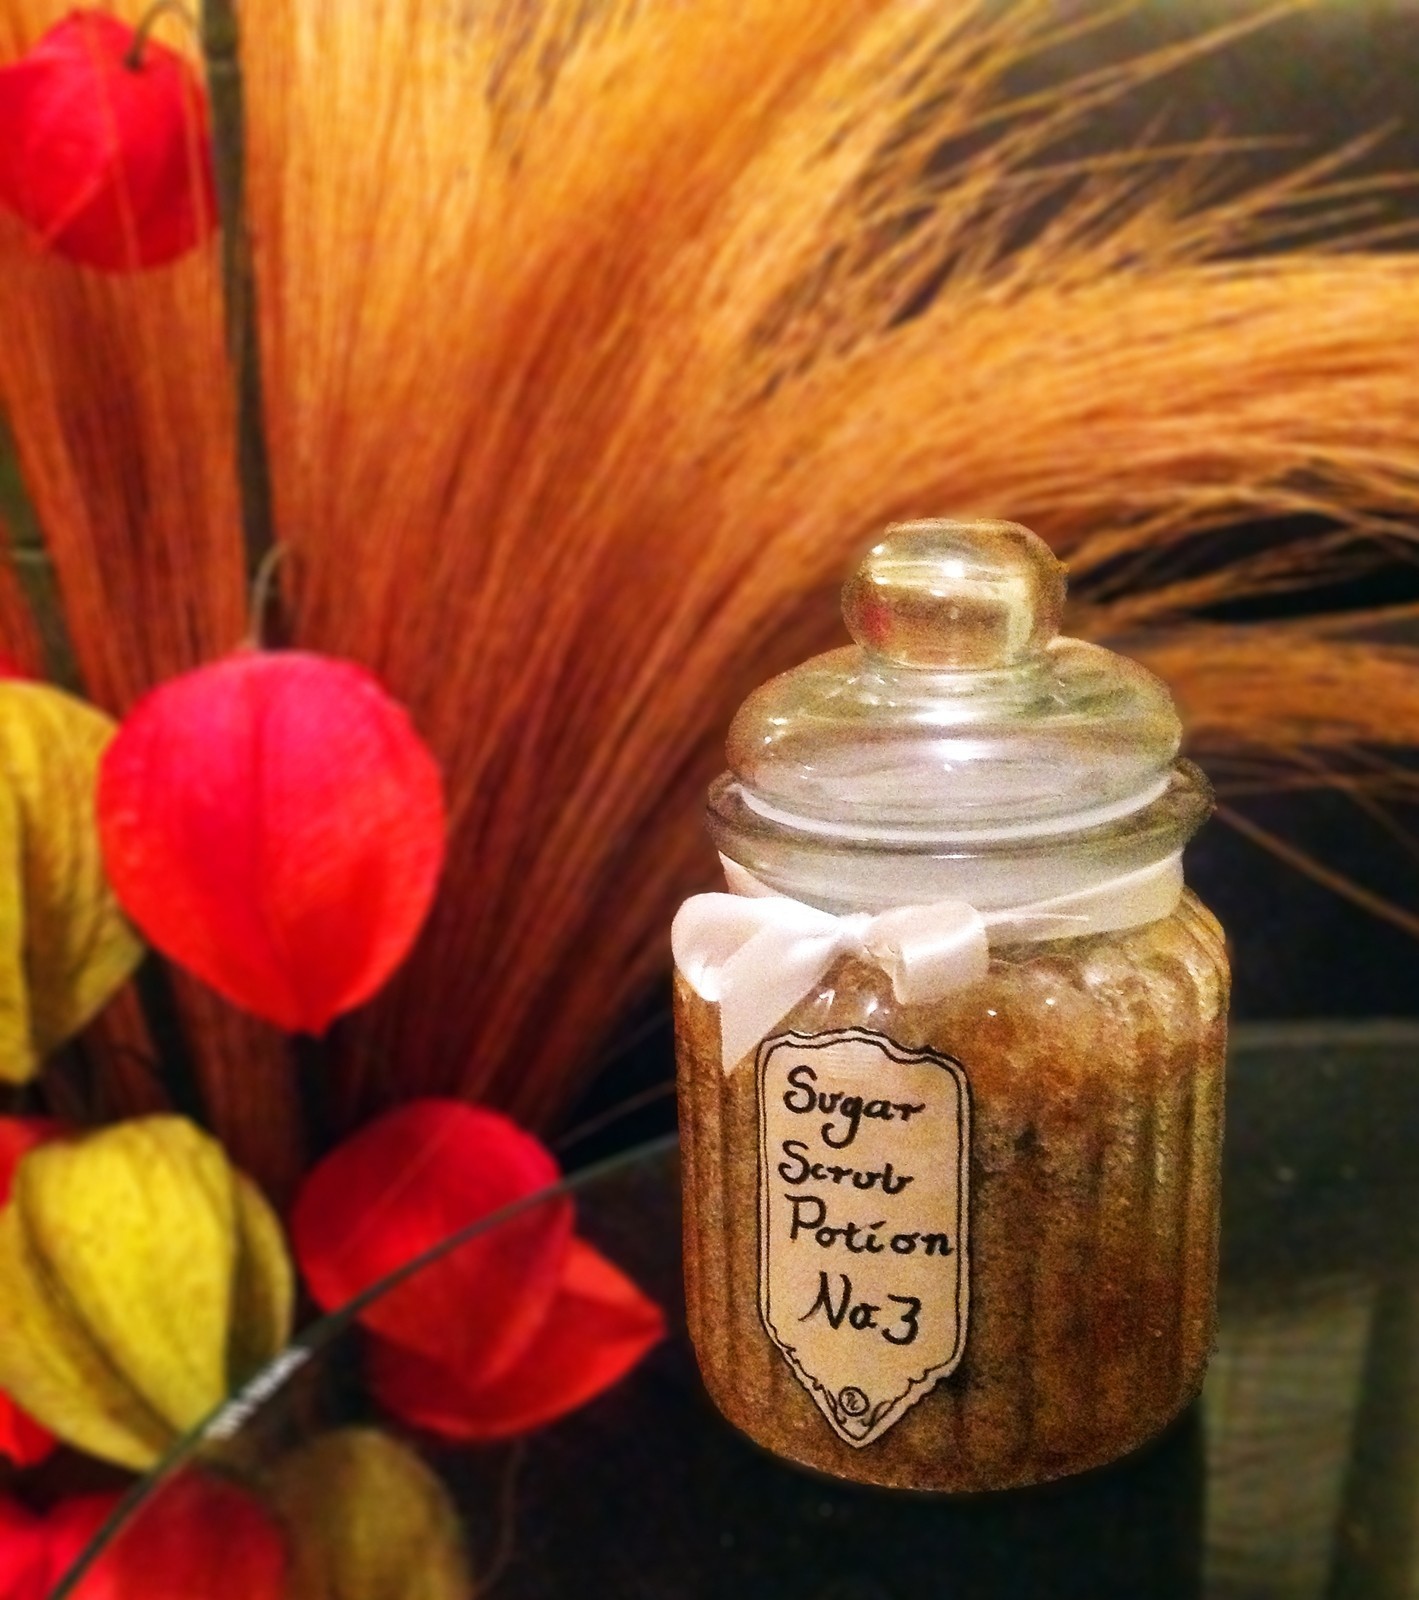
Step 3
Funnel this into your glass jar. If you want, you can leave it at that, but because I'm doing it for mothers day I wanted to give it some extra ompf! So I made it a smancy label!
-
Step 4
TIME FOR THE LABEL
On the internet I found a nicely shaped label so I enlarged it and traced it onto the blank sticker.
-
Step 5
Cut it out and to define the border, draw a black line along the edge and also about 2mm further in than that to almost 'frame' it.
-
Step 6
Give it a title, I thought giving it a number and calling it a potion was kinda cute so I wrote that on it.
Add any final details like swirls or marks and then stick it on!
-
Step 7
Put on the lid annnnnnd
fin1


