


About
A Block A Day
The seam allowance is ¼ inch throughout.
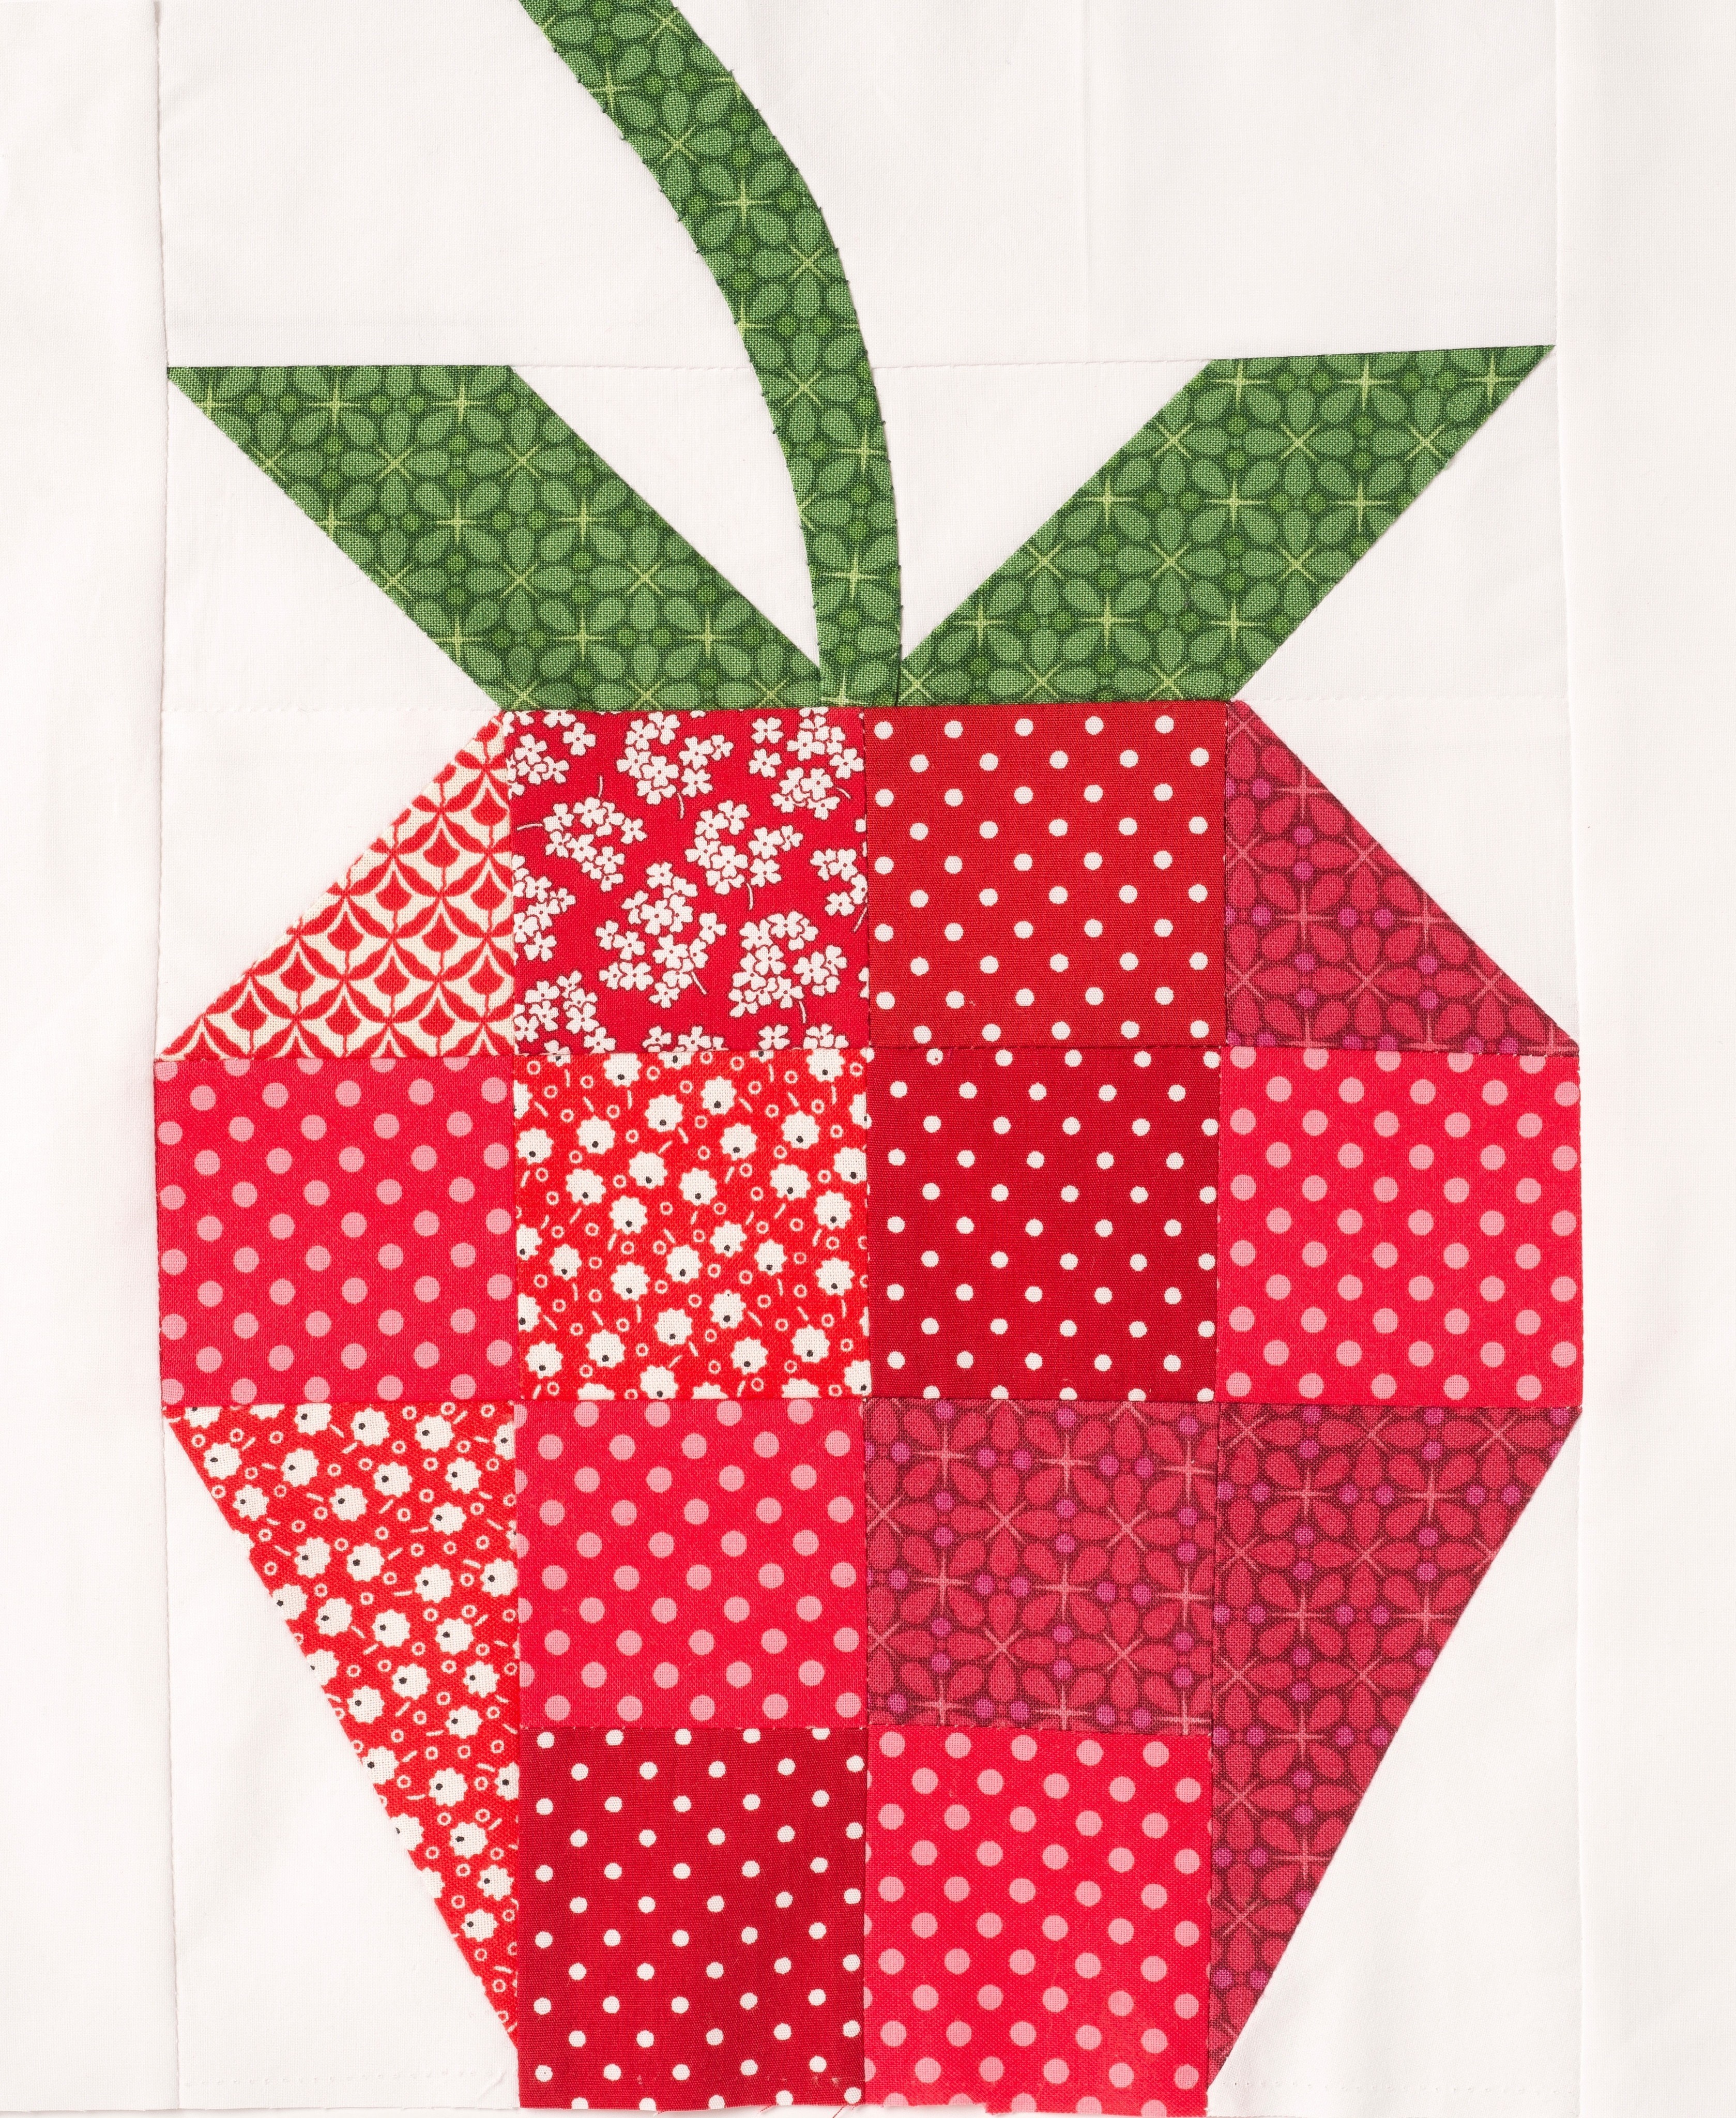
Pick various shades of patterned red fabric to make this strawberry appear three-dimensional. The curved stem is appliquéd.
Tags
© 2024 Lucinda Ganderton / Ivy Press · Reproduced with permission. · From A Block A Day ((c) The Ivy Press Ltd 2015); photography by Andrew Perris
-
 Rae G. added Strawberry Quilt to Quilty things
20 Jul 14:50
Rae G. added Strawberry Quilt to Quilty things
20 Jul 14:50
-
Rae G. favorited Strawberry Quilt
20 Jul 14:49
-
 RareJewel favorited Strawberry Quilt
01 Oct 08:47
RareJewel favorited Strawberry Quilt
01 Oct 08:47
-
 sand d favorited Strawberry Quilt
12 Jan 07:30
sand d favorited Strawberry Quilt
12 Jan 07:30
-
 Hester A. favorited Strawberry Quilt
09 Jan 20:45
Hester A. favorited Strawberry Quilt
09 Jan 20:45
-
 Ivy Press published her project Strawberry Quilt
14 Dec 09:00
Ivy Press published her project Strawberry Quilt
14 Dec 09:00
-
Step 1
Prepare the patches
Rotary method
From fabric A, cut one stem using the template
From fabrics A and C, make one 6½ x 2½-inch right diamond rectangle and one 6½ x 2½-inch left diamond rectangle
From fabrics B and C, make two 2½-inch half-square triangles
From fabric B, cut ten 2½-inch squares
From fabric C, cut one 8½ x 2½-inch rectangle and two 12½ x 2½-inch rectangles
From fabrics B and C, cut one right half triangle and one left half triangle (6 x 6 template)Or
Template cutting
Using the 6 x 6 template:From fabric A, cut 1 right diamond,1 left diamond, and one stem.
From fabric B, cut 10 small squares, 2 small triangles, 1 right half triangle, and 1 left half triangle
From fabric C, cut 6 small triangles, 1 right half triangle, 1 left half triangle, 1 long rectangle, and 2 full-length rectangles -
Step 2
Template Piecing
With right sides together, pin and sew a small fabric C triangle to each of the diagonal edges of one fabric A diamond. Press seams open. Repeat to make the second strawberry leaf.
With right sides together, pin and sew the remaining two small fabric C triangles to the two small fabric B triangles; press seams open.
-
Step 3
Make the Block
Assemble the hull With right sides together, pin the left and right diamond rectangles together so they point inward and downward, as shown above, then sew; press seams open. Join the fabric C long rectangle to the top edge and press seam up. Appliqué the stem between the leaves.
-
Step 4
Sew the strawberry With right sides together, stitch the fabrics B and C left and right triangles together to make two rectangles; press seams down over the red fabric.
Arrange the patches in their final positions, being careful to balance the prints and shades of red to create the illusion of a strawberry shape. With right sides together, pin and sew the patches in four columns; press seams open.
With right sides together, stitch the columns together, carefully matching the seams; press seams open.
-
Step 5
Complete the square With right sides together, pin and sew the hull to the top edge of the strawberry and press seam open. Sew one full-length white rectangle to each side edge; press seams open.
