


About
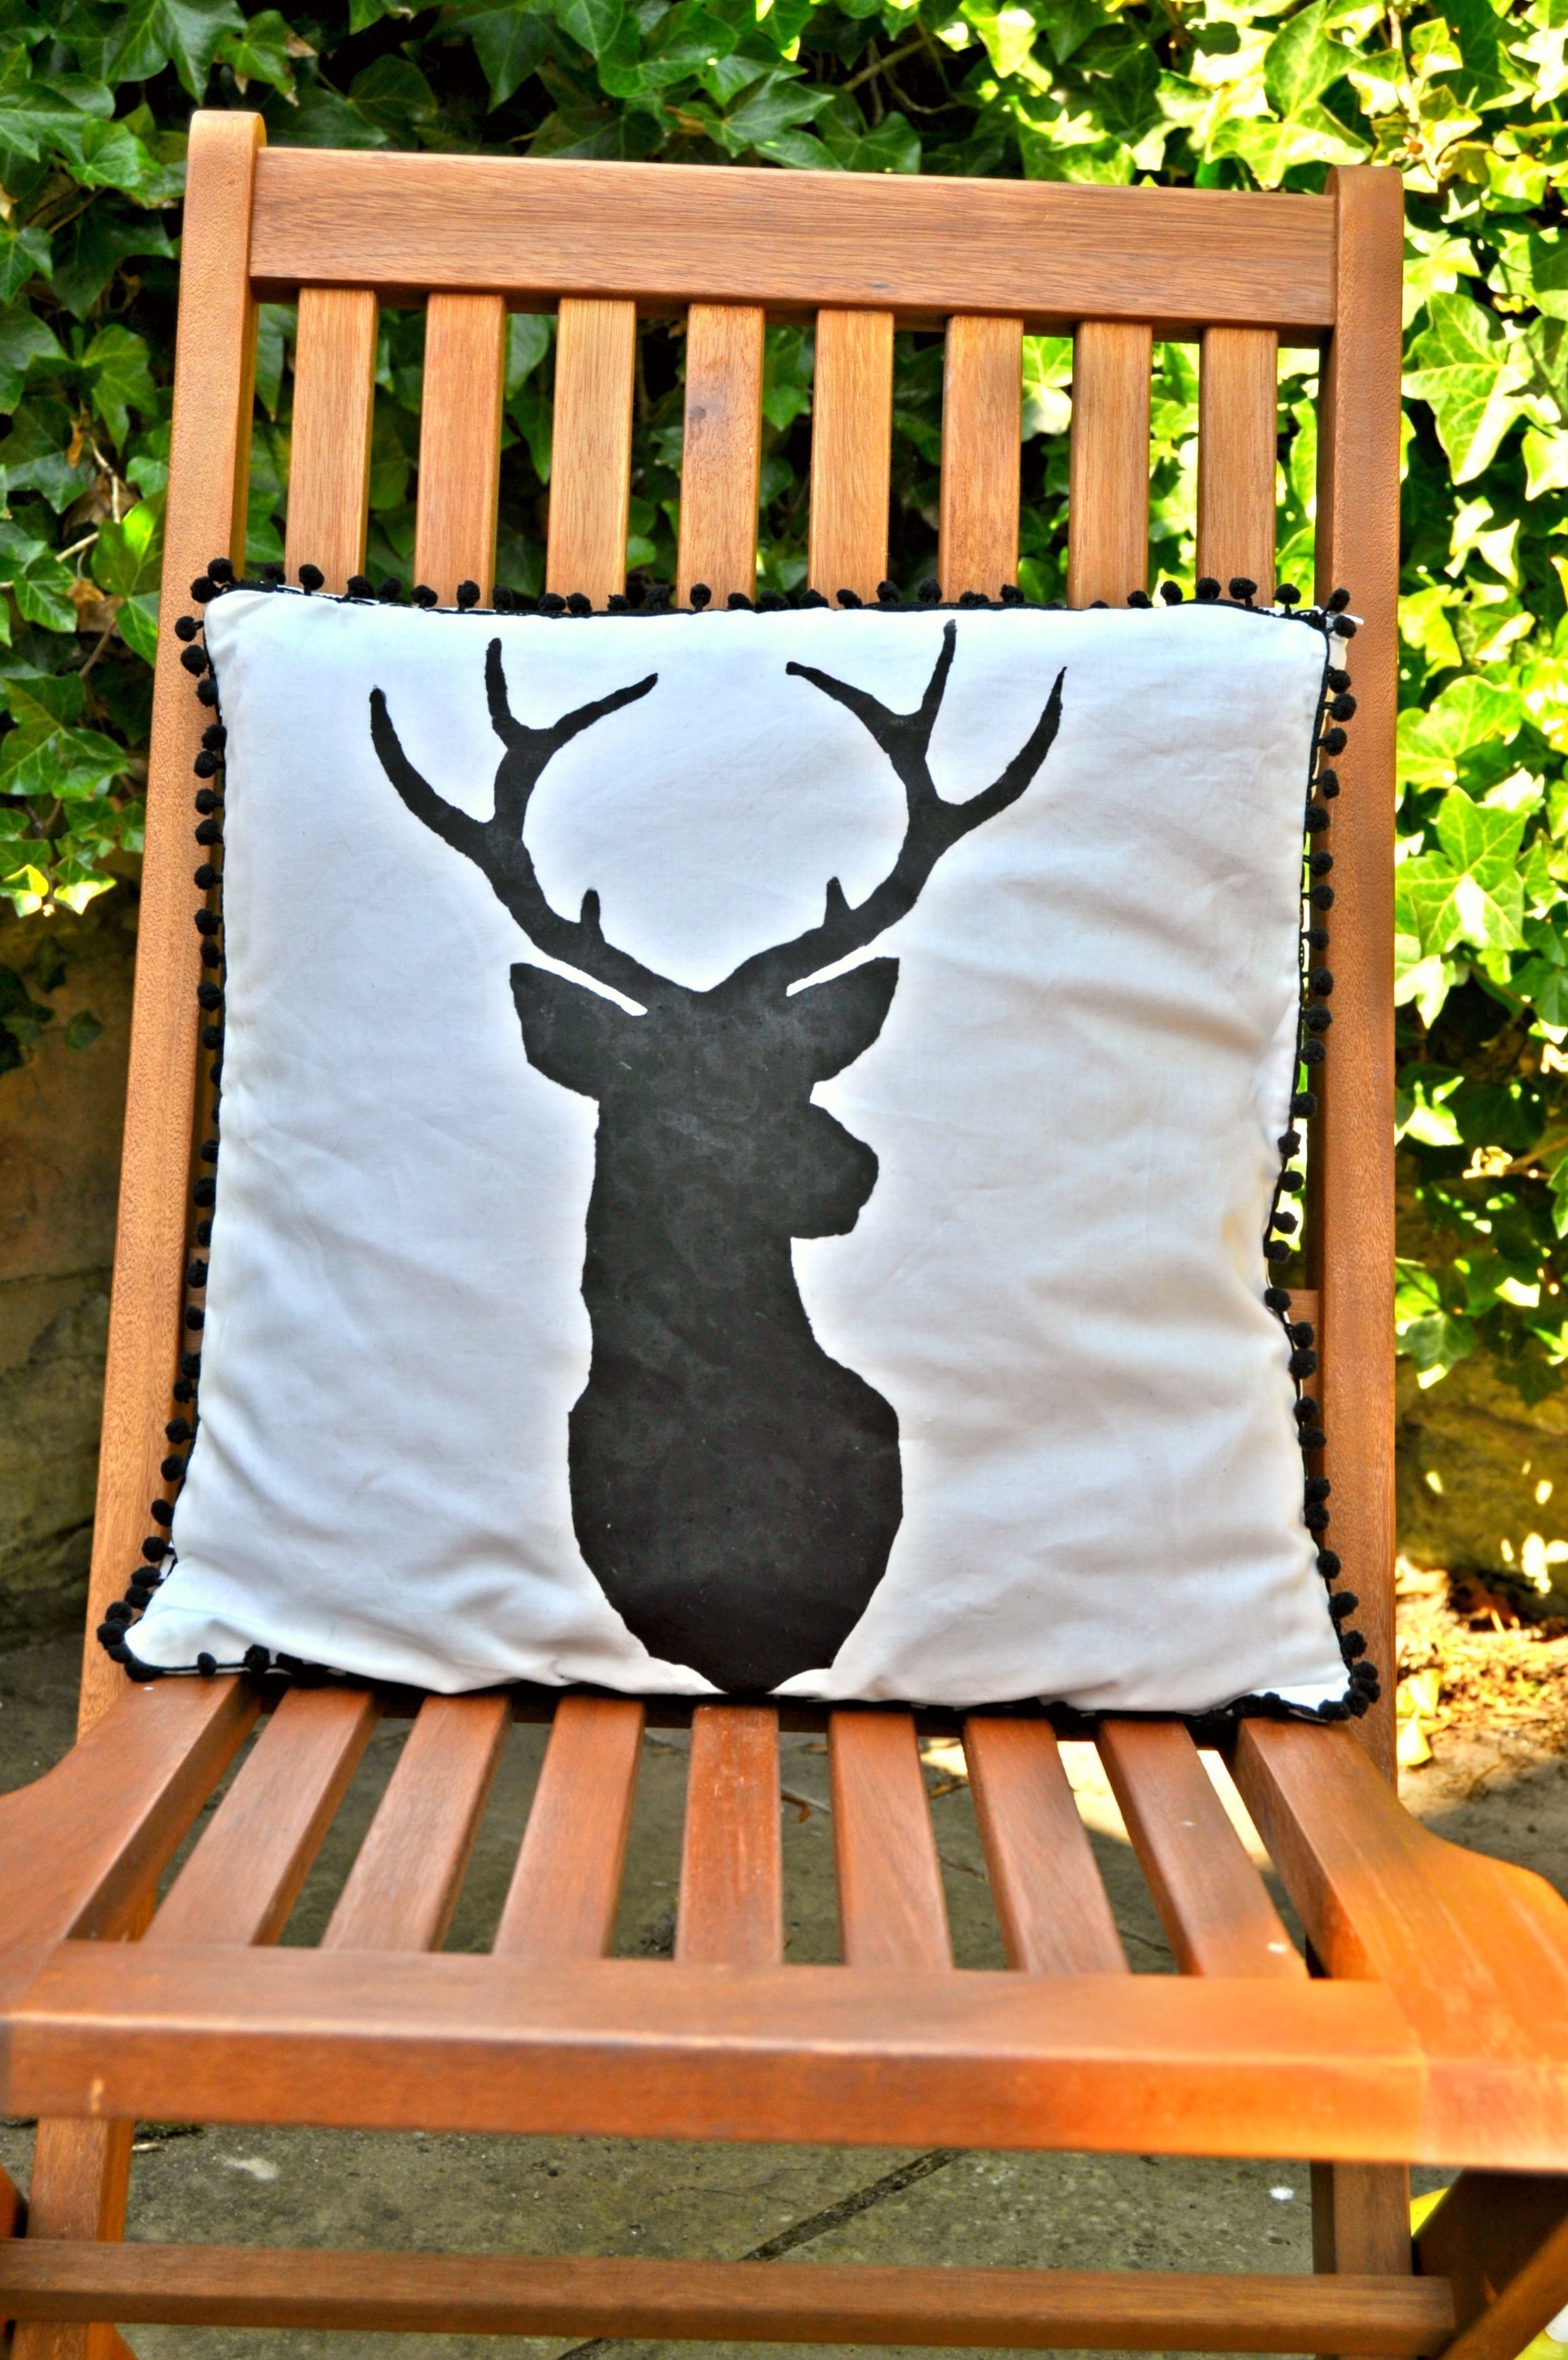
Stencilled Stag Cushion Cover
The idea for this cushion popped into my head and I just had to make it.
Turns out it wasn't as simple as I first thought, with getting the trim in evenly around the whole cushion proved tricky, but with a little work I got it all figured out (so if you have any questions about any of it then just ask :) )
Or if you love the cover as much as I do, but would prefer just to buy it then it's available for sale in my etsy shop :)
Tags
-
 Tracey H. favorited Stencilled Stag Cushion Cover
19 Aug 15:03
Tracey H. favorited Stencilled Stag Cushion Cover
19 Aug 15:03
-
 Rebecca M. favorited Stencilled Stag Cushion Cover
11 Jun 18:07
Rebecca M. favorited Stencilled Stag Cushion Cover
11 Jun 18:07
-
 Eleanor entered her project Stencilled Stag Cushion Cover to Secret Santa
12 Dec 18:41
Eleanor entered her project Stencilled Stag Cushion Cover to Secret Santa
12 Dec 18:41
-
 xxkayxx favorited Stencilled Stag Cushion Cover
25 Oct 14:45
xxkayxx favorited Stencilled Stag Cushion Cover
25 Oct 14:45
-
Eleanor entered her project Stencilled Stag Cushion Cover to Ginger Pickle
17 Sep 13:49
-
Eleanor published her project Stencilled Stag Cushion Cover
05 Sep 20:35
-
Step 1
Start by measuring two squares of fabric, mine were 16" x 16" with a 1" seam allowence
-
Step 2
Make a stencil.
My favourite way to do this is to trace the outline of the design you want onto paper, then cut it out with a craft knife.
Use double sided sticky tape to stick your stencil to the front side of your cushion cover.Use acrylic paint to fill in your stencil. I find using a sponge with a dabbing motion creates much more precise lines towards the edges of the stencil than a paintbrush does.
-
Step 3
Let the paint dry, then iron it to set the paint.
-
Step 4
Position your trim into place on one of your cushion pieces, with the bobbles facing inwards and sew it into place along 3 of the edges.
Place the other cushion piece on top of this, and sew along the same lines, to sandwich the trim in the seams
-
Step 5
Fold over your remaining free edge and iron down.
Pin a final piece of trim along this edge and sew it into place
-
Step 6
Stitch your zip into this opening, and you're done :)
