
About
Stag Head Wall Art
I love big wall art DIY projects. Especially ones that can be done on the cheap like this one and incorporates wood.
-
 christina c. favorited Stag Head Wall Art
10 Dec 01:58
christina c. favorited Stag Head Wall Art
10 Dec 01:58
-
 Angela I. favorited Stag Head Wall Art
30 Nov 01:20
Angela I. favorited Stag Head Wall Art
30 Nov 01:20
-
 Cake Eater Sarah favorited Stag Head Wall Art
20 Nov 05:56
Cake Eater Sarah favorited Stag Head Wall Art
20 Nov 05:56
-
 Chudames favorited Stag Head Wall Art
16 Nov 22:54
Chudames favorited Stag Head Wall Art
16 Nov 22:54
-
Machelle & M. published her project Stag Head Wall Art
28 Jul 16:58
You Will Need
-
 Step 1
Stain your wood board. I used Varathane American Walnut and did two coats. I usually use a rag to apply the stain to the wood but this time I used a section of felt and it worked really well! Apply the stain in the direction of the wood grain and apply evenly.
-
 Step 2
Wait for the stain to dry. Once the stain is dry, trace the outline of any shape or animal you want. I used a stag head, which you can download below. A fox head, deer head, horse, mountain, and triangles would all look awesome. I printed out the stag head and used it to guide my outline.
-
 Step 3
Trace the head
-
 Step 4
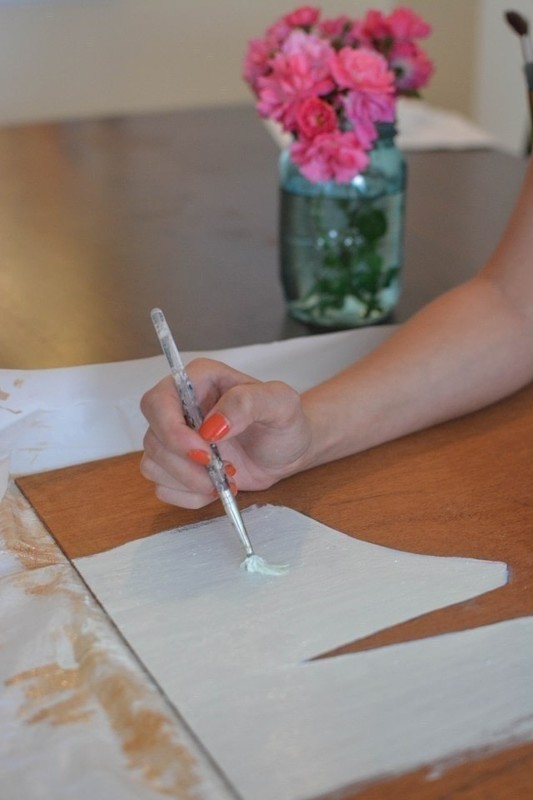
Next, paint around the outline so that the head itself is the stained wood:
-
 Step 5
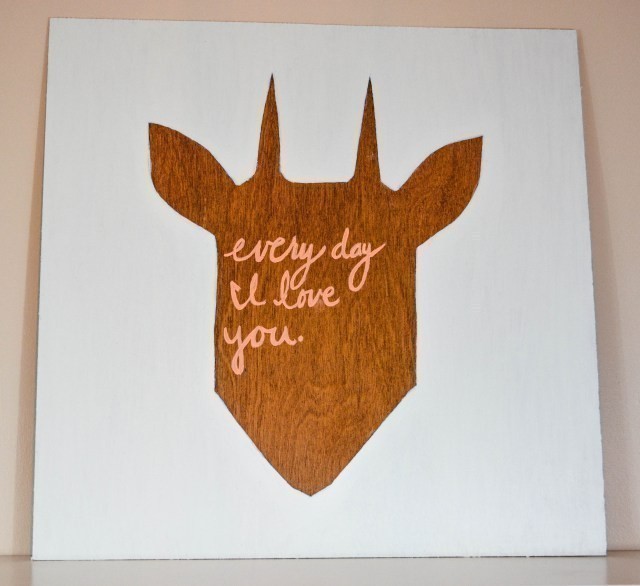
I did 3 coats to ensure good coverage. After the paint dries, pick a quote and trace it in the middle or side of the shape or animal. I simply used “every day I love you.” Paint over the words with a contrasting color- I used a light peach color and did 2 coats.
-
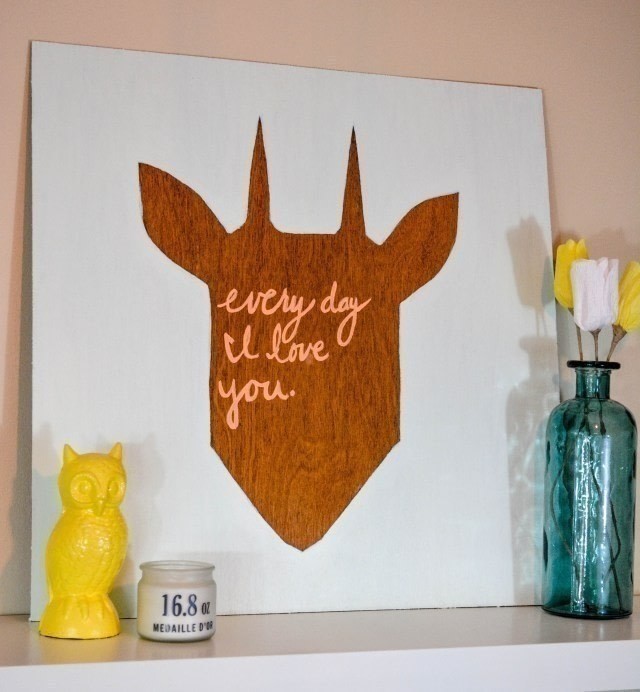
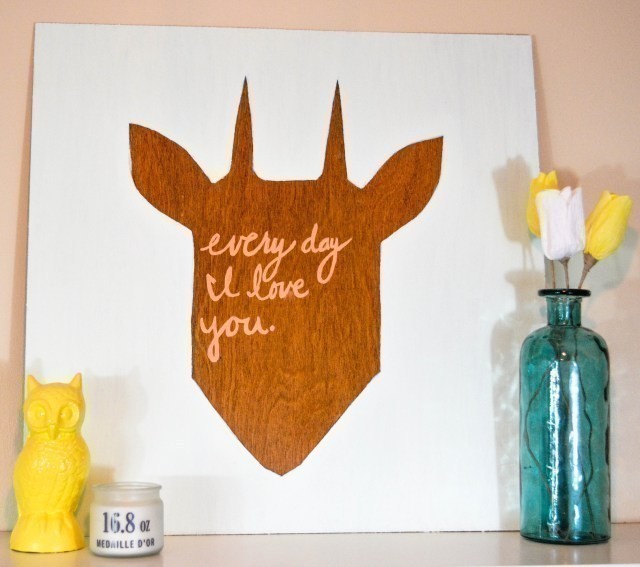
 Step 6
Wait for the paint to dry and then hang up or display your new large art piece!