
About
Awesome Baby Card
-
 Mistress Nora of Madness favorited Spinner Card
09 May 23:30
Mistress Nora of Madness favorited Spinner Card
09 May 23:30
-
 Crafterella featured Spinner Card
24 Sep 23:00
Crafterella featured Spinner Card
24 Sep 23:00
-
 Fräulein Erdbeerli - Miss Strawberry published their project Spinner Card
18 Sep 17:56
Fräulein Erdbeerli - Miss Strawberry published their project Spinner Card
18 Sep 17:56
You Will Need
-
 Step 1
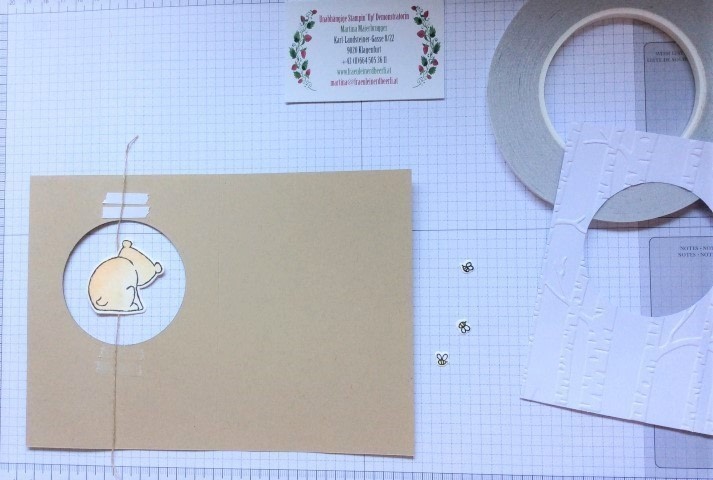
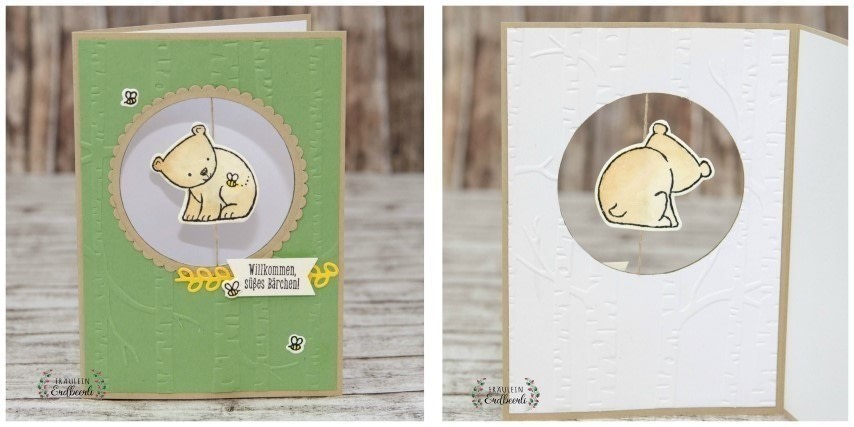
For my base card I cut a sheet of A4 cardstock into half and folded that one again. This is my brown card base.
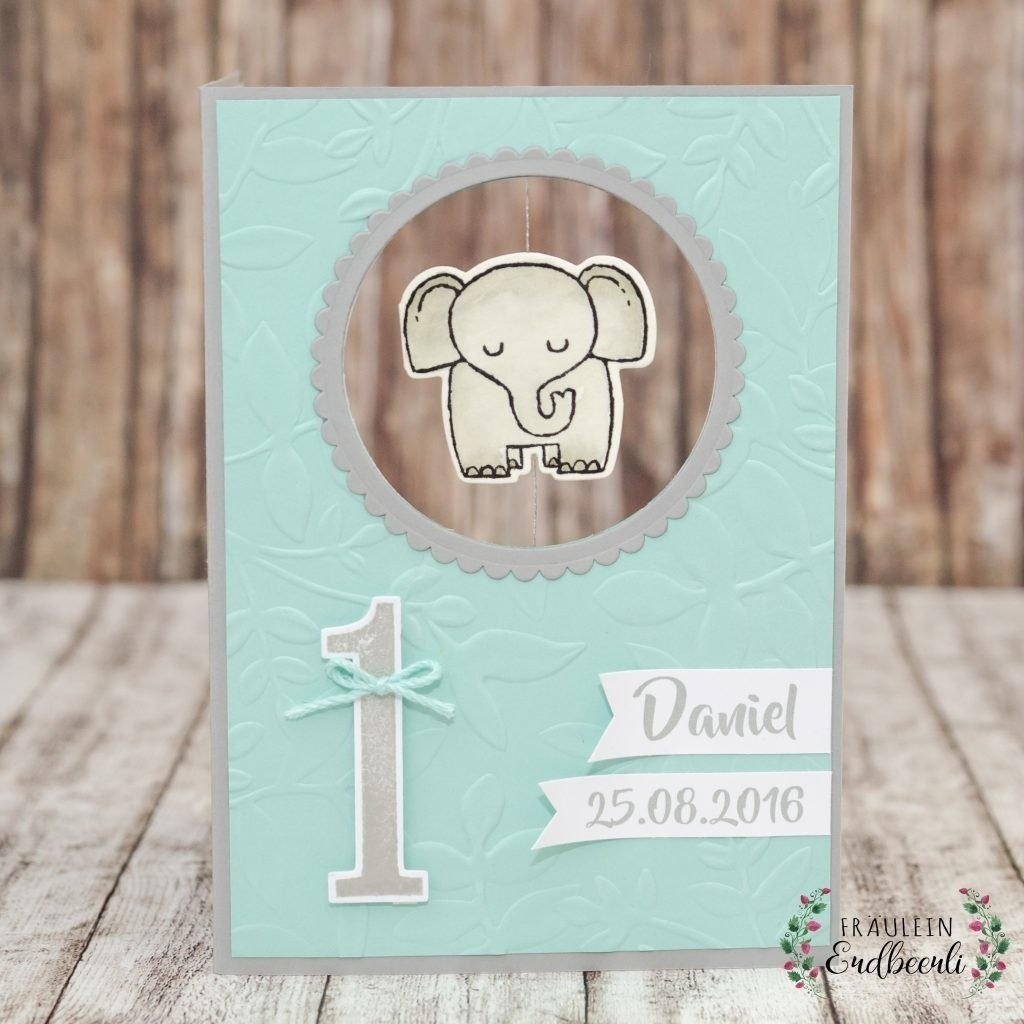
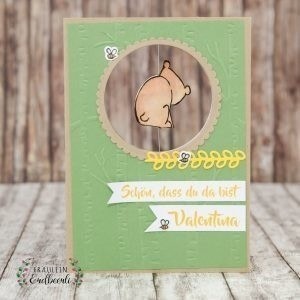
I trimmed down the green paper to 14,3cm x 10cm, which makes it sligthly smaller than my card base. I used a little, tiny bit of glue to adhere it on my card base and cut a circle through both layers of cardstock. Removing the green cardstock I again used my big shot and an embossing folder to create the cool woodland background for my card. Do this again with a white piece of cardstock and set it aside.
-
 Step 2
Using a scalloped circle die cut, you can also use a handheld punch, I punched out one circle in the same brown as my card base slightly bigger than the other circle, and used this one again to create a frame - check out the photos :)
-
 Step 3
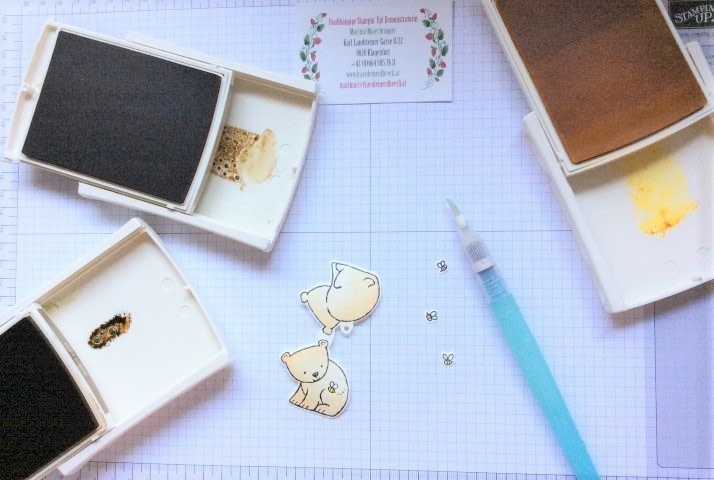
Use a cute stamp and cut your chosen image.
-
 Step 4
olor it with either watercolors, pencils, markers,.. whatever you like! I used my ink pads by Stampin' Up! and my waterbrush.
-
 Step 5
Use some thread and stick it between the animal and, as you can see in the photo, make sure it's adhered well on the inside of the cardbase.
-
 Step 6
Now you can cover it up with the white cardstock we die cutted and embossed before.
-
 Step 7
Now you can embellish the card front however you like. i added a little greeting and some bees :)