

About
Day 6 - Shrink Plastic Ornaments
This is a fun and easy craft that the whole family can make using common childhood materials!
Tags
You Will Need
-
Step 1
Preheat Your Oven
Preheat your oven according to the directions on your shrink plastic.
-
 Step 2
Choose Your Design
Pick your design for your ornament from your Christmas coloring book pages. *As long as you are not selling your ornaments you can avoid copyright infringement. If you want to sell them you will need to pay for the rights to your images or create your own.
Place a sheet of your shrink plastic, rough side up, over your selected image and paper clip at top and bottom to prevent sliding. *You can also trace your image on the smooth side with a black Sharpie if you prefer and then add color on the rough side, but since I had my children doing this I chose to avoid anything with the word PERMANENT.
-
 Step 3
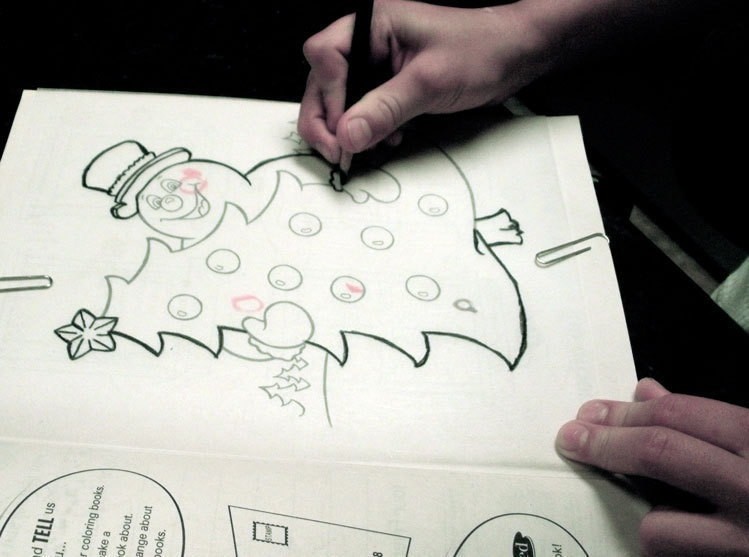
Trace Your Image
Use your black pencil to trace your image, being careful not to smudge with your hand. The best way to avoid smudging is to rotate your picture as you trace. I traced Abbie's image since she is only four, but the older two were perfectly capable of tracing their own.
-
 Step 4
Elijah tracing his image.
-
 Step 5
Hannah carefully following the lines.
-
 Step 6
Add Color
Now come the fun part, adding the color! Use colored pencils to fill in the areas of your design. Remember to color on the rough side.
-
 Step 7
Elijah did a great job with his too.
-
 Step 8
The toy chest design is the one I did.
-
 Step 9
Trim Your Plastic
Once your designs are all colored in, trim your plastic with scissors. Leave about a quarter to an eighth of an inch space around your design when cutting because the baking process will be more successful with less intricately trimmed pieces.
-
 Step 10
Punch Your Holes
Use your regular hole punch to punch a hole at the top of your ornament for your wire hanger. Remember that the hole will shrink too.
-
 Step 11
Bake
Use your brown craft paper or brown paper bags to line your cookie sheet. Place your designs on cookie sheet color side up making sure they do not overlap each other or they might fuse while baking. I baked two at a time.
Bake according to package directions. If it doesn't come out right the first time, don't worry you can repeat the baking process until it comes out right.
As soon as you take them out of the oven, carefully lift your brown paper with the ornaments on top and quickly move it to a flat surface. Press down your plastic with a flat object, I used the coloring book, for about 15 seconds. You have only 10-20 second before your plastic hardens! If your plastic hardens before it can be flattened just bake it again to re-soften.
-
 Step 12
Make Your Hangers
While your ornaments are cooling, make your ornament hangers. I used some left over red craft wire to make mine.
Cut about a 3 inch piece of wire. Insert one end of it through the hole at the top of your ornament. Bring the end up over the top of the ornament and wrap it around the remaining wire. Use your needle nose pliers to create a bend at the top of the wire for the hook part. Repeat for all ornaments and voila!
-
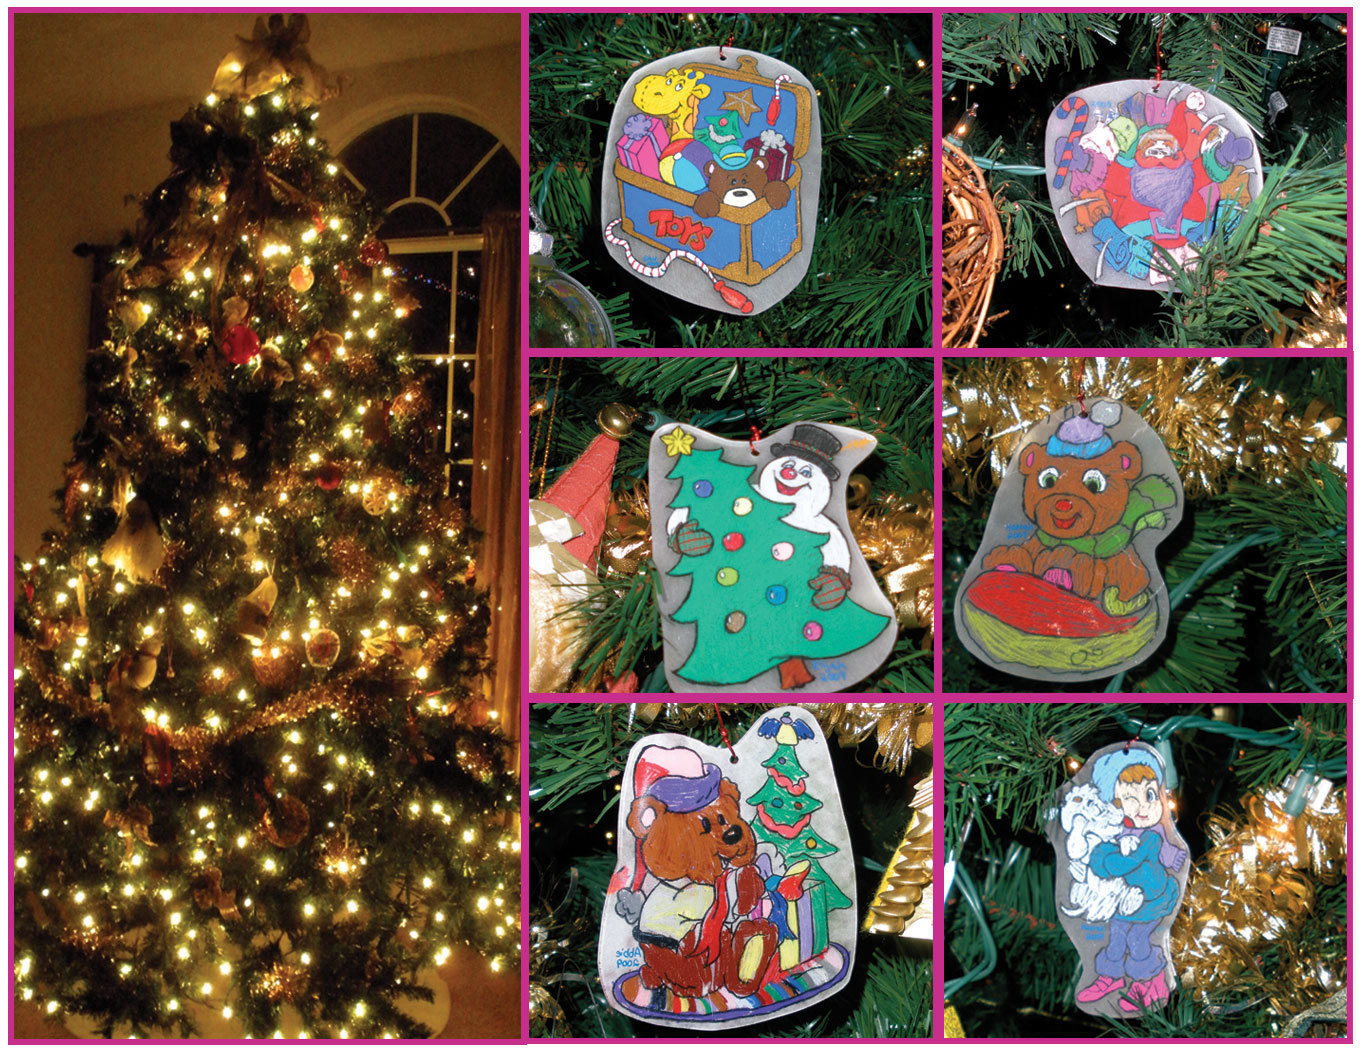
 Step 13
Hang and Enjoy!