

Shrink Plastic Bunting Necklace
Extract from Banners, Buntings, Garlands & Pennants • By Kathy Sheldon • Published by GMC Publications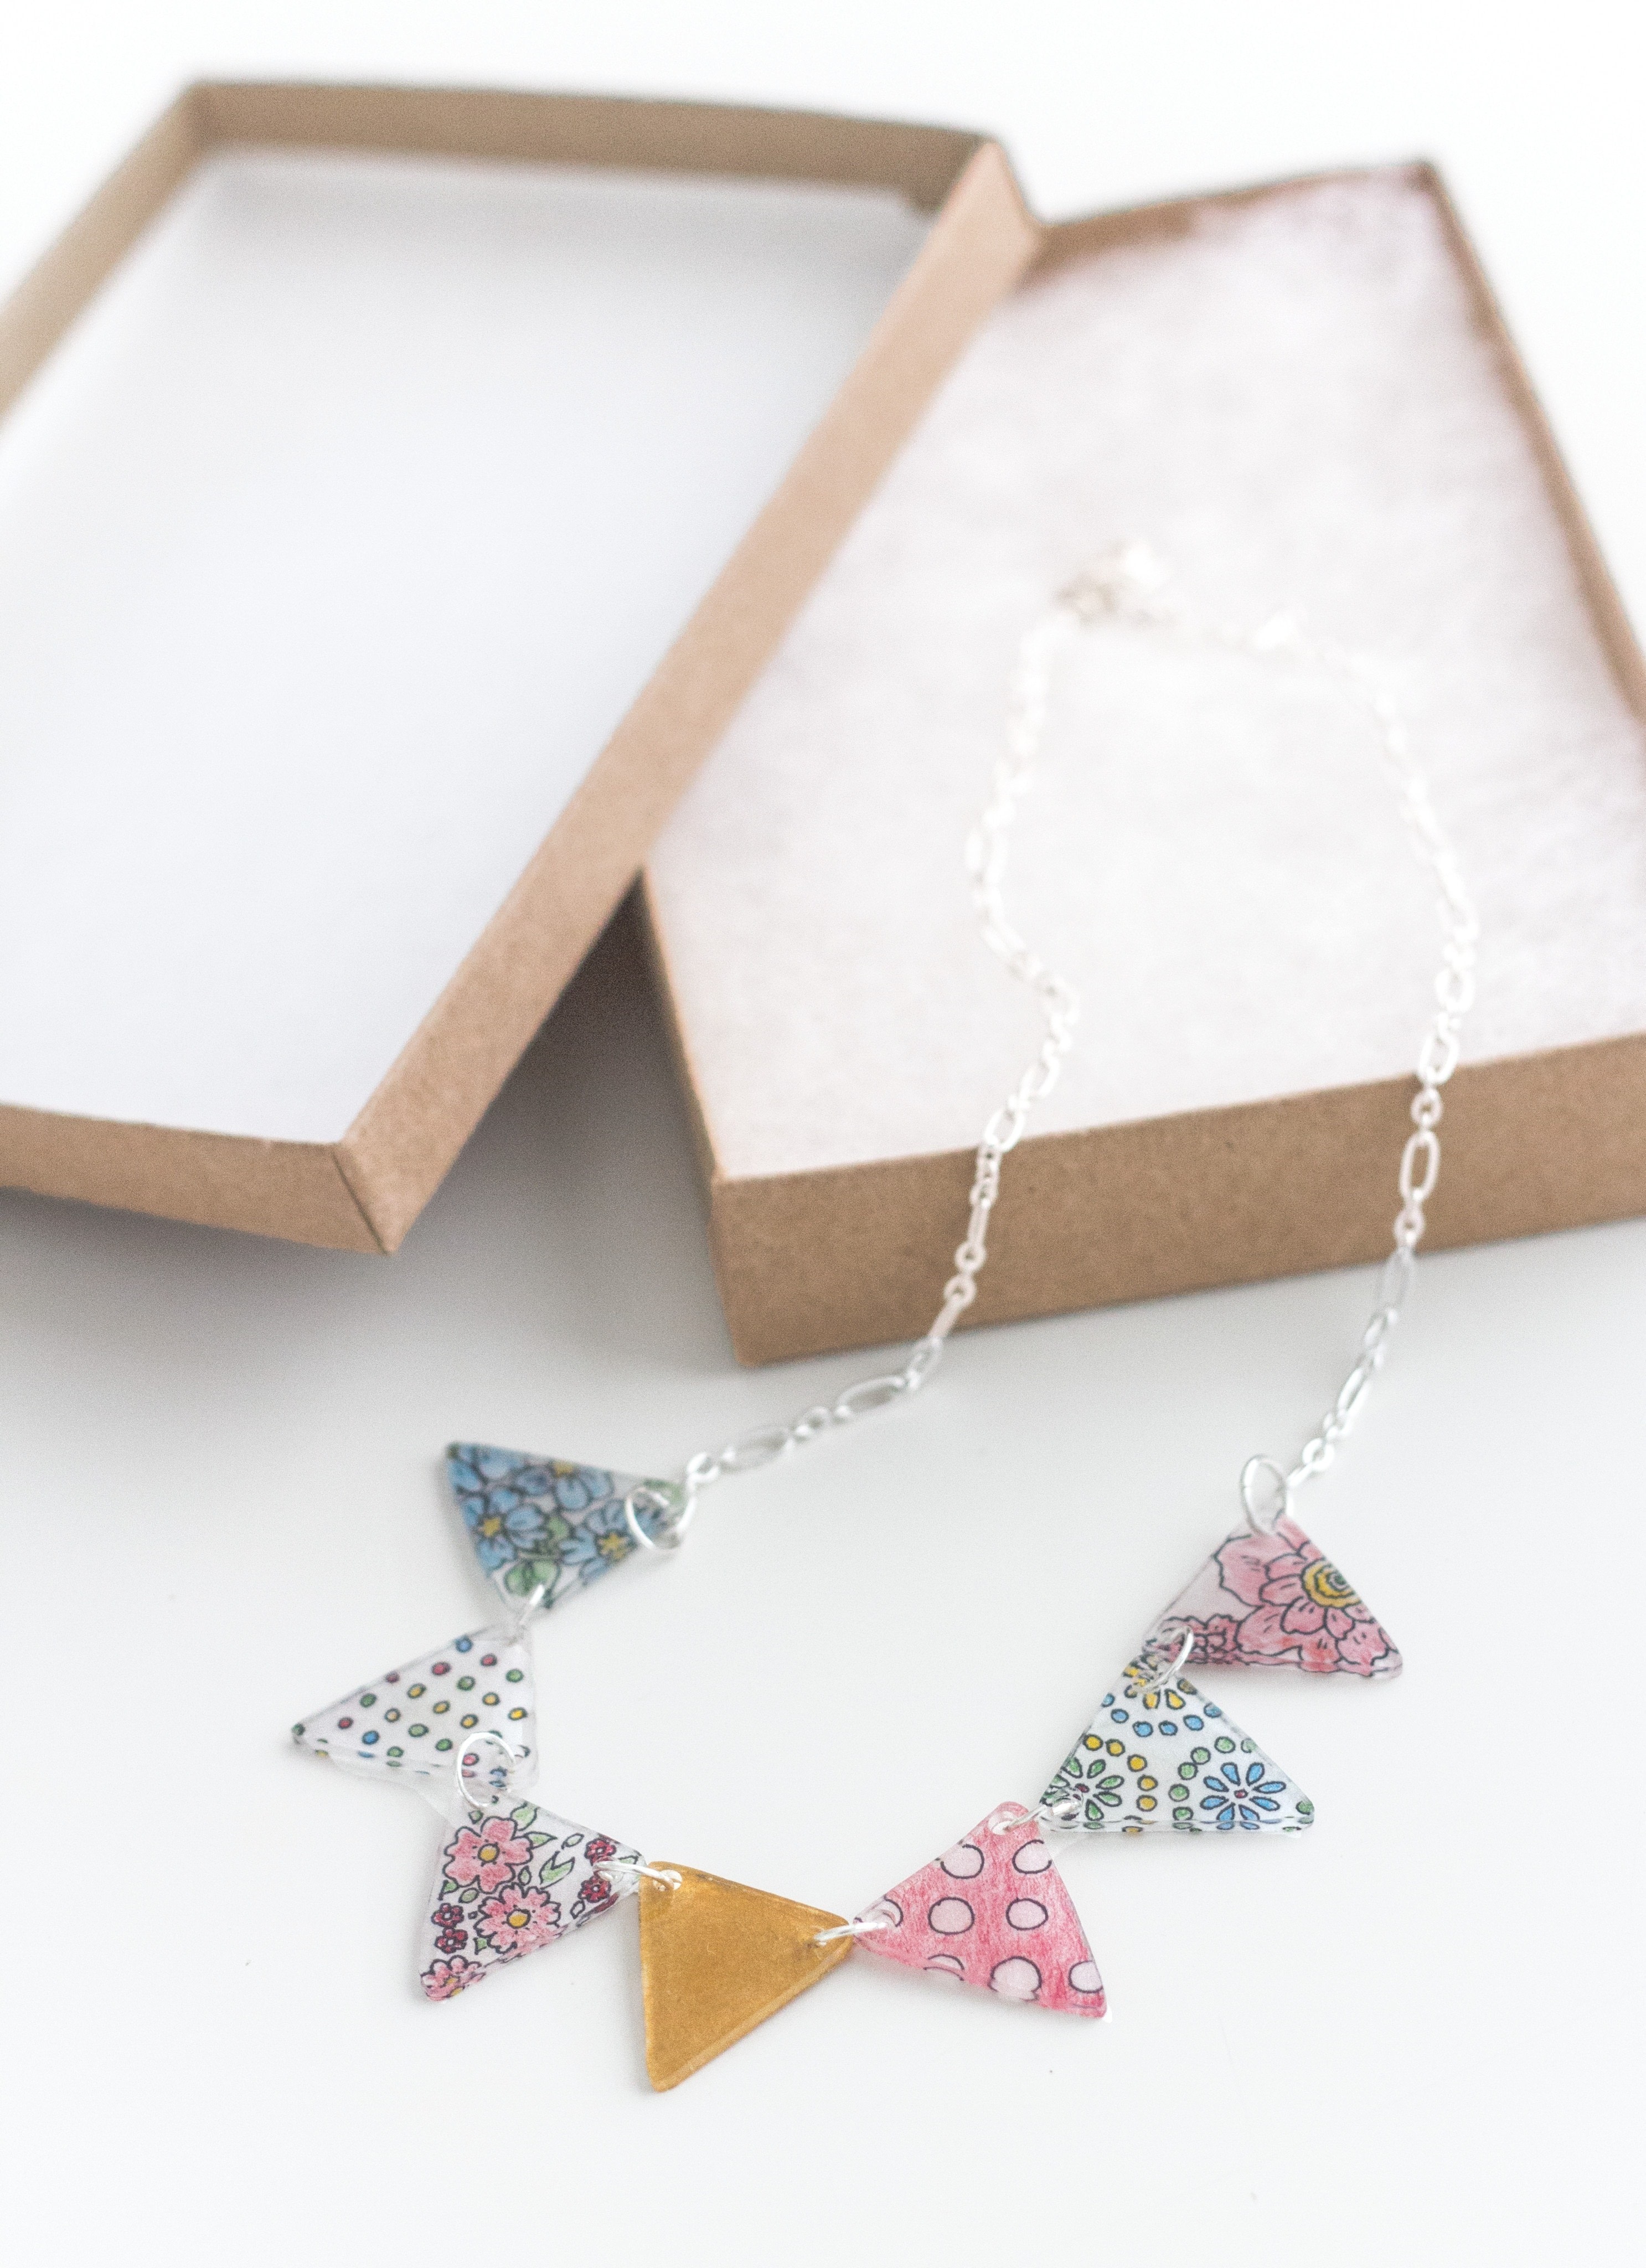


About
Banners, Buntings, Garlands & Pennants
It’s hard to know which is more fun: watching the shrink plastic shrink down into tiny pennants or wearing a party around your neck when you’re done!
Designer: Kathy Sheldon
Note: Shrink plastic shrinks to about one-third its original size and becomes nine times as thick when heated. It’s safe to bake in your oven. Shrink plastic is magical and easy and a bit unpredictable, so experiment with some simple single-colored pieces before drawing the more elaborate ones. Children will love this project, but high temperatures are involved, so be sure to provide adult supervision.
Basic Banner-Making Kit (page 2)
Templates (page 115)
-
 Sara M. favorited Shrink Plastic
Bunting Necklace
12 Mar 21:06
Sara M. favorited Shrink Plastic
Bunting Necklace
12 Mar 21:06
-
 Sarah Sylvia S. favorited Shrink Plastic
Bunting Necklace
18 Jul 04:14
Sarah Sylvia S. favorited Shrink Plastic
Bunting Necklace
18 Jul 04:14
-
 Cheryl F. added Shrink Plastic
Bunting Necklace to shrinking plastic
06 Sep 09:30
Cheryl F. added Shrink Plastic
Bunting Necklace to shrinking plastic
06 Sep 09:30
-
Cheryl F. favorited Shrink Plastic
Bunting Necklace
06 Sep 09:29
-
 Elin H. favorited Shrink Plastic
Bunting Necklace
03 Jul 10:18
Elin H. favorited Shrink Plastic
Bunting Necklace
03 Jul 10:18
-
 MischievousRaven added Shrink Plastic
Bunting Necklace to Jewellery Makes
11 Apr 09:32
MischievousRaven added Shrink Plastic
Bunting Necklace to Jewellery Makes
11 Apr 09:32
-
 Hester A. favorited Shrink Plastic
Bunting Necklace
04 Apr 22:40
Hester A. favorited Shrink Plastic
Bunting Necklace
04 Apr 22:40
-
 GMC Group published her project Shrink Plastic
Bunting Necklace
03 Apr 09:00
GMC Group published her project Shrink Plastic
Bunting Necklace
03 Apr 09:00
You Will Need
-
Step 1
Preheat your oven, following the shrink plastic manufacturer’s instructions. (The project shown was baked at 325°F [163°C].) Place the shrink plastic, rough side up, over the templates and trace the border of the bunting shapes in pencil. Use the fine-tip black permanent marker to trace the interior designs (or make your own doodles—just remember that you’re drawing on the rough back of the shrink plastic, and designs will be reversed when viewed from the front, shiny side).
-
Step 2
Use the colored pencils to fill in the designs using the photos for reference or using the colors of your choice. Colors darken and deepen when the shrink plastic is heated, so make the colors quite a bit lighter than desired in your finished necklace.
-
Step 3
Cut out each bunting shape. Then use the hole punch to carefully punch one hole in each top edge of each bunting shape. Don’t get too close to the edges or so far in that a jump ring won’t fit once the plastic shrinks.
-
Step 4
Place the decorated pieces, colored side up, between two pieces of parchment paper on the baking sheet, and bake according to instructions. Watch carefully, and don’t freak out when the plastic shapes start to wiggle and distort—give them enough time and they should settle back into their original shape, only much smaller and thicker!
Tip: If you’re very sensitive to fumes, use a toaster oven outdoors on a dry day. -
Step 5
When the plastic is shrunk and flat, carefully remove the hot baking sheet from the oven and press down on the parchment-covered pieces with your flattener. Allow the pieces to cool completely.
-
Step 6
Seal the back (colored) sides of your necklace with the sealer of your choice.
Tip: Test your sealer first on a scrap piece of plastic that has been decorated with the same colored pencils and baked to make sure the two are compatible—some sealers can cause the colored pencils to run. -
Step 7
Once the sealer has completely dried, attach the buntings with jump rings (see the Tip). Then attach one length of chain to each side of the buntings with jump rings. Use a jump ring to attach the lobster clasp to one end of the chain, and then attach one final jump ring to the other end of the chain.
Tip: Jump rings are the secret to quick jewelry making. Never pull the ends apart to open one or you’ll distort and weaken the ring. Instead, use two pairs of flat-nose pliers to grasp each end of the jump ring and pull one end toward you and the other end away from you, opening just as much as needed. To close the jump ring, reverse the process by twisting the ends back together.

