About
cute pin that can also be a necklace
Everything I had was already on hand. lol because I'm a craft'n packrat, who learned through experience that once I've thrown something away, turns out I need it later. I've made two. The First one took about 2 hours, and since this is the second one, it didn't take as long. The necklace/pin on red velvet was made first(no bow); The pin on white background is the 2nd one made. Due to my mom's prompt to make another for a friend of hers, I did. I took pictures of the process and made this tutorial. Hope you like it. :)
Tags
-
 Key West Witch favorited Shabby Chic Pin/Necklace
05 May 08:58
Key West Witch favorited Shabby Chic Pin/Necklace
05 May 08:58
-
 jen s. favorited Shabby Chic Pin/Necklace
06 Oct 11:58
jen s. favorited Shabby Chic Pin/Necklace
06 Oct 11:58
-
Annika G. favorited Shabby Chic Pin/Necklace
04 Feb 14:17
-
comradebunny favorited Shabby Chic Pin/Necklace
17 Sep 01:21
-
 Step 1
.
-
 Step 2
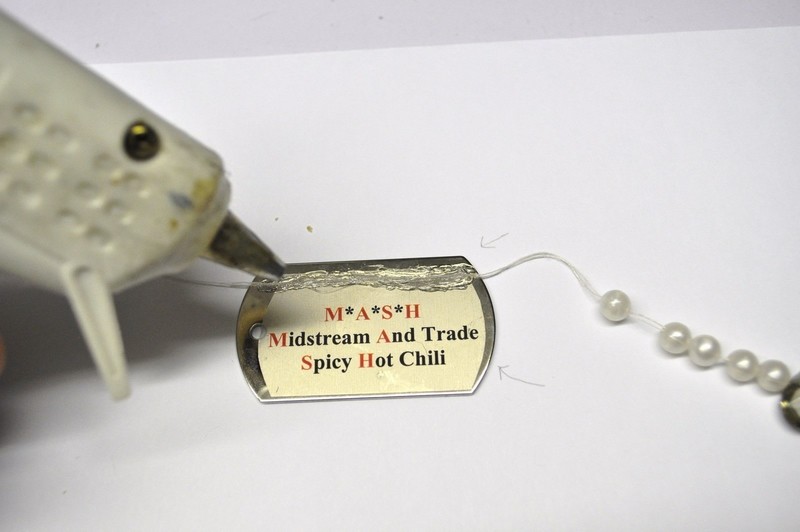
Take out the chain if it is still attached. Measure some thread to a length that you feel is comfortable to you and double it. Fold in half. If the string you have is thick, do not double the measurement or fold in half. Glue one of the ends to the dog tag.
-
 Step 3
String the beads.
-
 Step 4
Glue the other side down and make sure the string/thread is just loose enough to for the beads to hang off the dog tag. Don't string to tight or else the center bead stays crooked due to the flat sides of the beads. Trim left over ends of thread/string.
-
 Step 5
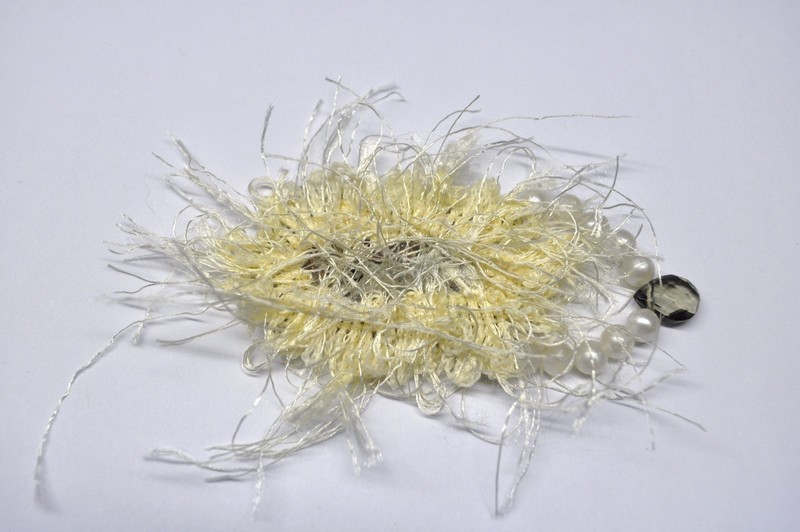
At this point don't cut the trim, but do decide how much of the trim needs to hang off the edges of the dog tag and yet still be enough to hide the dog tag in the center where your center piece is going to be. (Since my trim wasn't broad enough I decided on letting the over hang be very small. Since my cameo was to small in height I decided to add a bow). When you have decided, glue the trim, starting in the middle of the bottom(where the beads are at).
-
 Step 6
Glue all the way around(for a pin). For a combination or just necklace, make sure you have room to run a necklace through the hole when gluing the trim down. When you get to the end cut the trim, make sure to then glue the it down.
-
 Step 7
this is what the back end looks like on mine so far.
-
 Step 8
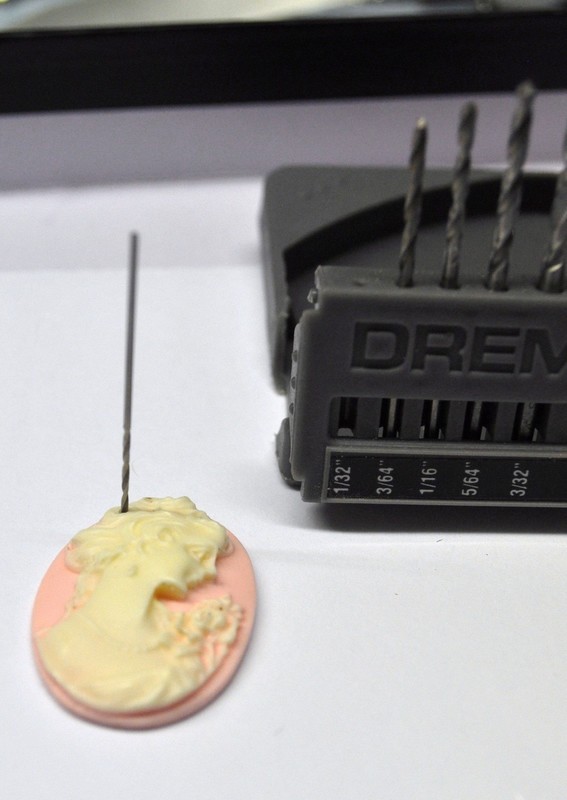
If you decide you alter your cameo or center piece, do so now. (On mine i hand drilled, using the 1/32" bit.) If you don't want to alter your center piece, skip steps 8-10.
-
 Step 9
I used an old silver earring(the other had been missing for years. lol I found the other a few days ago) and cut the stud down little by little. I put the earring into the drilled hole to see how much needed to be cut. I wanted it to be flush with the cameo so it would not get caught on anything and pulled out of its setting.
-
 Step 10
I glued the earring in using hot glue. I inserted the earring stud (using the pliers) into the nozzle of the hot glue gun and immediately put it into its drilled setting on the cameo. Hot glue is not necessary but after experimenting with what I had on hand it holds better than other glues I had tried.
-
 Step 11
Before gluing on the bow make sure to check it with your center piece. You want to be sure all of the dog tag is covered with your bow and center piece. Glue on the bow.
-
 Step 12
Glue on cameo/center piece. If you want to just have a necklace you can stop here, yay fiinished. For combination or just pin go on ahead.
-
 Step 13
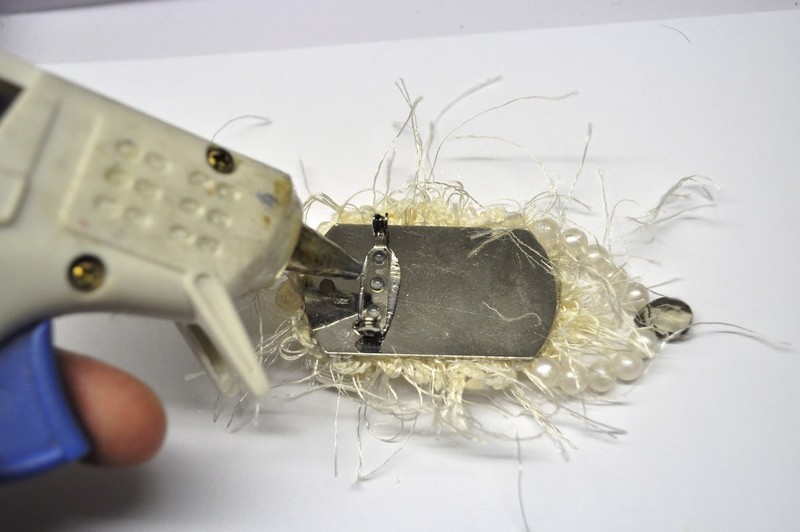
Glue on pin backing. Tada finished. :)