


About
Easy Project Made with Cricut
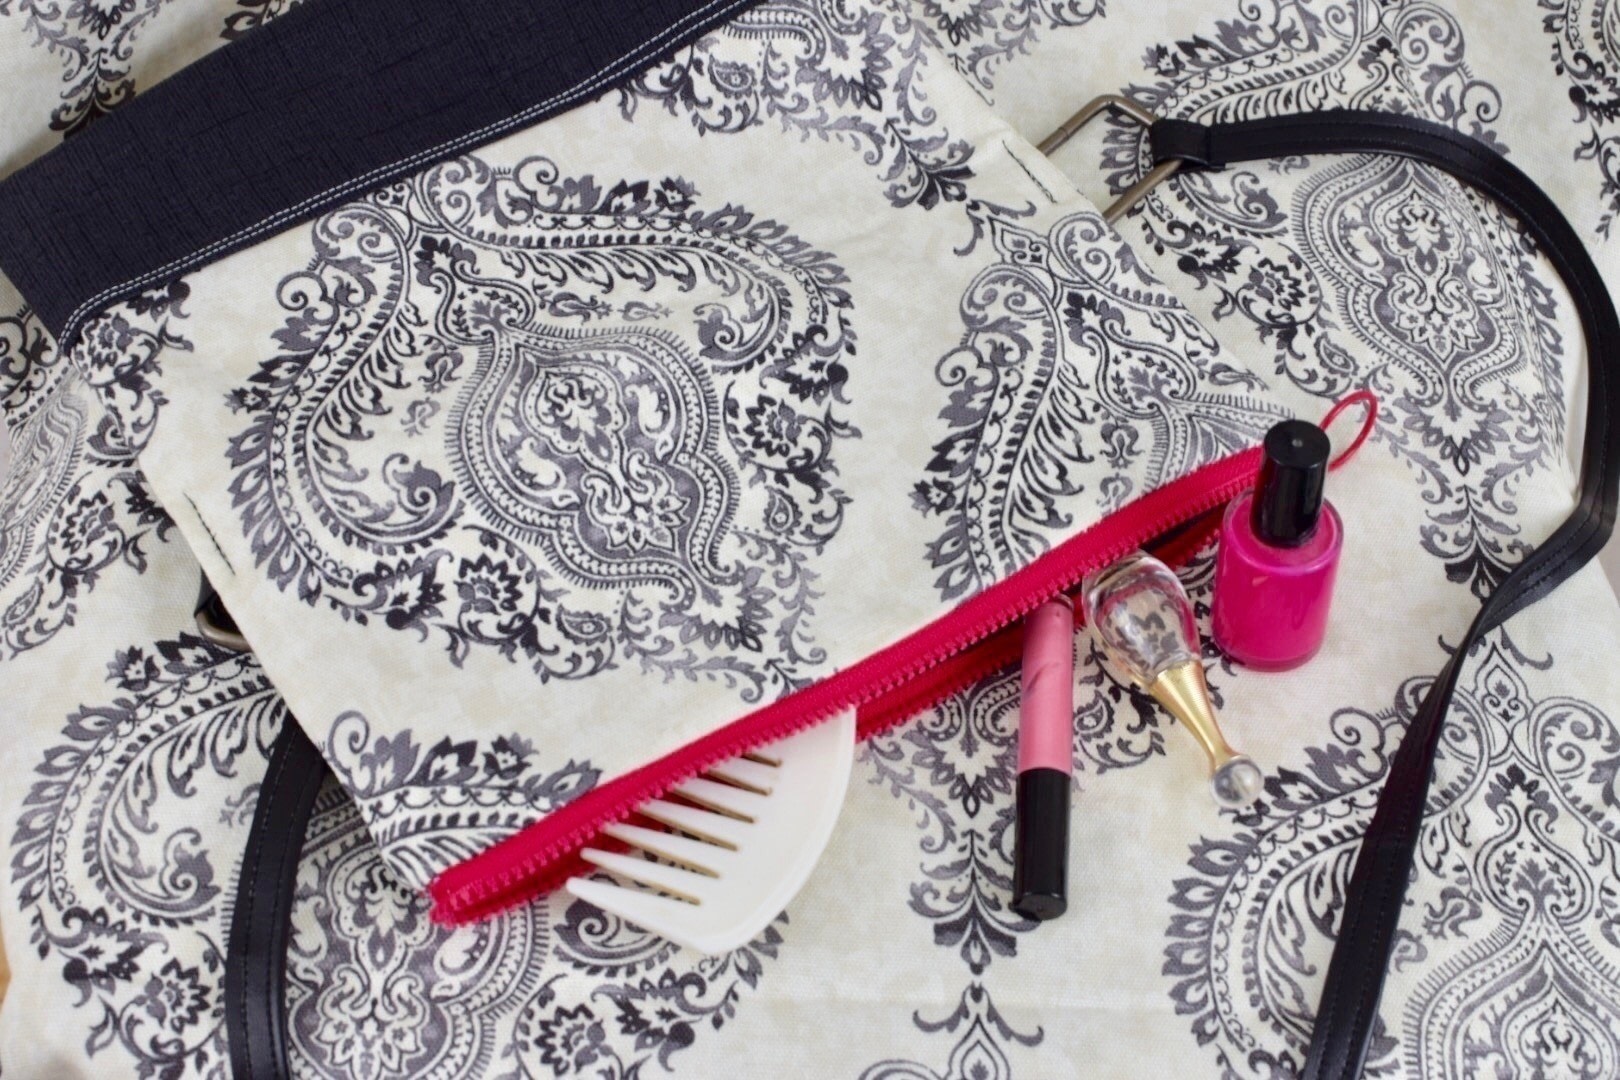
This cute clutch with zipper is easy to make. The project is cut on the Cricut Maker, then assembled with a bright contrasting inside pocket and zipper. Suggested fabrics include cotton wovens, denim, home decor fabric, corduroy, or cotton duck.
You can read the full blog post here: https://chambrayblues.com/2019/01/11/sew-a-clutch-bag-with-zipper/
-
 Crafterella featured Sew A Clutch With Zipper
05 Oct 23:00
Crafterella featured Sew A Clutch With Zipper
05 Oct 23:00
-
 Jessica Cramer published their project Sew A Clutch With Zipper
02 Oct 09:00
Jessica Cramer published their project Sew A Clutch With Zipper
02 Oct 09:00
-
Step 1
1. Fuse interlining to bag front and back sections. Fold 1/4″ seam under top edge of contrasting band. Stitch lower contrasting band in place, stitch again 1/4″ away from first line of stitching.
2. Insert the small tab piece into the D-ring, baste ends together. I forgot to do this, don’t loose these pieces they are small!
3. Apply the magnetic snap to the bag as directed, stitch tabs in place at sides of bag.
4.Fuse interfacing to the pockets (there are two). Fold over, stitch with right sides together with 1/4″ seam allowance. Leave an opening to turn right side out along the bottom edge. Trim corners, turn right side out. Hand sew bottom opening closed.Press.
5. Apply pockets to bag lining, matching marks made on back of fabric with the Cricut fabric pen.Stitch along edges.
6. Install zipper along top edge of right side of printed fabric, with zipper face down. Stitch close to edge of zipper teeth. You may need to trim the zipper length, it should be 1/4″ longer than the length of the bag between the two marked dots. Whip stitch across zipper teeth before cutting off the ends of the zipper.
7. Sew the lining (right side) of the bag to the wrong side of the zipper, through all thicknesses, enclosing the zipper tape between the outside of the bag and the lining using a zipper foot. Apply bag back and lining to the other half of the zipper stitching 1/4″ from upper edge in the same manner.
-
Step 2
8. Press zipper teeth toward the bag front and back lining sections, opening out fabric lining. Press. Line up raw edges with right sides together and stitch around the perimeter of the bag, leaving an opening to turn bag to right side at bottom of lining.
9. Turn bag right side out, press. Slip stitch opening in the lining closed. Attach zipper pull if using a separating zipper. Push lining down into bag, close zipper and press.
10. Fold the strap in half lengthwise, stitch along both edges with 1/4″ seam allowance.
11. Wrap ends around swivel hooks, mark placement and pound rivet in place (I sewed mine in place). Attach strap to D-rings on bag when finished.

