

About
Sackbaby
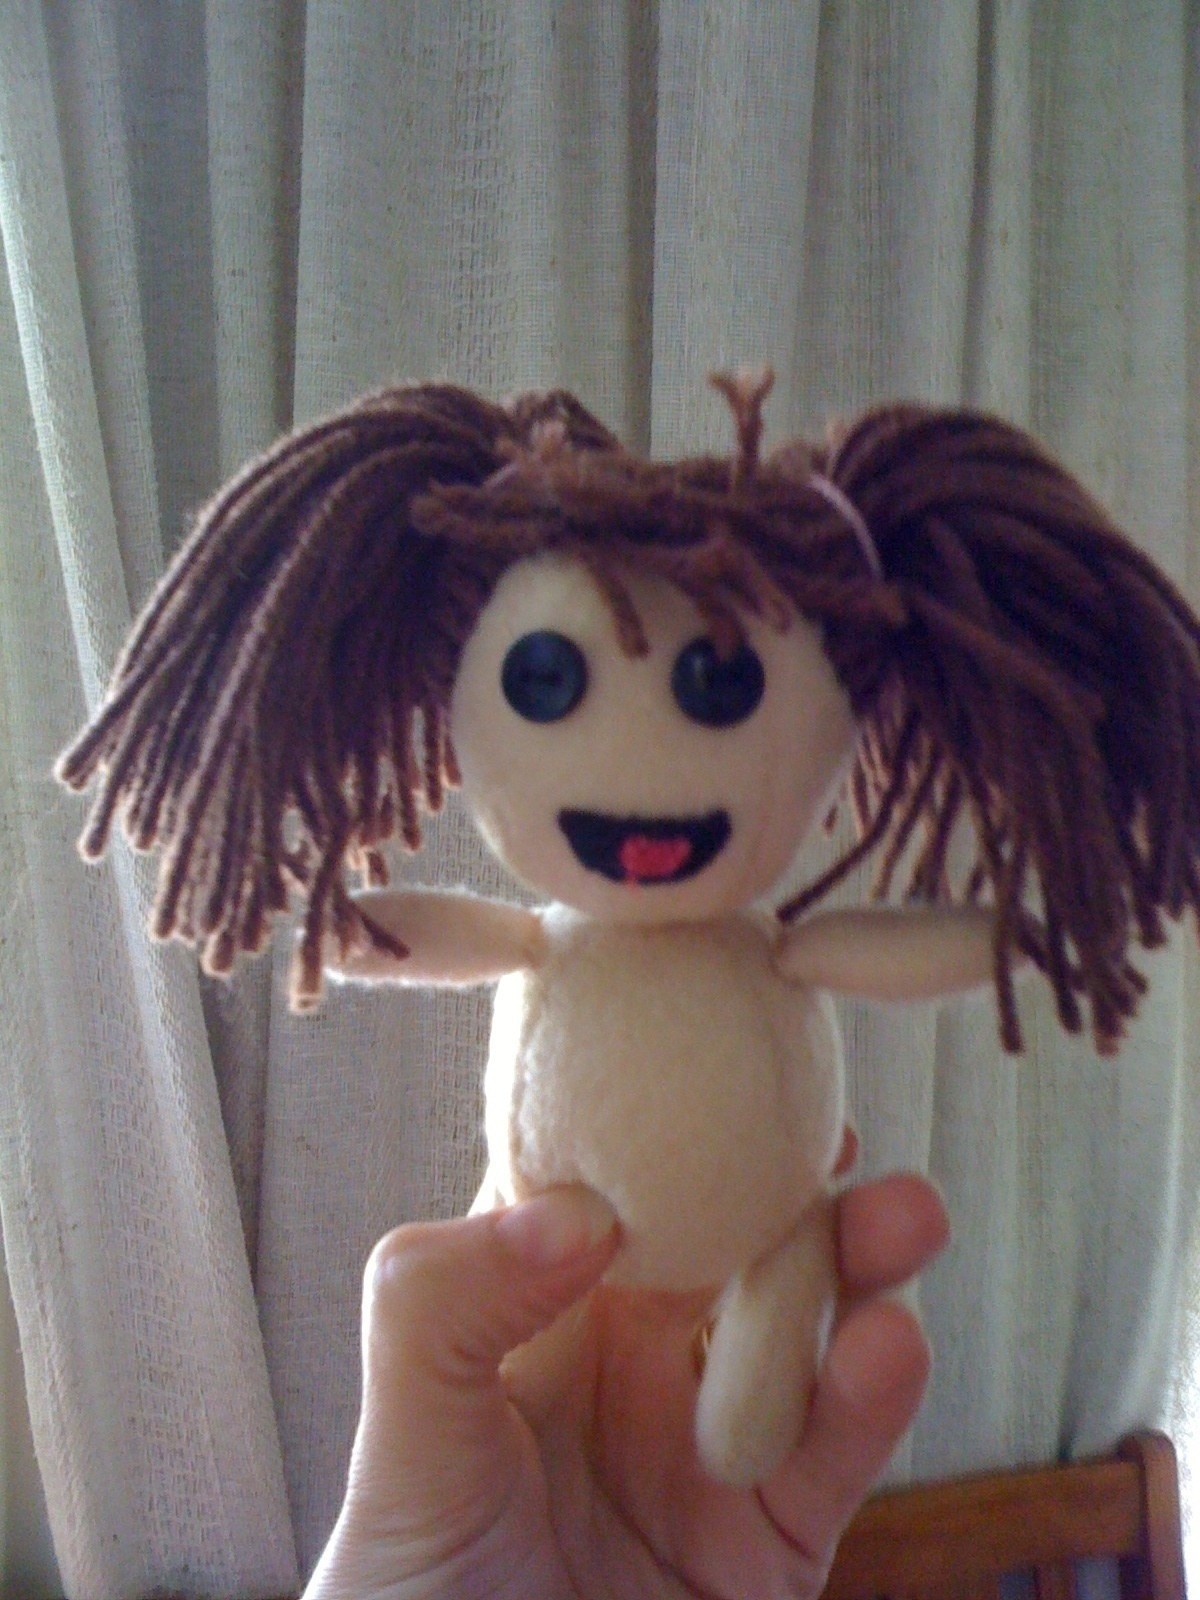
When looking for a Sackboy pattern I came across a pattern done by DuckTapeGuru and I adapted it to make a Sackbaby. Instead of using the head I used the body twice and cut the Arms in half.
It takes about 2:30 hrs to make the body but putting the Hair takes a lot longer.
Tags
-
 Sveta favorited Sackbaby
04 Dec 17:49
Sveta favorited Sackbaby
04 Dec 17:49
-
 Neko-San K. favorited Sackbaby
31 May 21:11
Neko-San K. favorited Sackbaby
31 May 21:11
-
 Amanda H. favorited Sackbaby
30 Mar 02:12
Amanda H. favorited Sackbaby
30 Mar 02:12
-
 Carla B. favorited Sackbaby
01 Jul 09:35
Carla B. favorited Sackbaby
01 Jul 09:35
-
 Maemi.Gojo added Sackbaby to Plushies
02 Jun 10:22
Maemi.Gojo added Sackbaby to Plushies
02 Jun 10:22
-
Maemi.Gojo added Sackbaby to Kid Stuff
02 Jun 06:56
-
 elarablair favorited Sackbaby
23 Feb 18:41
elarablair favorited Sackbaby
23 Feb 18:41
-
 Joy A. added Sackbaby to Toys
17 Feb 22:19
Joy A. added Sackbaby to Toys
17 Feb 22:19
-
 kristy c. favorited Sackbaby
09 Feb 22:50
kristy c. favorited Sackbaby
09 Feb 22:50
-
 Liesbeth D. favorited Sackbaby
29 Aug 15:55
Liesbeth D. favorited Sackbaby
29 Aug 15:55
-
 Step 1
click on picture then right click and save, print A4
Cut out pattern, the outside line is for machine sewing, the inside is for hand sewing.
My Sackbaby is sewn by hand because I like the stiched seam look when it is turned inside out.
The Body and head pattern is the same make sure that you get them the right way round.
-
 Step 2
Head / Body
Mark the top of each Body piece so they aren't stitched in upside down.Place two together and starting at the bottom stitch to the top. don't worry if they dont match fully at the top or are a bit messy this will be covered by the head.
On the last body side stitch to 2cm from the top and knot off then turn the body the right way and stuff and close up.I stuffed mine firm but you can do it anyway you want. You can also add beads to give some weight.
Do the same for the Head but stitch from the top to the bottom.
Stitch bottom of the head to the top of the body.
-
 Step 3
Legs / Arms
Fold Arms in half down the middle. Stitch from the bottom to the top Turn the right way and stuff then close.
With the Leg peices together stitch over the rounded bit all the way round, stop turn the right way stuff and close.
-
 Step 4
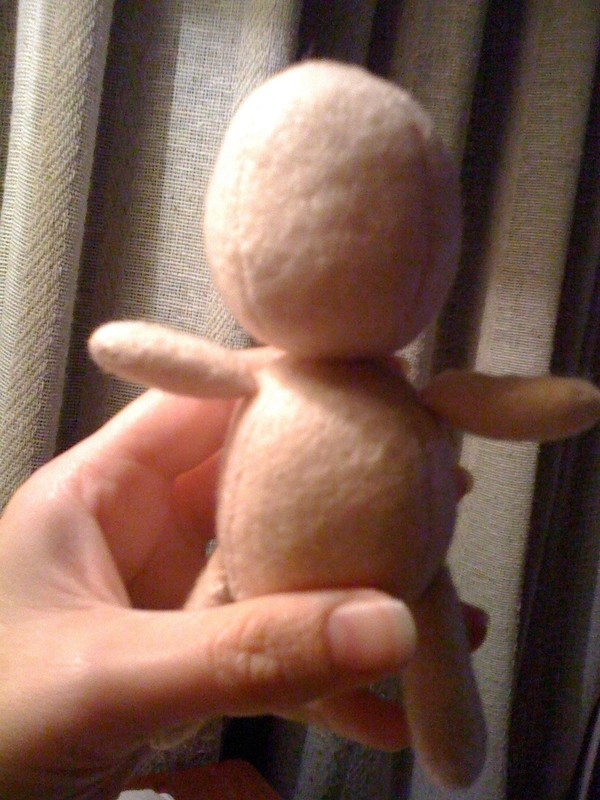
Assembly
Place the arm on the body. Pin in pace.
Start at the back and stitch across the top if the armPlace legs on the body, pin in place and stitch across the top
-
 Step 5
Face
Stitch on EyesStitch tongue to mouth
Stitch mouth to face -
 Step 6
Now it is time for the Hair this is easy but takes time.
I cut the wool into 30 cm lengths.
using a wool needle.Start in the middle above the eyes where you want the fringe. It is easier if you mark a line around down the side of the head across the back and back up again.
Thread one strand of wool. Stitch it through then take the needle off. Make sure that the wool is even lengths and double knot it. Now move a little further and do the next one
-
 Step 7
Now leave a 5ml gap and start on one side and work to the other.
Do not fill the head in with too much hair or it will all end up sticking stright out, unless you want it to!
-
 Step 8
Because I wanted mine to have pig tails I did 3 rows stright down the middle.
-
 Step 9
Cut the hair to the length you want and style.
-
 Step 10
Now you just have to make some outfits - enjoy!


Comments


