
About
Decoupage for beginners!
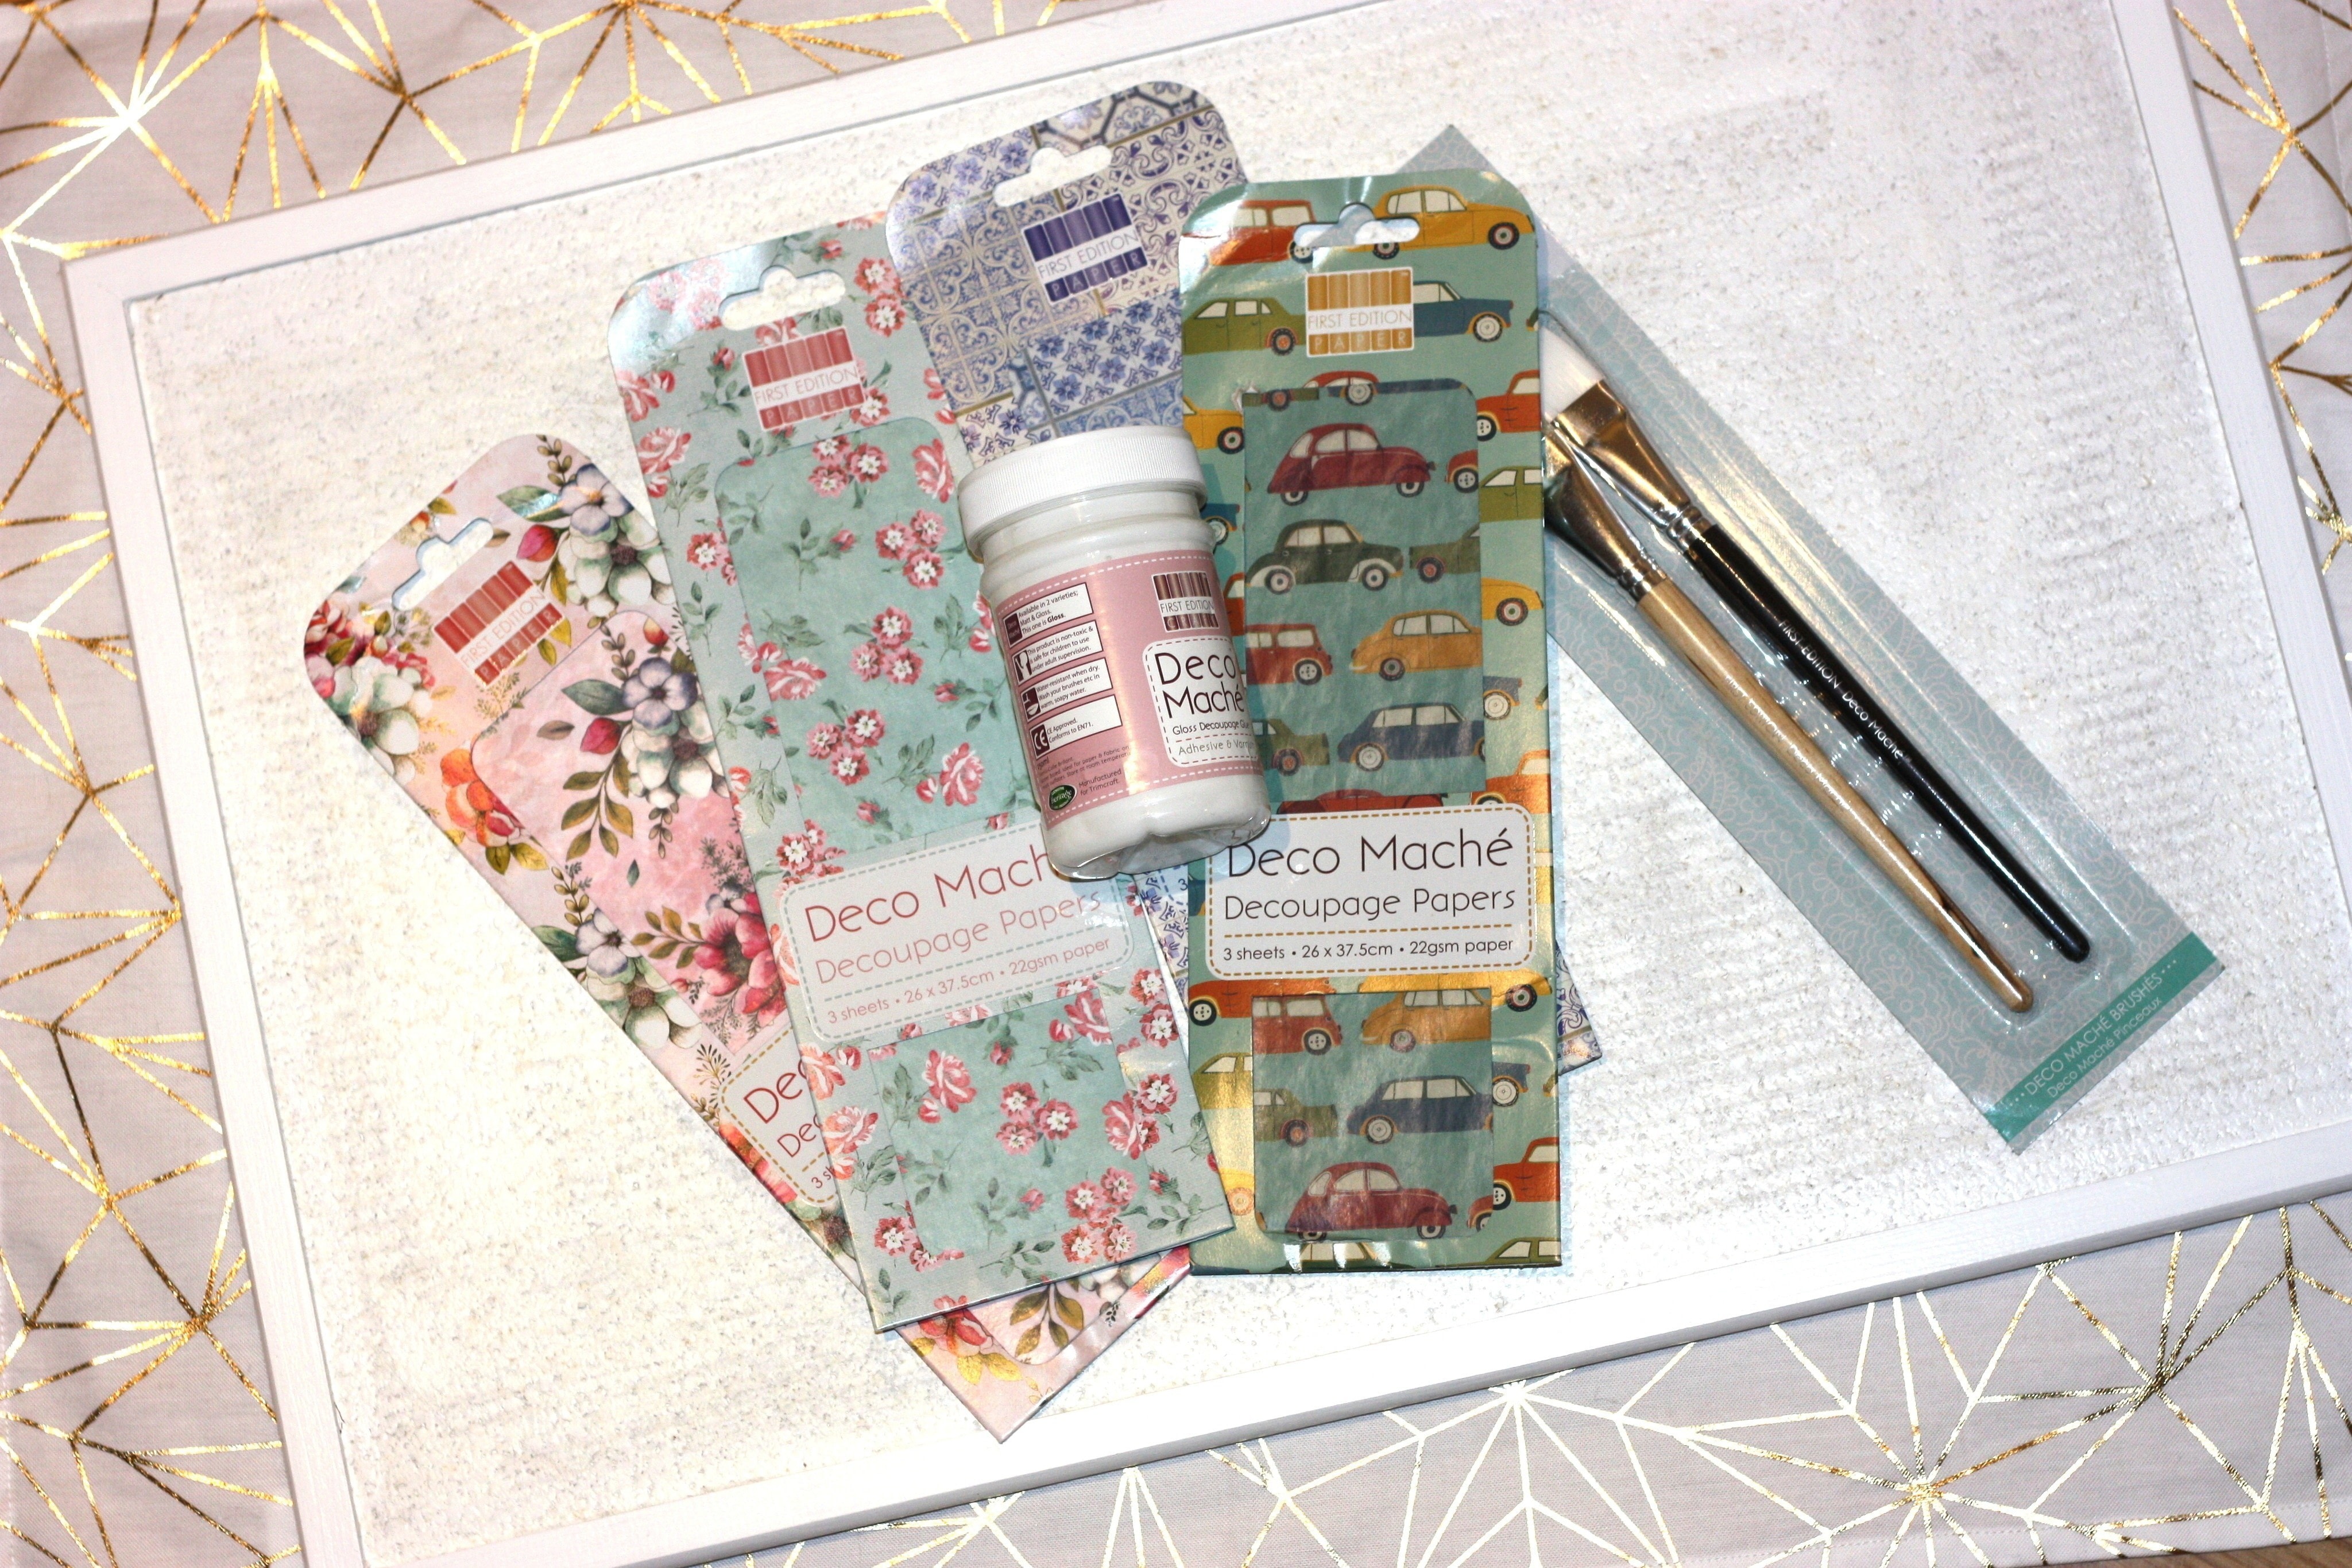
I have never "decoupaged" before, so I was quite excited (and afraid!) to try out some new Deco Mache products from Trimcraft`s First Edition line.
Knowing that I`m a novise, I went for the rustic look!
-
 Helle published her project Rustic Cork Board With Trimcraft Deco Machè
28 Feb 09:00
Helle published her project Rustic Cork Board With Trimcraft Deco Machè
28 Feb 09:00
-
 Step 1
I wanted to decorate an old cork board. It was already spray painted white , but if it wasn`t I would have to paint it according to the "directions for use", as the papers need a light background for the best result.
-
 Step 2
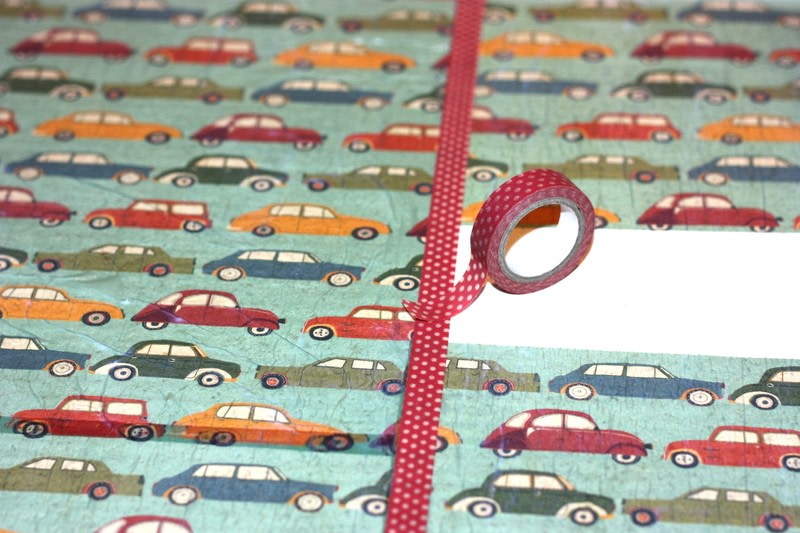
I chose the paper from Trimcrafts Travel Notes collection.
The paper was both thin and strong, perfect for layering and folding over corners and such. -
 Step 3
I used the the hog hair brush to cover the board surface with the glossy glue and varnish, and placed a big sheet of paper onto the board getting that wrinkly, rustic look.
I would recommend starting with placing smaller pieces of paper onto the surface, piece by piece, for a smoother look. -
 Step 4
I placed precut smaller pieces of paper to cover the remaing surface of the board. I didn`t have to care making the overlaps pretty, as I was planning to use washi tape over them anyway.
-
 Step 5
After covering the surface I added washi tape over the overlaps, creating different sections. I then used the glue/varnish with the nylon brush to seal the deal. I repeated it three times, allowing the glue/varnish to dry between each layer.
. -
 Step 6
Luckily both the brushes, paper and glue was smooth, with a velvety feel, so when the final layer of varnish was dry, my rustic board was both complete, looking good and ready for use!