
About
Tutorial para hacer sellos con gomas de borrar (:
Mi prima me enseñó a hacer éstos sellos, pero, por pura pereza, copié los pasos a seguir en inglés de la web de http://www.ishtarolivera.com/. Total, siempre son los mismos xD.
Tags
-
 Sveta favorited Rubber Stamp Carving Tutorial
14 May 09:11
Sveta favorited Rubber Stamp Carving Tutorial
14 May 09:11
-
 Deb R. favorited Rubber Stamp Carving Tutorial
11 Apr 14:21
Deb R. favorited Rubber Stamp Carving Tutorial
11 Apr 14:21
-
 Phoenix M. favorited Rubber Stamp Carving Tutorial
16 Jul 15:47
Phoenix M. favorited Rubber Stamp Carving Tutorial
16 Jul 15:47
-
 Kleyd added Rubber Stamp Carving Tutorial to Want to Do
18 Feb 17:11
Kleyd added Rubber Stamp Carving Tutorial to Want to Do
18 Feb 17:11
-
 Rebekah Dementia added Rubber Stamp Carving Tutorial to 1
02 Feb 21:35
Rebekah Dementia added Rubber Stamp Carving Tutorial to 1
02 Feb 21:35
-
 IntrepidMoose favorited Rubber Stamp Carving Tutorial
21 Jan 03:43
IntrepidMoose favorited Rubber Stamp Carving Tutorial
21 Jan 03:43
-
 CarmelSmithxx added Rubber Stamp Carving Tutorial to summer progects
20 Jul 14:41
CarmelSmithxx added Rubber Stamp Carving Tutorial to summer progects
20 Jul 14:41
-
CarmelSmithxx favorited Rubber Stamp Carving Tutorial
20 Jul 14:41
-
Nora E. added Rubber Stamp Carving Tutorial to Projects to try
05 Apr 01:50
-
 Millie H. added Rubber Stamp Carving Tutorial to Make
22 Mar 21:59
Millie H. added Rubber Stamp Carving Tutorial to Make
22 Mar 21:59
You Will Need
-
 Step 1
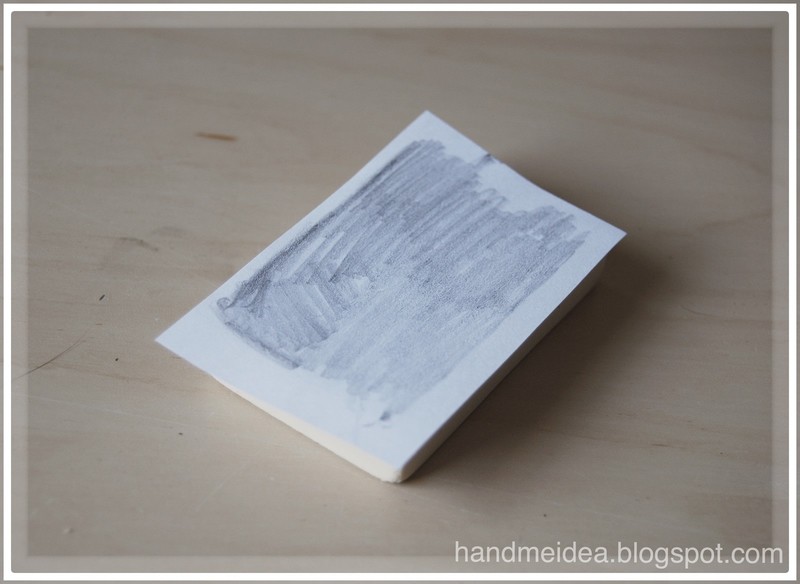
Trace the size of your eraser on paper, so you know how big your drawing can be. Draw on the paper something you like. I drew a cassette.
--
Marca el tamaño de tu goma de borrar en papel, para que sepas cuán grande puede ser el dibujo. Dibuja en el papel algo que te guste. Yo he dibujado un cassette.
-
 Step 2
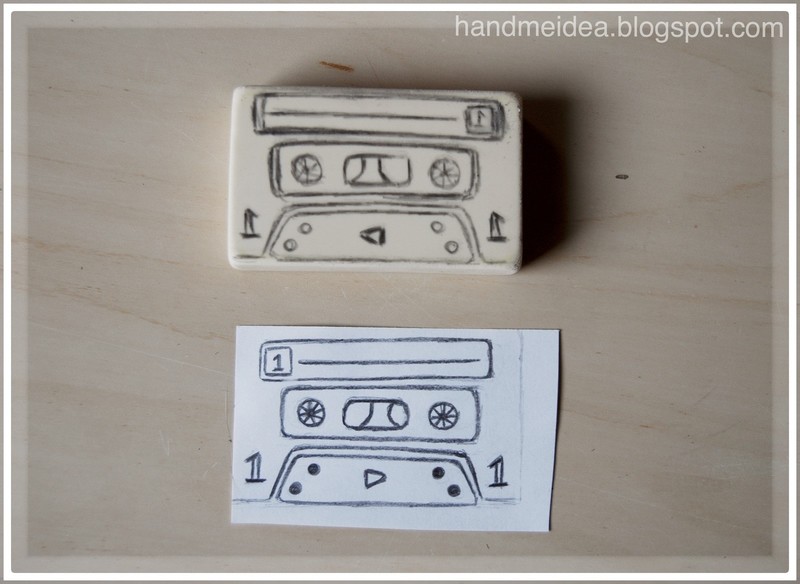
Place the drawing on top of your eraser upside down.
Press with a pencil the drawing on the eraser to transfer your drawing. Of course you could also draw directly on the eraser (but it's harder if you make any mistake...).
--
Pon el dibujo dado la vuelta sobre la parte de arriba de la goma.
Presiona la zona dibujada con un lápiz para trasferir el dibujo. Por supuesto, también puedes dibujar directamente sobre la goma (pero es más difícil de corregir si cometes un error...)
-
 Step 3
If the drawing came out too light , draw over the pencil marks, so you can see them clearly.
--
Si el dibujo se ve demasiado claro, dibuja sobre las marcas, para que puedas verlo claramente.
-
 Step 4
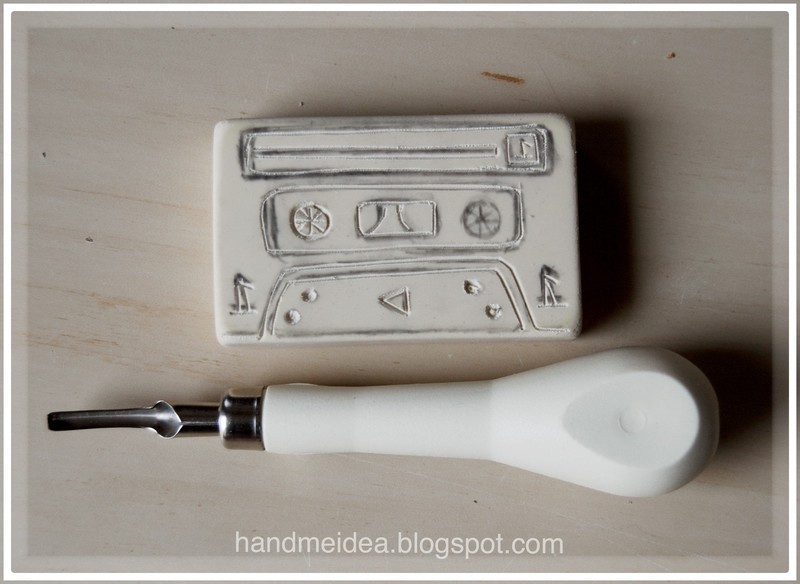
With the smallest carving tool, very carefully, start carving the eraser. Be gentle with the linoleum cutter but hold it firmly. Start on the outside lines and leave the inside and details for last.
--
Con la pieza más pequeña de la gubia, con mucho cuidado, empieza a quitar el exceso de homa. Hazlo con cuidado, pero sujétalo firmemente. Comienza con las líneas exteriores, y deja el interior y los detalles para más tarde.
-
 Step 5
With a bigger carving tool, carve the inside (like the top).
Then, with a smaller carving tool again, make the details.--
Con un cúter más grande, retira las zonas interiores sobrantes (como en la parte superior). Después, usando de nuevo uno más pequeño, haz los detalles.
-
 Step 6
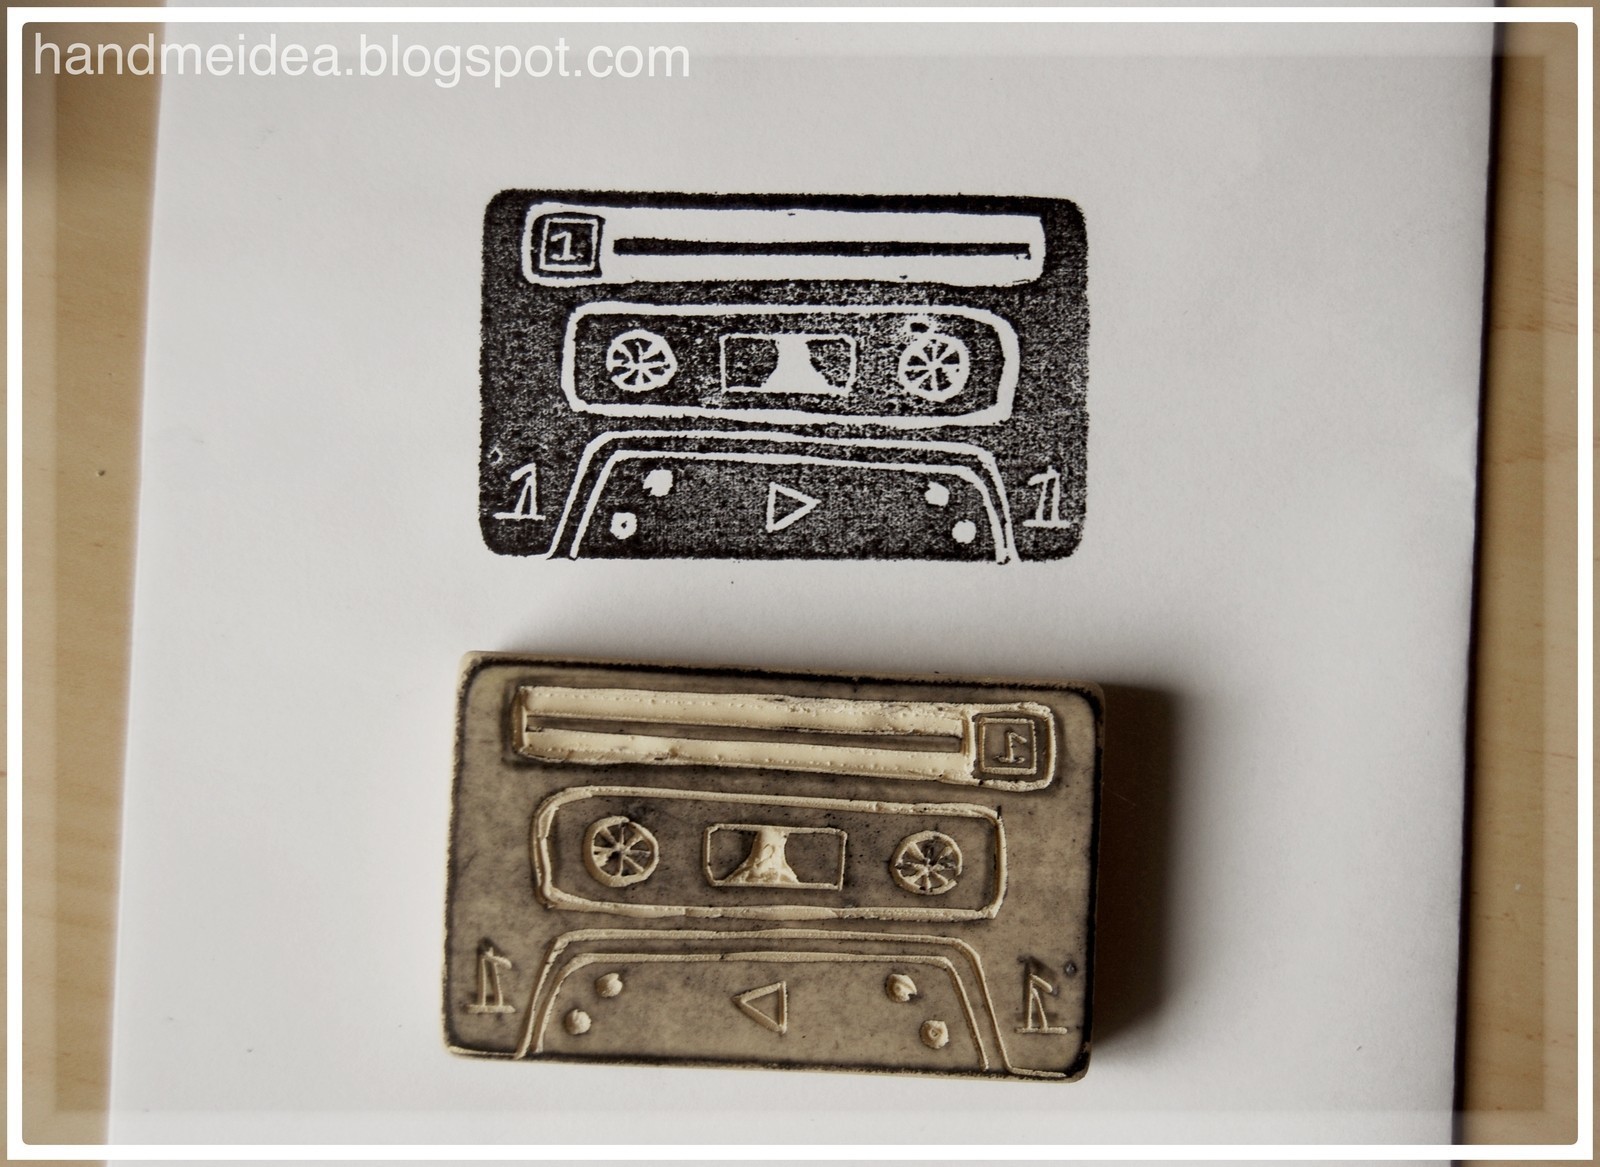
When the stamp is carved, stamp it on ink. Check if you need to make any corrections.
--
Cuando finalices el sello, mójalo en tinta y mira si tienes que hacer alguna corrección.
-
 Step 7
Your stamp is ready!
--
¡¡Tu sello está listo!!